What else for today but Green Smoothies? No Luck o’ the Irish needed, just the proven science of biology. These are good stuff for your body.
 It’s no secret that a primary secret to health is dark green leafy vegetables, the most nutrient dense foods available, and low in calories too. In addition to all the known and explored vitamins and minerals in them, they are also packed with hundreds of phytonutrients and antioxidants that promote healthy bodies and minds.
It’s also no secret that most people don’t get enough of these powerhouse foods. Very few eat these dark leafy greens daily, and many that do eat only small amounts, not big bowls full.
What also is not a secret, but may not be well known is that it is easy to get what you need in a way that won’t have you chewing on them all day long. Green Smoothies!
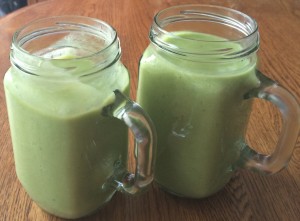
 Green Smoothies are a combination of dark leafy greens and fruits and/or other vegetables, and water, blended into a delicious “shake”. Although you can find plenty of Green Smoothie recipes out there, no recipe is needed. Just use what you have on hand and like.
You want to shoot for at least 60% or more dark leafy greens to 40% or less fresh or frozen fruit (no additives). To start you may need to reverse those percentages and gradually increase your greens and reduce your fruits. This isn’t just a few leaves of spinach and a couple of strawberries. We’re talking 3 cups greens to 2 cups fresh fruit.
Savory Green Smoothies can be made with vegetables. Tomatoes (really a fruit), carrots, peppers, sweet potatoes, avocados (another fruit) are all good to start with. Then branch out to whatever you’d like. Get adventurous and try new veggies.
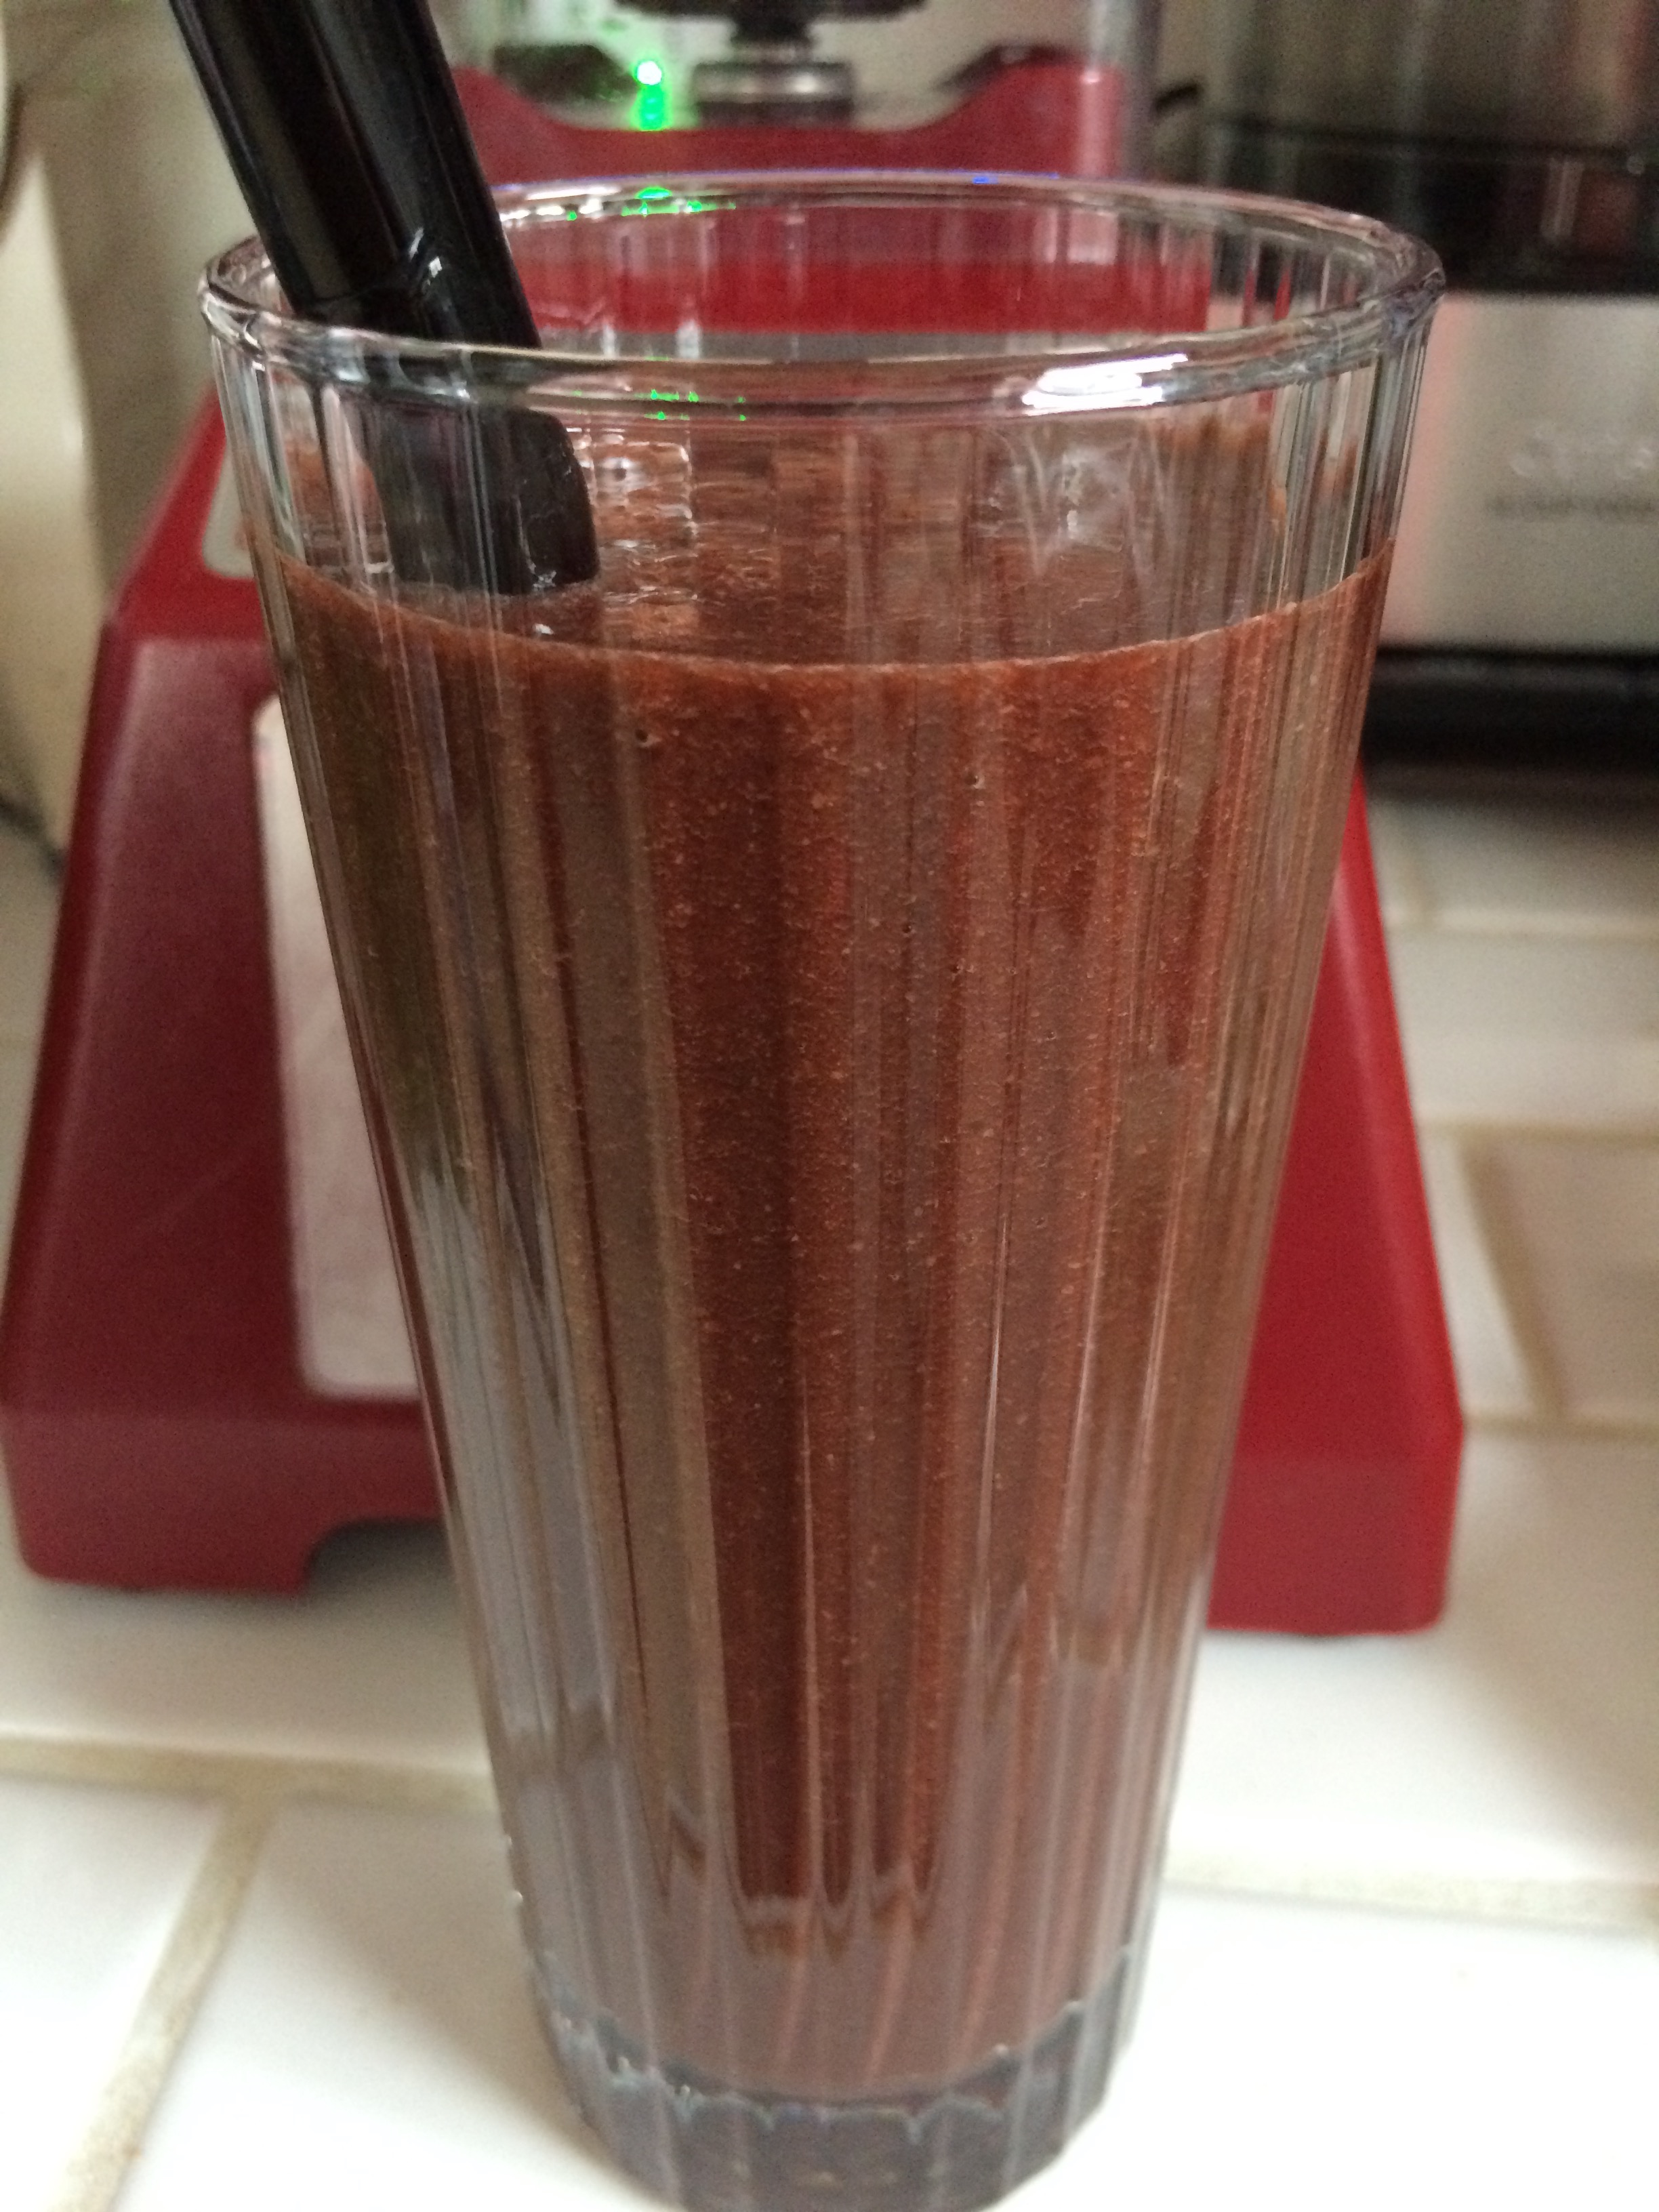
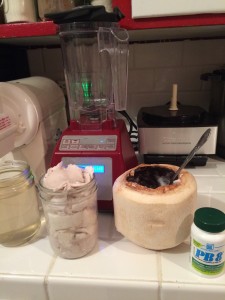
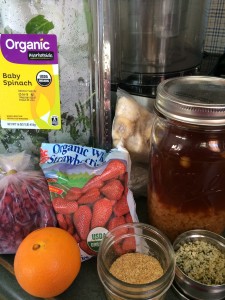 For fruits, include berries (another health super food). A banana is a great addition especially in the beginning to make it nice and creamy and help cover the “green” taste. Add common apples, oranges, and lemons; tropical pineapple, young coconut, mango, kiwi, and limes; and all the other varieties of fruit available.
Baby spinach is very mild and a great place to start with your greens. Move on to baby kale and chard, then get adventurous with other dark leafy greens. Rotate your greens, using different ones either daily or weekly.
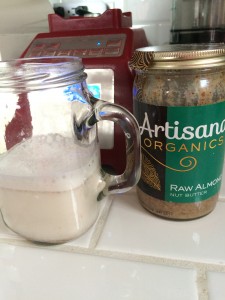
Blend it smooth with purified water, or fresh coconut water, fresh coconut water kefir, or homemade Raw Almond (or other) Milk. Use enough to get it to the consistency you like. You can add a dash of vanilla too, if you’d like.
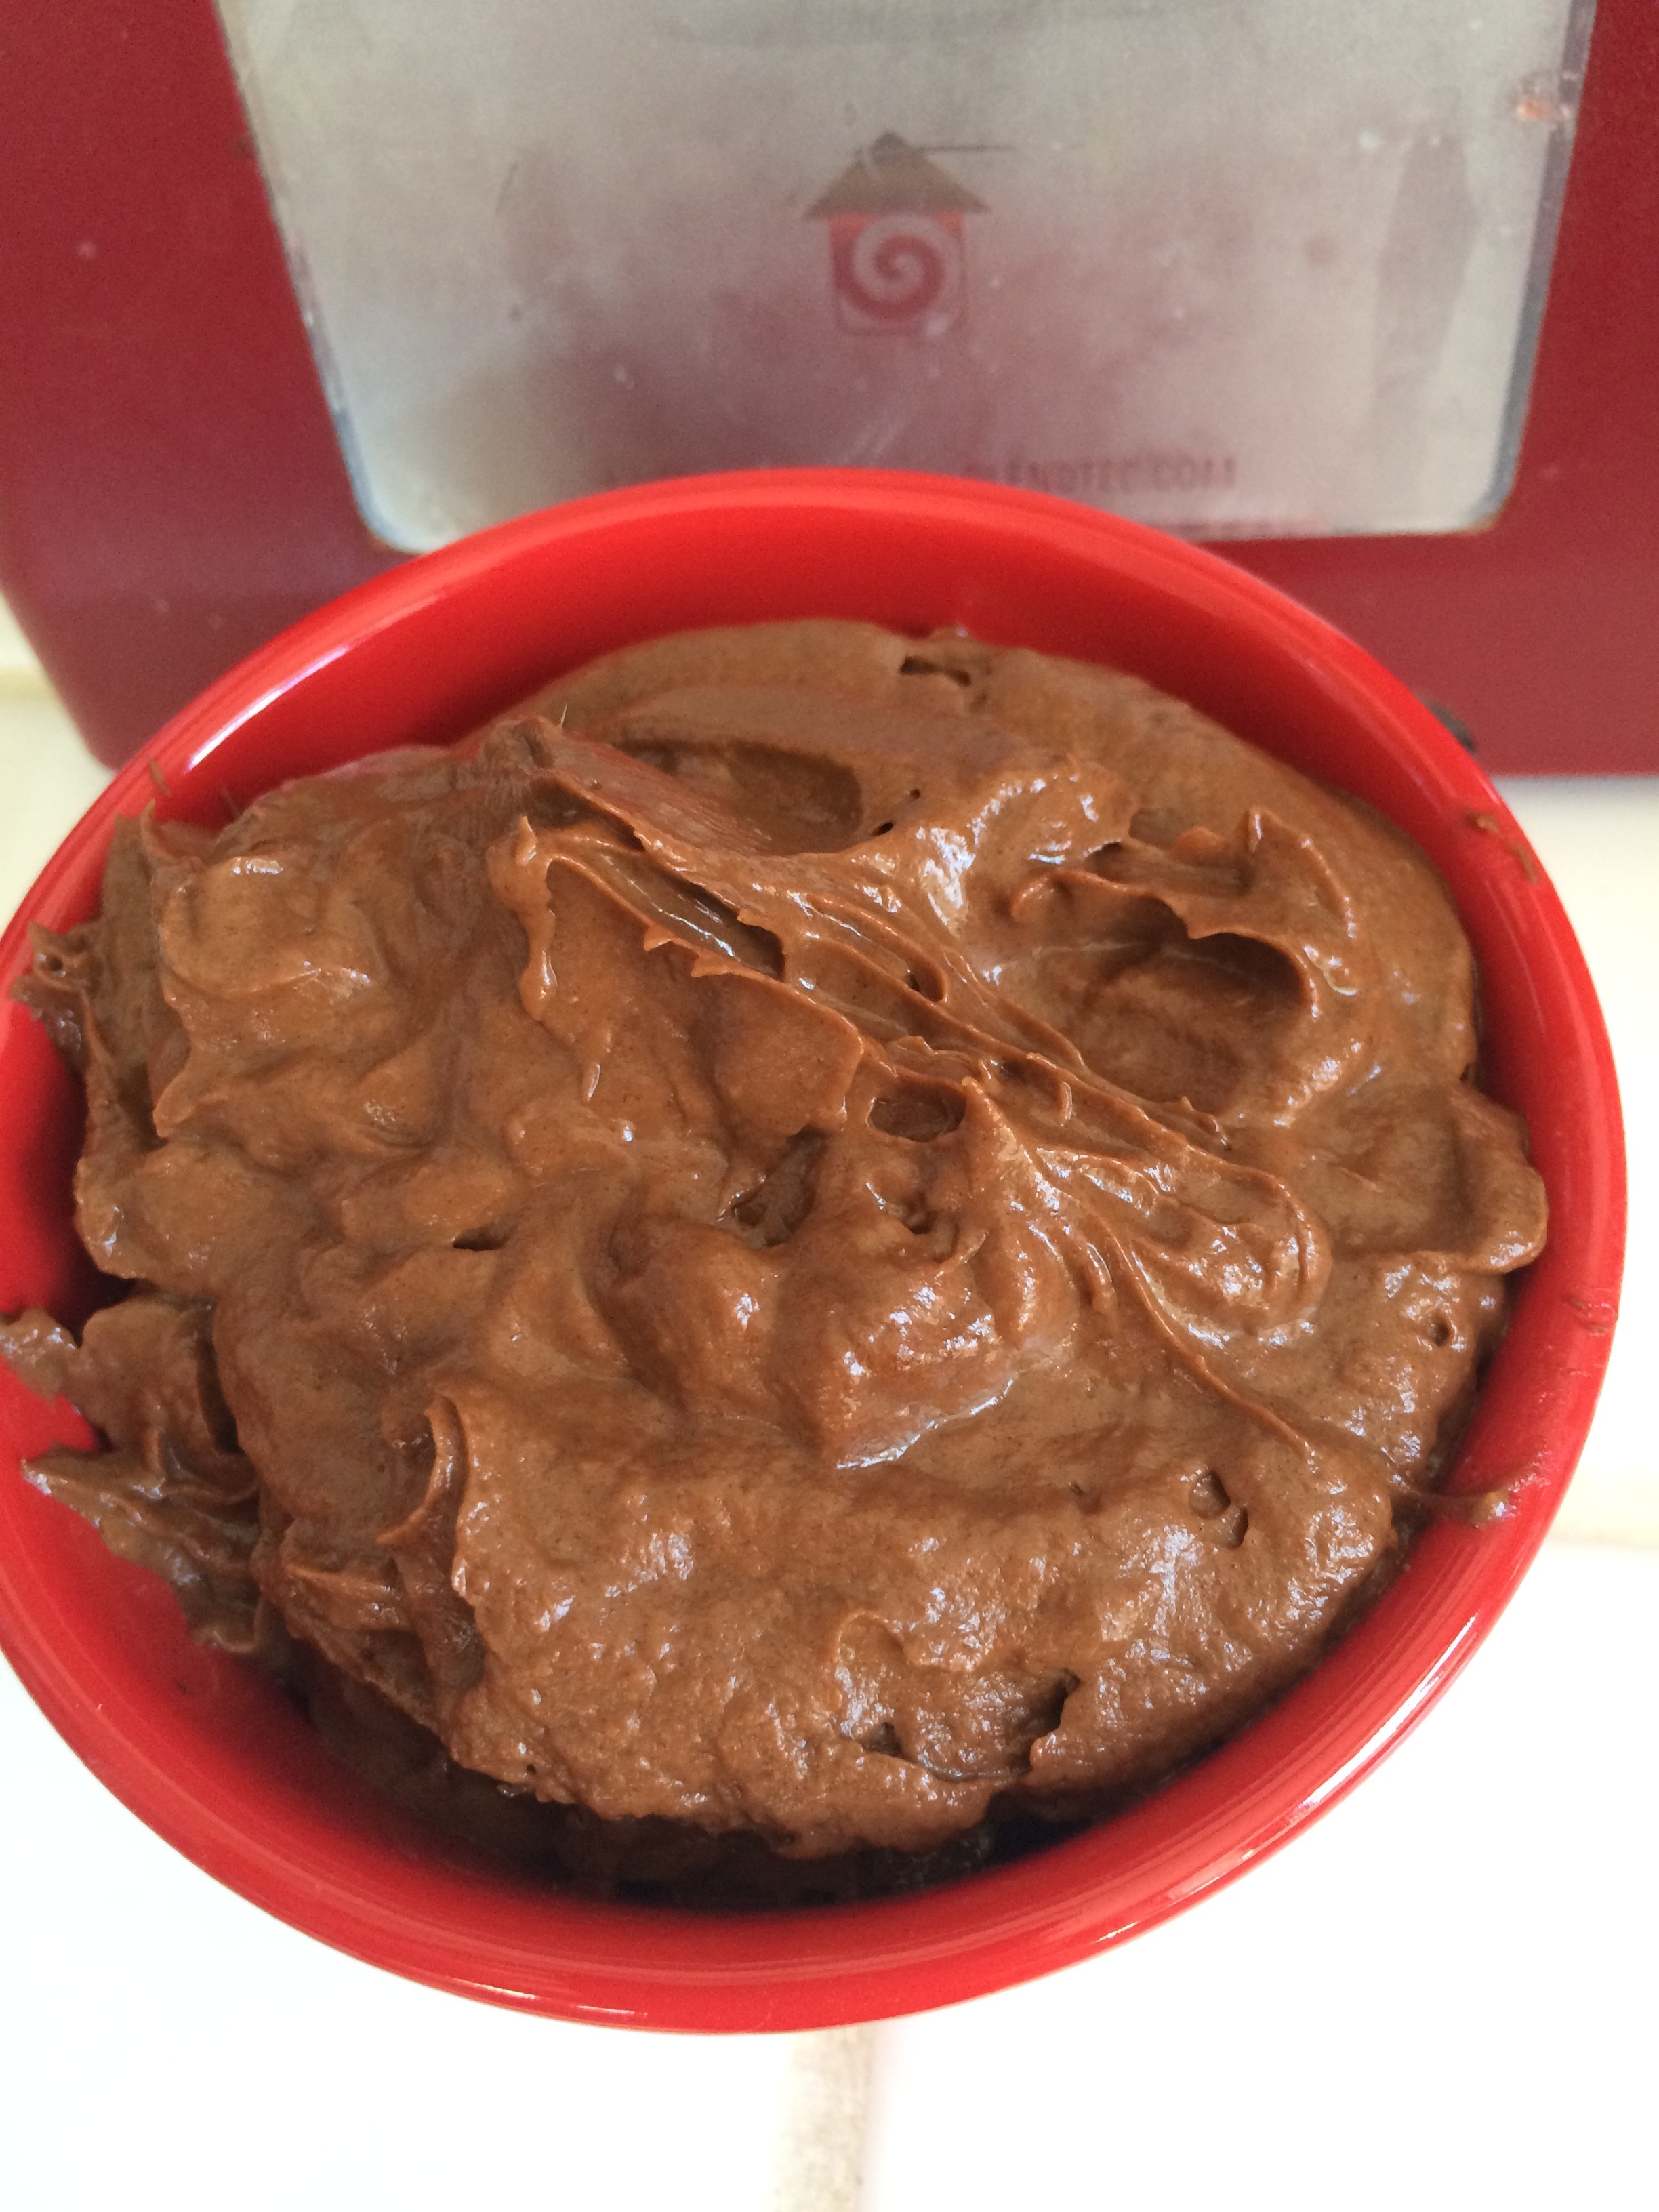
Other health boosters you can add in are (organic, raw): fresh ground flax seed, hemp seed, chia seed. For an occasional treat, add a bit of raw carob or cacao powder.
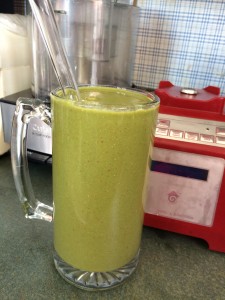
Throw this all in your blender. Blend till smooth. And drink up!
 A high performance blender will do 2 things for your Green Smoothies. 1) blend them smoother. 2) break open the cell structure of your greens to get more of their nutrients available to you. But if you don’t have a high performance blender yet, use the blender you have. (Pick one up at your local thrift store if you don’t have one.) In a less powerful blender, blend your greens and water first, then add your fruit (especially frozen) and blend, then blend again with any softer ingredients and add ins. These little rests for your blender will blend it smoother and keep it from heating up destroying nutrients and burning out your blender.
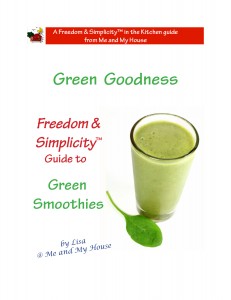
Green Smoothies are a great way to start every day. They pack a powerful nutrition punch for energy, weight loss, and good overall health. Get more info in Green Goodness, a beginners guide to Green Smoothies.
One of my favorite combos is a Tropical Green Smoothie with fresh young Coconut Meat and Water, Pineapple, Mango, Pomegranate seeds, and Spinach. Sometimes I add some Banana, and a bit of ground Flax seed to0.
My other go-to is Berry Good; Baby Kale, Raspberries, Blueberries, Strawberries, Banana, Coconut Water Kefir, and Hemp Seeds.
Do you drink fresh Green Smoothies daily? What is your favorite combo? Comment below!
[subscribe2]


 Our eldest son came home over lunch today, just as I was finishing making guac. I asked if he wanted any. “Uhhh. I’ll have a taste.” Which became another, and another, and … until he’d eaten about half the bowl. “It’s better than usual.” I’m not sure whether to take that as a compliment or a cut… or neither, since I’m usually not the one who has made it when he eats it.
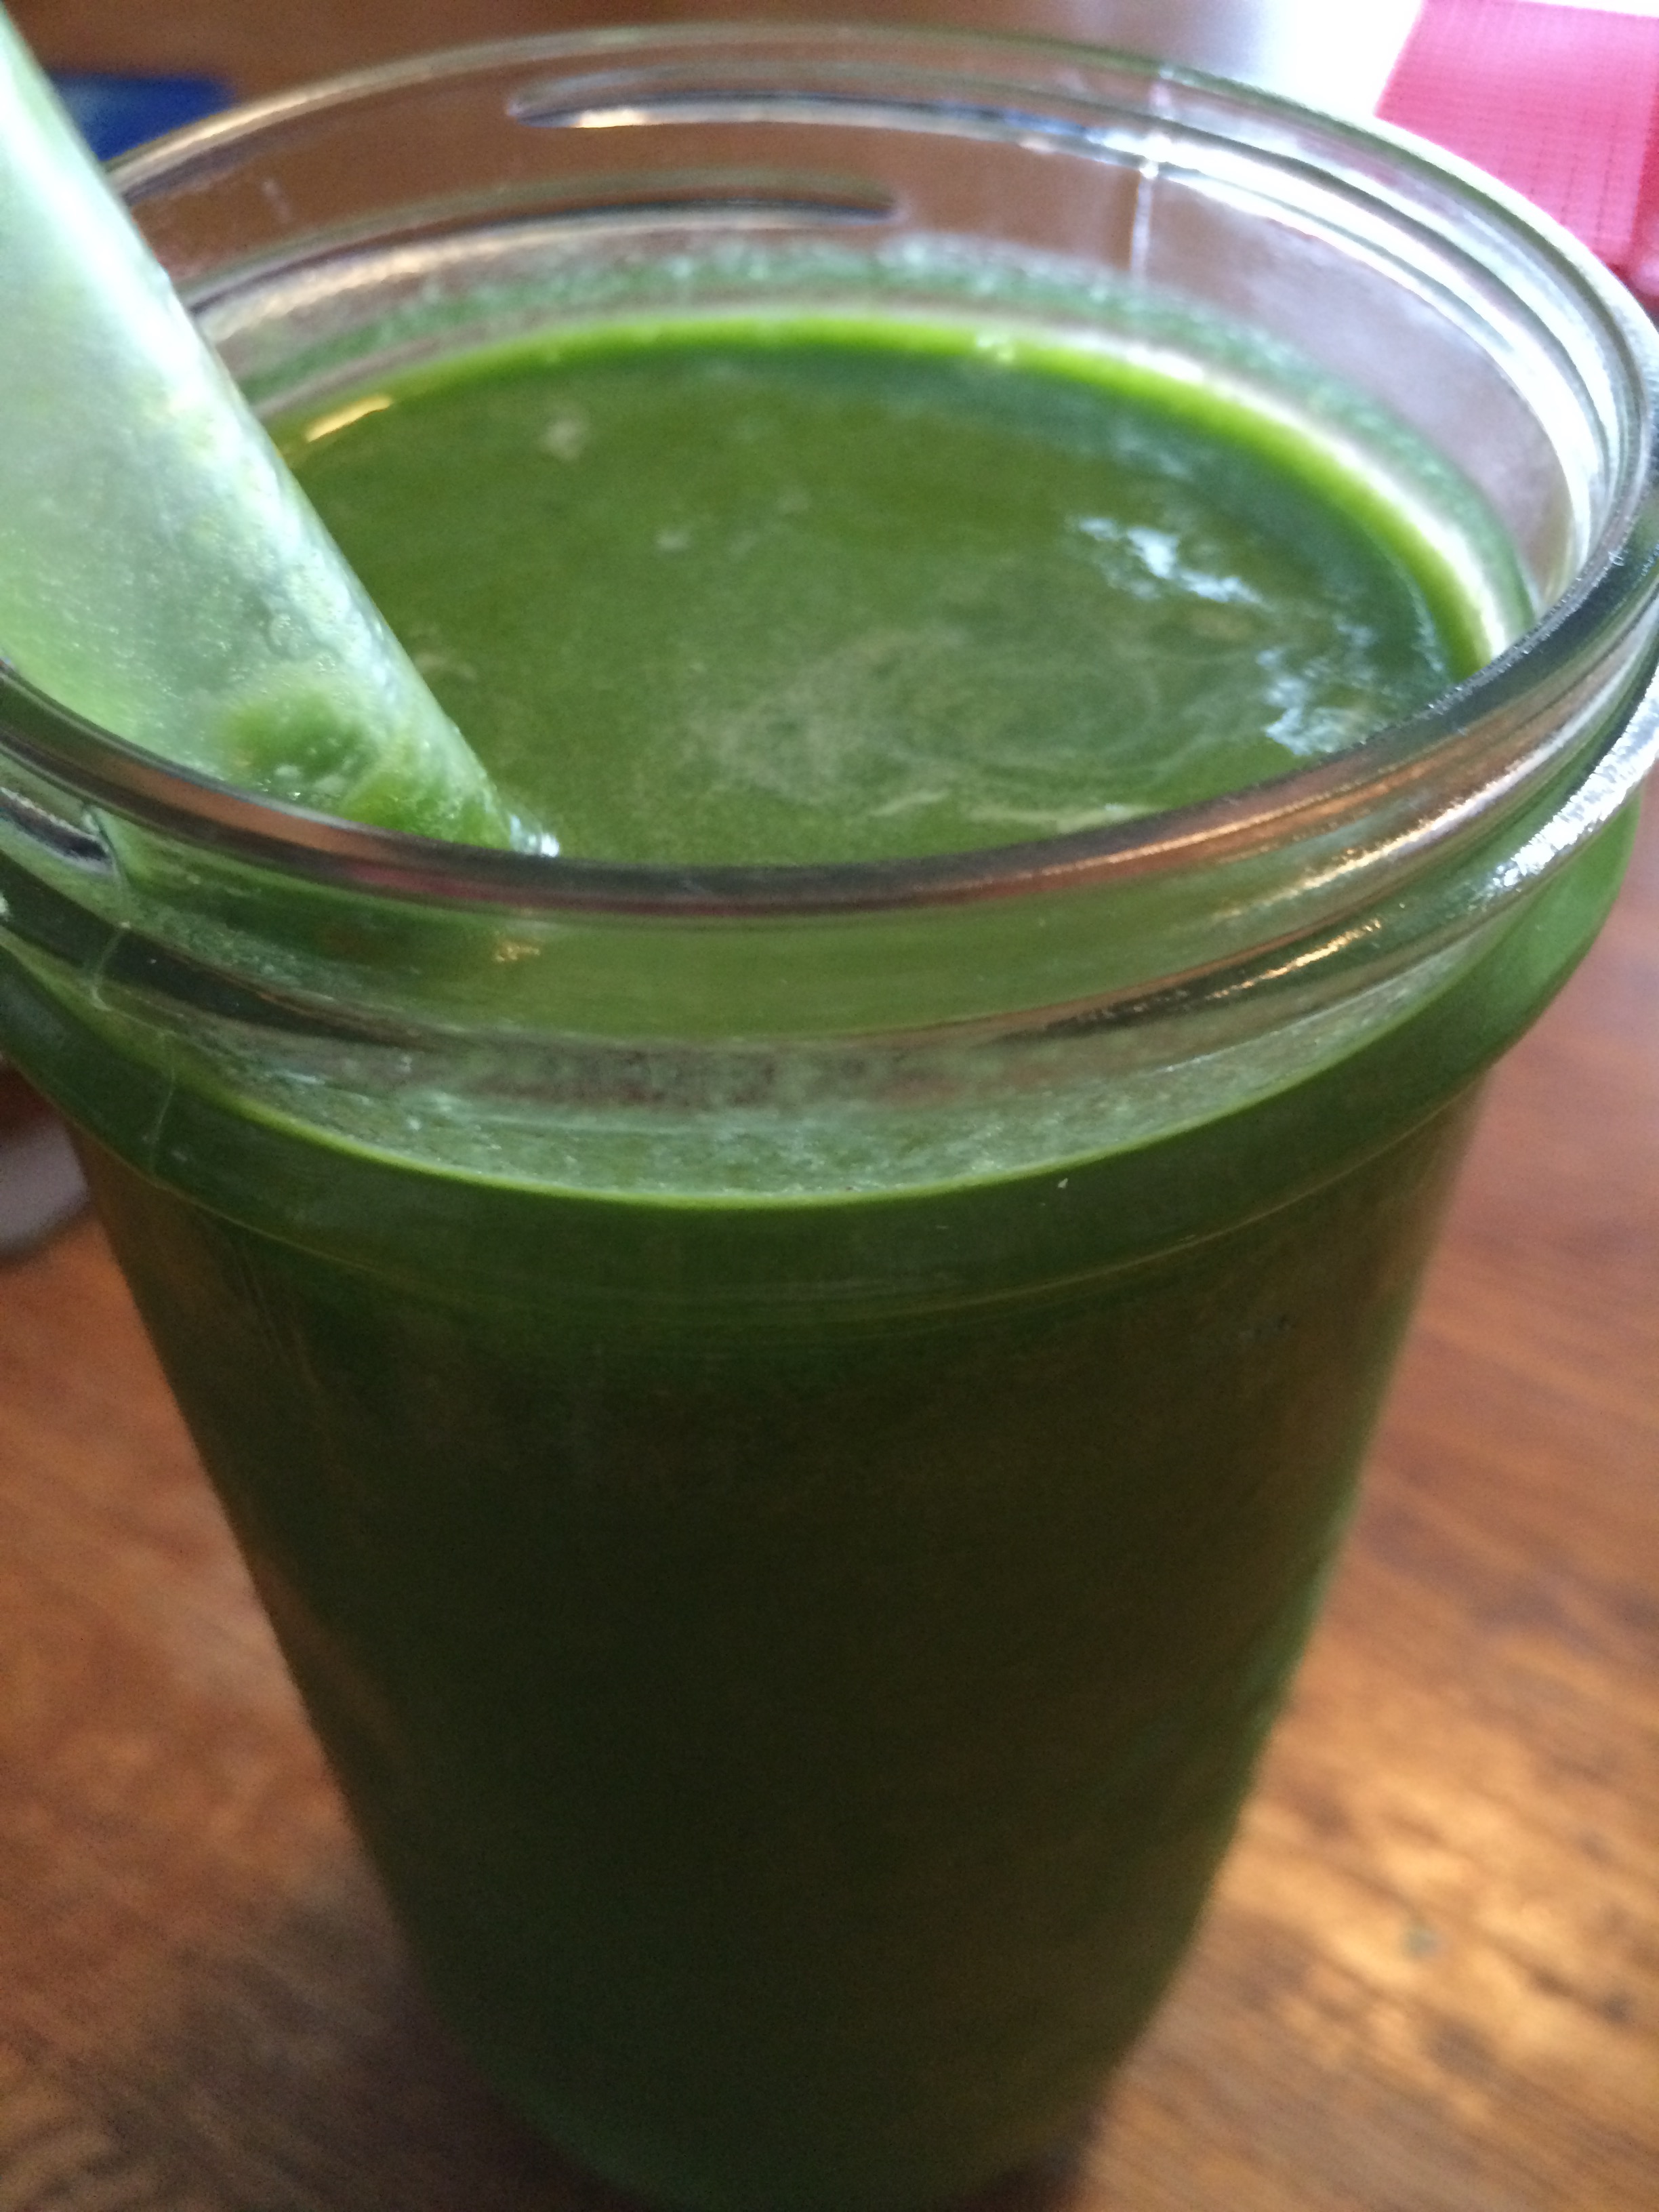


 doTerra Essential Oils