Flash Cards

I’ve been having fun making flash cards this week – and I don’t mean the kind you drill children in educational facts with. I’ve been making greeting cards with the Flash Card and Flash Card 2.0 templates by Connie Stewart. Flash Cards are rectangles of card stock that you pre-cut and have on hand to create cards in a flash. You’re able to create 8 cards from 1 sheet of colored card stock and 1 sheet of neutral card stock (plus card bases).

I’ve created a few of each – modifying Connie’s designs to fit my supplies and likes. Take a peek at some of them.

Flash Cards

"Flash Cards" made with Connie Stewart's template ~ from Me & My House

Connie’s videos that provided inspiration for these: left to right –  (gatefold)  Tri-Fun Fold, (shadowbox) Stand-Up.

Flash Cards 2.0

"Flash Cards 2.0" made with Connie Stewart's template ~ from Me & My House

Top row, my own design. Links to Connie’s videos that provided inspiration for cards on the bottom row, left to right: Amazing FriendSoft n SweetHappy Valentines.

Where do you get inspiration, when making cards? Have you ever used Connie’s Flash Card templates. If so, post below.


[subscribe2]

For a Friend

This past week, a friend of mine was in great need of encouragement. I wanted to do something special for her, so of course, I first made her a card.

Floral and Butterflies Garden Encouragement Card ~ from Me & My HouseThis pretty flowers and butterflies pattern paper seemed like a good place to come for comfort, along with the Scripture, “Come to Me, all you who are weary and burdened, and I will give you rest.”

But I didn’t want to stop there, so I found a printable tag for a bookmark, stamped a Scripture on the back, Mod Podged it (for sturdiness), and added some hemp twine. (And added more Scripture and my sentiment, and a cross inside the card.)

Bookmark tag & Encouragement Card inside ~ from Me & My House

I couldn’t just put these in a plain envelope, and besides I wanted to add some chocolate for her. I love the clutch purse-look boxes, made with the Envelope Punch Board, but have never seen one to fit A2 (standard size) cards. It was time to put on my design thinking cap. This is what I came up with and I LOVE it! It is the perfect size for an A2 card, and holds a few goodies too. And I love the look. I’ll (hopefully) share a tutorial with you for it soon.

Adorable Clutch Purse Box/Envelope ~ from Me & My House

The Clutch Purse Box/Envelope was made on We R Memory Keepers’ Envelope Punch Board
from 1 12×12″ sheet of double sided card stock, from Pink Paisley Spring Jubilee collection. The ribbon is 5/8″ satin ribbon from Walmart, the gem Vintage Floral from Paper Studio/Hobby Lobby, and the sides have 2 pearl brads from Kathy Davis Designs Happiness Collection.

The printable tag is from Eclectic Anthology, Free Printable Romantic Gift Tags.

The card base is Cream card stock (Recollections/Michael’s), design papers Kirby Teesdale Studio, and Kellerkurtz & Company (both PaperStudio/Hobby Lobby). Punches used were scalloped scallop edge, journal plate and bracketlarge flourish square, and circle, all from EK success. The sentiment is stamped on a rectangle cut unconventionally with the deckled rectangle die (Spellbinders Nestabilities.) Stamps are all wood/rubber – both Scriptures from Stampabilites, “thoughts & prayers” Hero Arts (similar), Cross from Michael’s dollar bin I think. Inks are all Tim Holtz Distress Inks. Metal flower from Queen & Co. with a flat back pearl in the center.

[subscribe2]

Some affiliate links within this post. Buying through them will get you good prices and help support Me & My House ministries.

Children’s Birthday Cards

Following the 2 cards already this month, for adults, we had 2 children’s birthdays so far this year. More card making!

The first was for a boy, but could be for either. Very colorful and fun! I also cut his name out on my die cut machine with a ballon font and put it inside with our greeting. So fun.

Colorful Kid's Birthday Card - from Me & My House

Card two was for a little girl. It was used more as a package tag. I wanted to add a fun element for her, and pink of course, yet keep it clean and simple. The polka dot lady bug was perfect.

Little Girl's Polka Dot Lady Bug Card ~ from Me & My House

Supplies used for boy’s card: Card base white card stock (GP/ Walmart), Eat Cake design paper stack (Paper Studio/ Hobby Lobby), red baker’s twine (Celebrate It/ Michael’s), Deckled Rectangle die (Spellbinders Nestabilities),  “Happy Birthday” rubber/wood stamp (Stampabilities/ Hobby Lobby), Barn Door Distress Ink (Ranger/Tim Holtz). Xacto corner rounder.

Supplies used for girl’s card: Card base white card stock (GP/Walmart), pink card stock layer Pink Buttons (Recollections/Michael’s), polka dot prints The Basics (Paper Studio/Hobby Lobby), black card stock (Paper Studio), lady bug die Doodlecharms (Cricut cartridge). EK Success mini scalloped edge.

[subscribe2]

Men’s Cards – Birthday & Sympathy

The beginning of the new year brought a birthday and a death that we wanted to send our thoughts and prayers for, both for men. I designed the cards in a similar way, and with some of the same supplies, but appropriate for each. Both were simple, classic, “manly” designs.

Simple, classic, Man's Birthday Card ~ from Me & My House

Sympathy card - masculine, simple, classic - from Me & My House

I really like the deckled rectangle dies (Spellbinders Nestabilities) for using on men’s cards in particular. The classic vertical and horizontal lines work well for men’s cards also. Embellishments are kept very non-intrusive, leaving the sentiment to take the focal point.

Products used for these cards are:

Top card: Cream card stock (Recollections) base and rectangle, green plaid layer and woodgrain vertical strip from Christmas & Winter Stack DCWV. Memento Rich Cocoa ink. Inakadinkado stamps: “Crosses Inchies”, and “Birthday Wishes” sentiment.

Bottom card: Pure Chocolate Card base, Cream layer and rectangle, Old World Card Stock Stack layer (DCWV), Heirloom Stack (DCWV) vertical strip. Rich Cocoa ink. Stampabilities “Card Phrases” sentiment. Brown satin 3/8″ ribbon.

[subscribe2]

27 Unique Christmas Cards

Perhaps normal people, that don’t have a lot of “spare” time, would opt for making a simple, easy to assembly-line card – making them all the same. (Or buying cards.) But I guess I don’t fit the categories.

When I sit down to create, I like seeing what I can do with what I have. When I sit down to create, I usually also think, “I don’t have any ideas. What am I going to do?” A couple days of “free time” work later, this is what I have. 27 different, unique! Christmas cards. Many of the same elements used here and there, but no card just like another. And just when I think I’m done with a card (or other project), I think of a way I can enhance it, make it better. I also wonder, “What if I tried this?” Sometimes I do. Sometimes I don’t.

Handmade Christmas Cards ~ from Me & My House


Creativity is something that grows. You have to use it to gain it. It isn’t always brilliant, or jaw-dropping wonderful. I doesn’t have to be. It just has to be a growing expression of your ideas. Sometimes you’ll love it, sometimes not. I found, in doing this many cards at once, that even if I loved a design, I still didn’t make another card exactly like it. I continued to think of ways I could improve it. There were no designs I hated or scrapped. (And I hope that everyone that received these cards enjoyed them and the creativity that went into them.)

More Christmas Cards 2013 ~ from Me & My House

I encourage you to make 2014 a year of creativity. Take time to let ideas flow, to produce whatever you enjoy making. It may be in making up new recipes. It may be in re-decorating your home. It may be in making handmade cards.

Let me know where your creative juices are flowing.


If you’d like to know what the cards are made with:

Card bases are Recollections Cape Cod Collection (blues), Shades of Red (red), Cream, and plain ol’ Georgia Pacific white from Walmart.

Patterned papers are from DCWV Christmas & Winter Stack, (and maybe some from Winter Solstice.)

Embossing folders: Paper Studio Holly, Snowflakes, and Sizzix Textured Poinsettia.

Dies: Sizzex Scallop Squares, and Spellbinders Classic Ovals.

Punches: EK Success circles, scallop circle, journal label, flourish square and scalloped scallop border; Paper Studio star, Martha Stewart Arctic snowflake. We R Memory Keepers Corner Chompers (plain and decorative), and Xacto corner rounder.

Inks: Ranger’s Tim Holtz Distress Inks (various colors). Versa Mark – and “Glitz”, “Snow”, and “Silver” embossing powders from Michael’s, and Zap! heat tool.

Stamps: (clear) Inakinkado “O Holy Night” set, (cling rubber) Stampendous “Nativity Carol” set, Magenta holly and poinsettia, (wood/rubber stamps) Stampendous “Glory to God”, Inkadinkado “O Come Let Us Adore Him”, Stampabilities “Holly Berry Border”, “Glory to God”, “Intricate Snowflake”, “Itty Bitty Blake”, Hand Drawn Holly”, “O Holy Night”.

Darice hemp twine, Celebrate It baker’s twine, and various holiday ribbons from Hobby Lobby and Walmart. Wood stars from Recollections (Michael’s).


[subscribe2]

Tri-shutter Shoes Card

My almost final card for 2013 is for another daughter’s birthday. (Still one more to go before the end of the year.) I’ve been wanting to use the Tri-shutter fold for a while now, so that was the easy part. Choosing paper wasn’t as easy. I wasn’t able to get anything specific for this (oh, the ideas I have,) so had to go with what I had. (Yep, need to use the wonderful stash on hand.) I was happy to find something with shoes on it in the stack (I love,) Kellerkurtz & Company by Paper Studio. (All my girls love shoes. So does their mama.) Anyhow, I started with shoe paper and just started adding pretties that I thought she’d like.

Tri-shutter Shoe Card ~ from Me & My House

The card base is from the Old World stack from DCWV. I liked the combo of the red and neutrals. (They are generally her faves.) To make the Tri-shutter, cut the 12×12″ in half (6″x12″), then score on the short side at 2″, 4″, 8″ and 10″. Accordion fold the card and crease with your bone folder. (Look familiar? Same as Double Z card, up to this point.) Then open, and cut (on the long side) between the 2″ score and the 10″ score at 1.5″ inches from both long edges. Then refold with your middle section going the opposite direction as your top and bottom ones. Re-crease with your bone folder.

Tri-shutter Card ~ from Me & My House

You may choose to mat different places or sizes than I did (measurements above). They aren’t all standard, but I had my reasons. I rounded the corners and inked the edges of the mats, and inked the card base too.

The embellishments on the front start with a metal flower from Queen & Co. with a flat back pearl center, and 4 small tags from a printable from Eclectic Anthology, attached with a “Love” brad from the Prima Engravers collection. The stamped key is from Prima Engravers collection. It is heat embossed and has a flat back pearl also.

Tri-shutter Shoe Card ~ from Me & My House

Inside, the “31” number tiles and gemstone with a shoe on it are both from Paper Studio. I took the postcard from a printable from The Graphics Fairy and added the Scripture verse to it and printed it out, then stamped it with Birthday Wishes from Inkadinkado and Flourishy from Recollections. It is mounted with foam “pop” squares on the Kraft card stock (from Recollections). The “Cherish” and “Memories” stamps are from Studio G. All the above are stamped in Rich Cocoa from Memento. The flowers are from the same Prima set as the key and are stamped in Bright Pink Stampabilities dye ink.

On the last page, the chandelier is from the same stamp set as “Cherish”. It is heat embossed, and it and the shoe are blinged with “diamond” gems. (I had every intention of putting these shoes on the front and the others on the back, but mis-glued and didn’t want to start over. Shh. Don’t tell her.) The bookmark and the pocket for it (cut from another bookmark) are a free printable from Janet K Design. I Mod Podged the  bookmark so it would hold up better. The red bling is from Queen & Co. Everything is inked in, you guessed it, Vintage Photo Distress Ink from Tim Holtz.

I think I was getting predictable this week, but it goes to show you that you can reuse the same paper stacks, stamps, inks and even embellishment packs and get totally different looks from them. You don’t have to have a lot to do a lot.

What is your current go-to–whether that be paper stack, ink, stamps, punches or whatever? What do you find yourself grabbing time after time?

[subscribe2]

ThanksGiving Place Cards

ThanksGiving Place Cards ~ from Me & My HouseThis afternoon, my only daughter left at home and I started nailing down details for ThanksGiving dinner. We will have 29 people at our house, so we have to pre-think the logistics a bit. She commented that we should get the place cards done today, so it wouldn’t be a last minute rush. My girls enjoy doing things like that. I’m glad.

I told her I had a few new little stamps for Fall/Thanksgiving, that I’d picked up from the dollar bins, that we could use. So we started designing.

We worked together, but I was also working on other (Christmas) projects, so she did all the stamping, inking and gluing. (I made the name labels, cut and scored.) So THANK YOU Shekynah, for all your help making some great place cards for this year’s table.

The card base is dark brown card stock (Colorbok) cut 7×3.5″, scored and folded in half. The mat and label are cut from Ampad Earth Tones card stock. The mat is 3.25″ square. The Harvest-Give Thanks and Be Merry stamp, and the pumpkins and leaves stamps are Studio 112 (2 different mini sets). Edges are inked in Vintage Photo (Tim Holtz Distress Ink,) and corners of the mat punched with Tonic Studio ticket-tag punch. I typed all the names into a table in Pages on my computer, (with the rectangles a bit larger than my punch,) then printed them and punched them out with the EK Success Photo Labels punch. All layered together with my ATG gun.

I was actually pretty impressed with how fast these all went together. I told her, “Wow, if we can do these this fast, maybe we could make homemade Christmas cards.” 🙂 She agreed. She likes to make cards.

So much for having all my cards for the year (except that one last one for the very end of the year) done last week. But we had a great afternoon doing it. And it took far less time to make all those cards today than the one card that I will be sharing with you next week. Well, actually, the one next week took a lot longer design time than the design and making of all of today’s cards.

See all the cards I’ve posted.

[subscribe2]

Happy Birthday Dad

Typing Memories Card ~ from Me & My House

Some of my earliest memories are of my father typing. My dad was a pastor and when I was a child, when asked what I wanted to do when I grew up, I’d reply, “I’m going to type, type, type, and work, work, work and shut the door and not let anyone in.” Evidently I remembered the times when dad needed some peace and quiet in our home with 5 children, but I wanted to be like him. 🙂

Thus the inspiration for my card for my dad’s birthday today. My dad is also an avid reader, so the “book page” background was a natural too.

Inside I included a few other goodies that remind me of him or seemed to go well, the car 3¢ stamp, bicycle, and compass gem with “Enjoy the Journey” stamped. I also had to color the bicycle seat red (just because.)

Typing Memories Card (inside) ~ from Me & My House

The front paper mat is from the same stack I used on the last card, Heirlooms from DCWV. I cut the corners of it and the inside mat with the ticket punch from Tonic Studio. (Yep, I must’ve had it before I did the tags on the last card. It is a double punch–tag and ticket.) Card base is Recollections Kraft card stock from Michael’s. Card stock for stamps and interior is from Ampad Earth Tones (from Walmart). Edging in Tim Holtz Vintage Photo Distress Ink. Stamping with Rich Cocoa from Memento, (I think. See previous post.) Christmas Green is only dark green I have, a Stampabilities pigment ink from Hobby Lobby. Most of the stamps are Stampabilities from Hobby Lobby: Typewriter and “TYPE” from Typewriter set, 3¢ car stamp from Time & Travel set, bicycle from Vintage Outdoor set. “Enjoy the Journey” is from Recollections (I don’t see a name on it). “Memories” is from Studio G. “Happy Birthday” is from Hero Arts Many Birthday Messages. The Compass brad is from the Prima Engravers collection. The wood buttons are Hobby Lobby (see last post.) I tend to not mention ribbons, but they are usually from Walmart, Hobby Lobby, or JoAnn’s.

Again, being a man’s card, I didn’t heavily embellish it (even though I know this one will be saved.) I love that it so represents my dad, and hope he enjoys it (and doesn’t open his internet until after he opens his card today.)

I’d love to see the men’s cards you’ve made.

See other cards I’ve made and posted.


http://teachinggoodthings.com/blog

[subscribe2]

Papercrafting Supplies 201: Stamps

Now the fun comes! You have your basic supplies of paper, measuring and cutting tools, and adhesives from the Papercrafting Supplies 101 series, and it’s time to move on to the decorating supplies. Although you could probably put together a plain album and even a decent card if you’re able to do nice writing or calligraphy on it yourself, most people are going to want to add a little extra pizzaz to their paper crafting projects.

What you actually buy, for all of these extras, is going to depend totally on personal taste. You know you and your paper crafting needs and desires. No one else does. What do you like? What type of paper crafting are you doing? Who are you doing it for? If you are making products for others, children’s birthdays, albums for friends and family members, etc. their needs and taste will also come into play for what you buy.

Papercrafting Supplies 201: Stamps ~ Me & My House

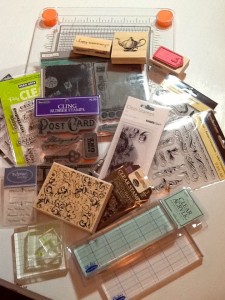
For that “extra”, again we’ll look at 3 categories: stamps and inks, punches, and embellishments. I’m classifying stamps and inks as one category, as you can’t use stamps without inks, but will be presenting separate posts for them, so they don’t get too long. (This one on stamps is going to be pretty long anyhow.)

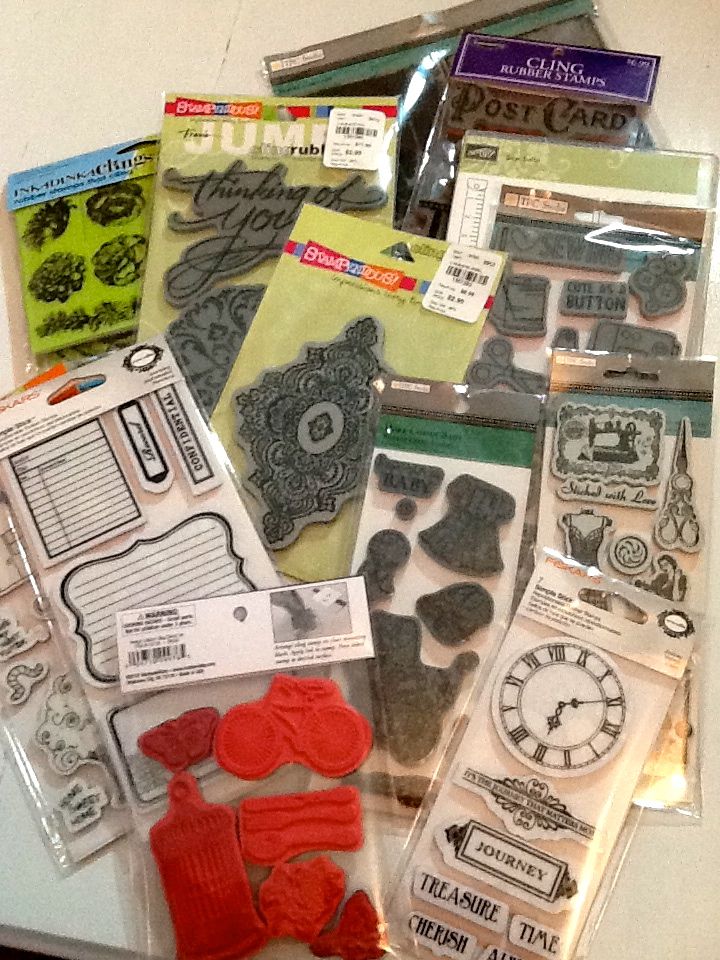
I divide stamps into 3 types of designs, of which you’ll probably want some of each: sentiments, single design (which I generally call decorative, though of course all of them are decorative,) and background. There are also 3 basic kinds of stamps: mounted rubber, cling rubber, and cling clear. Let’s start with the types of designs.

Types of Designs

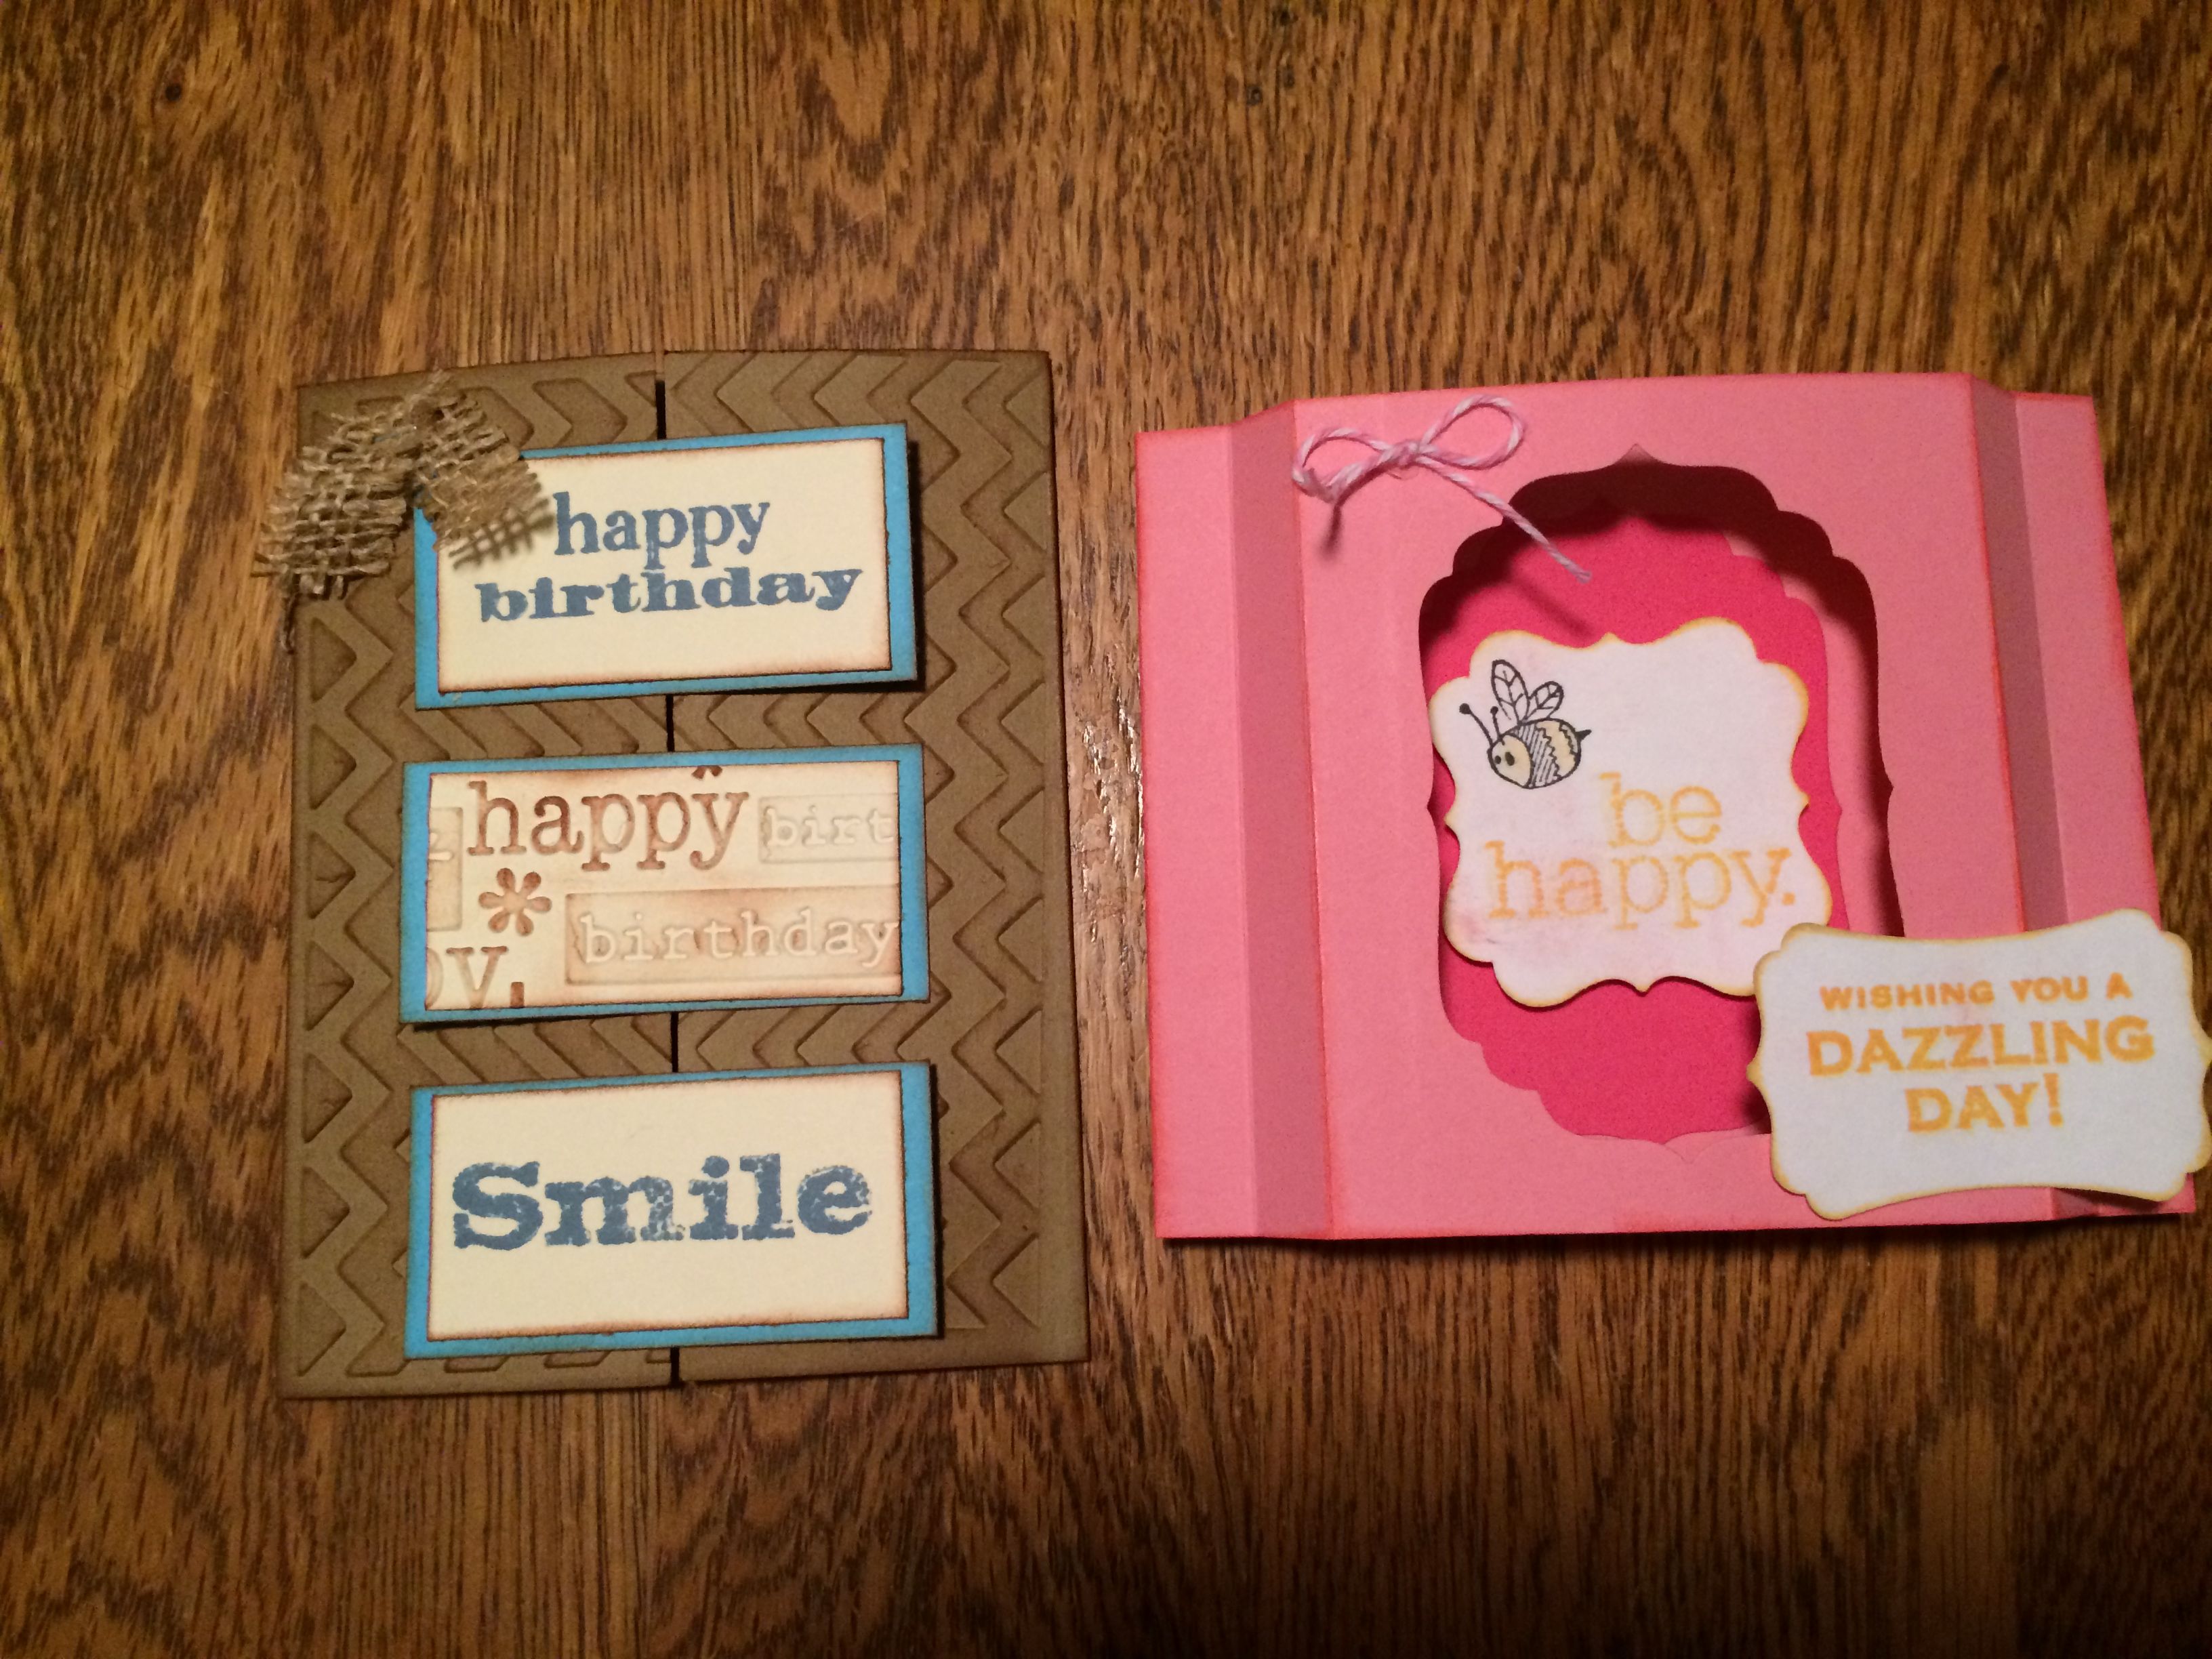
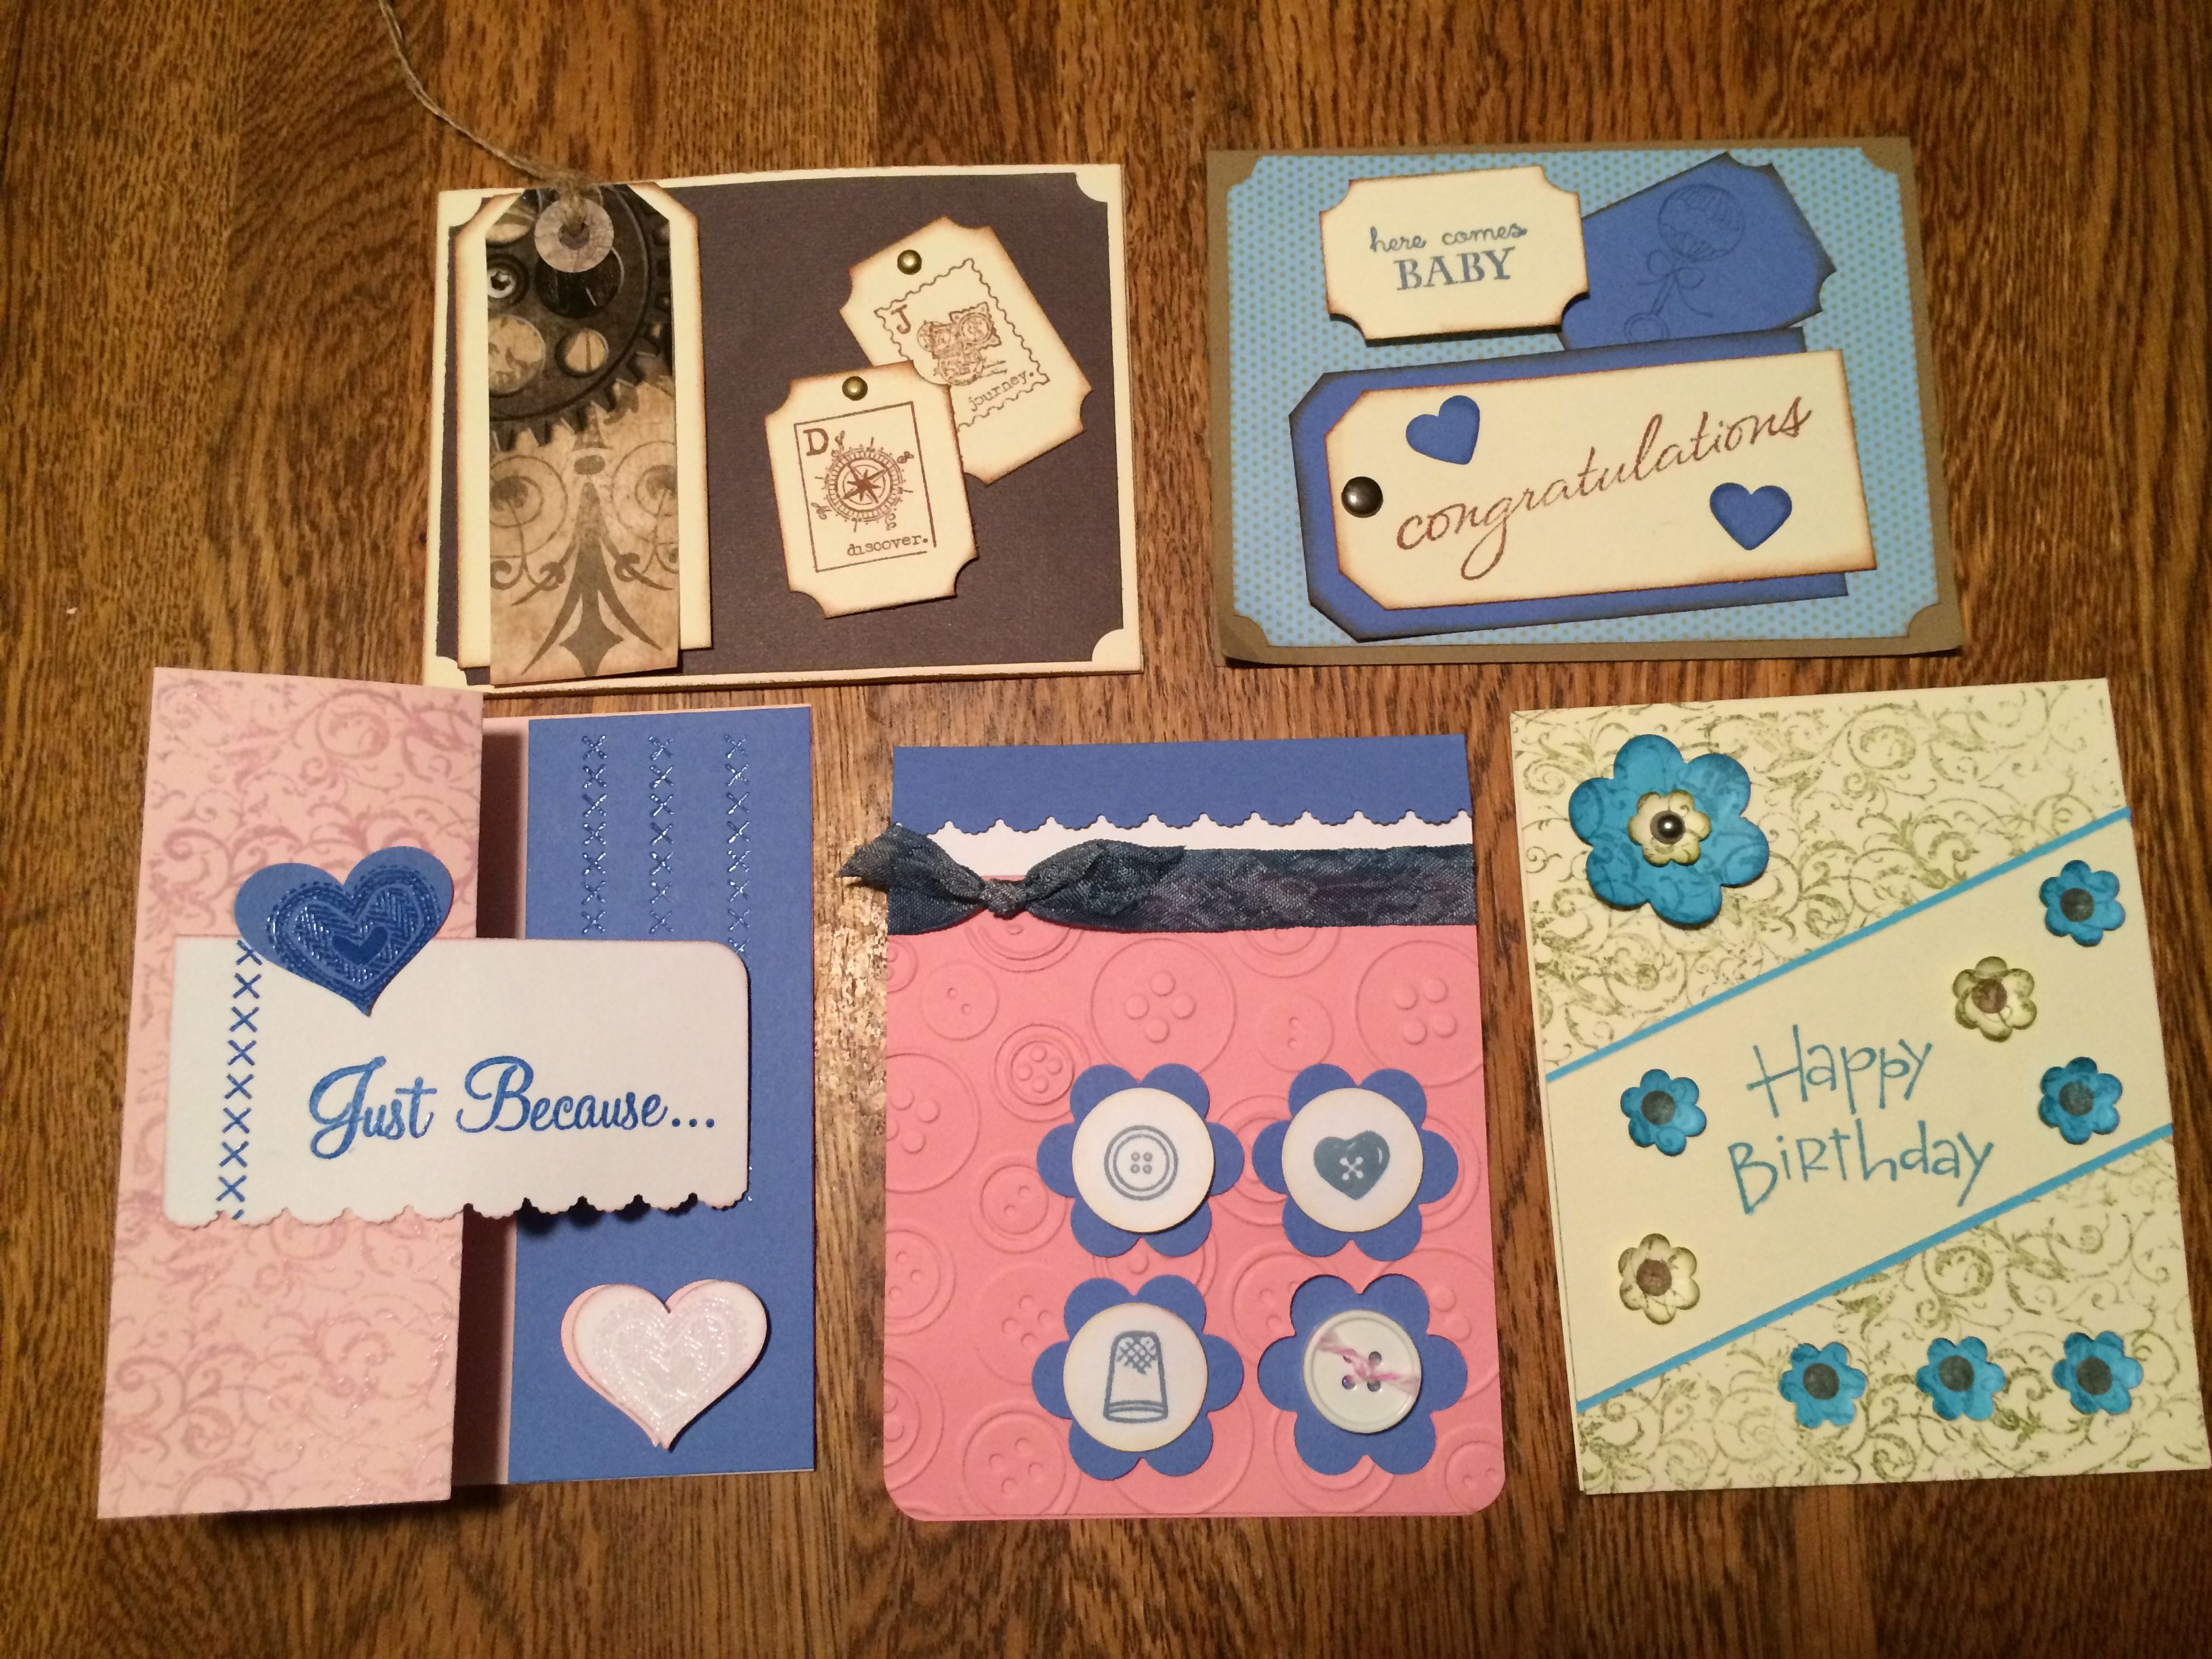
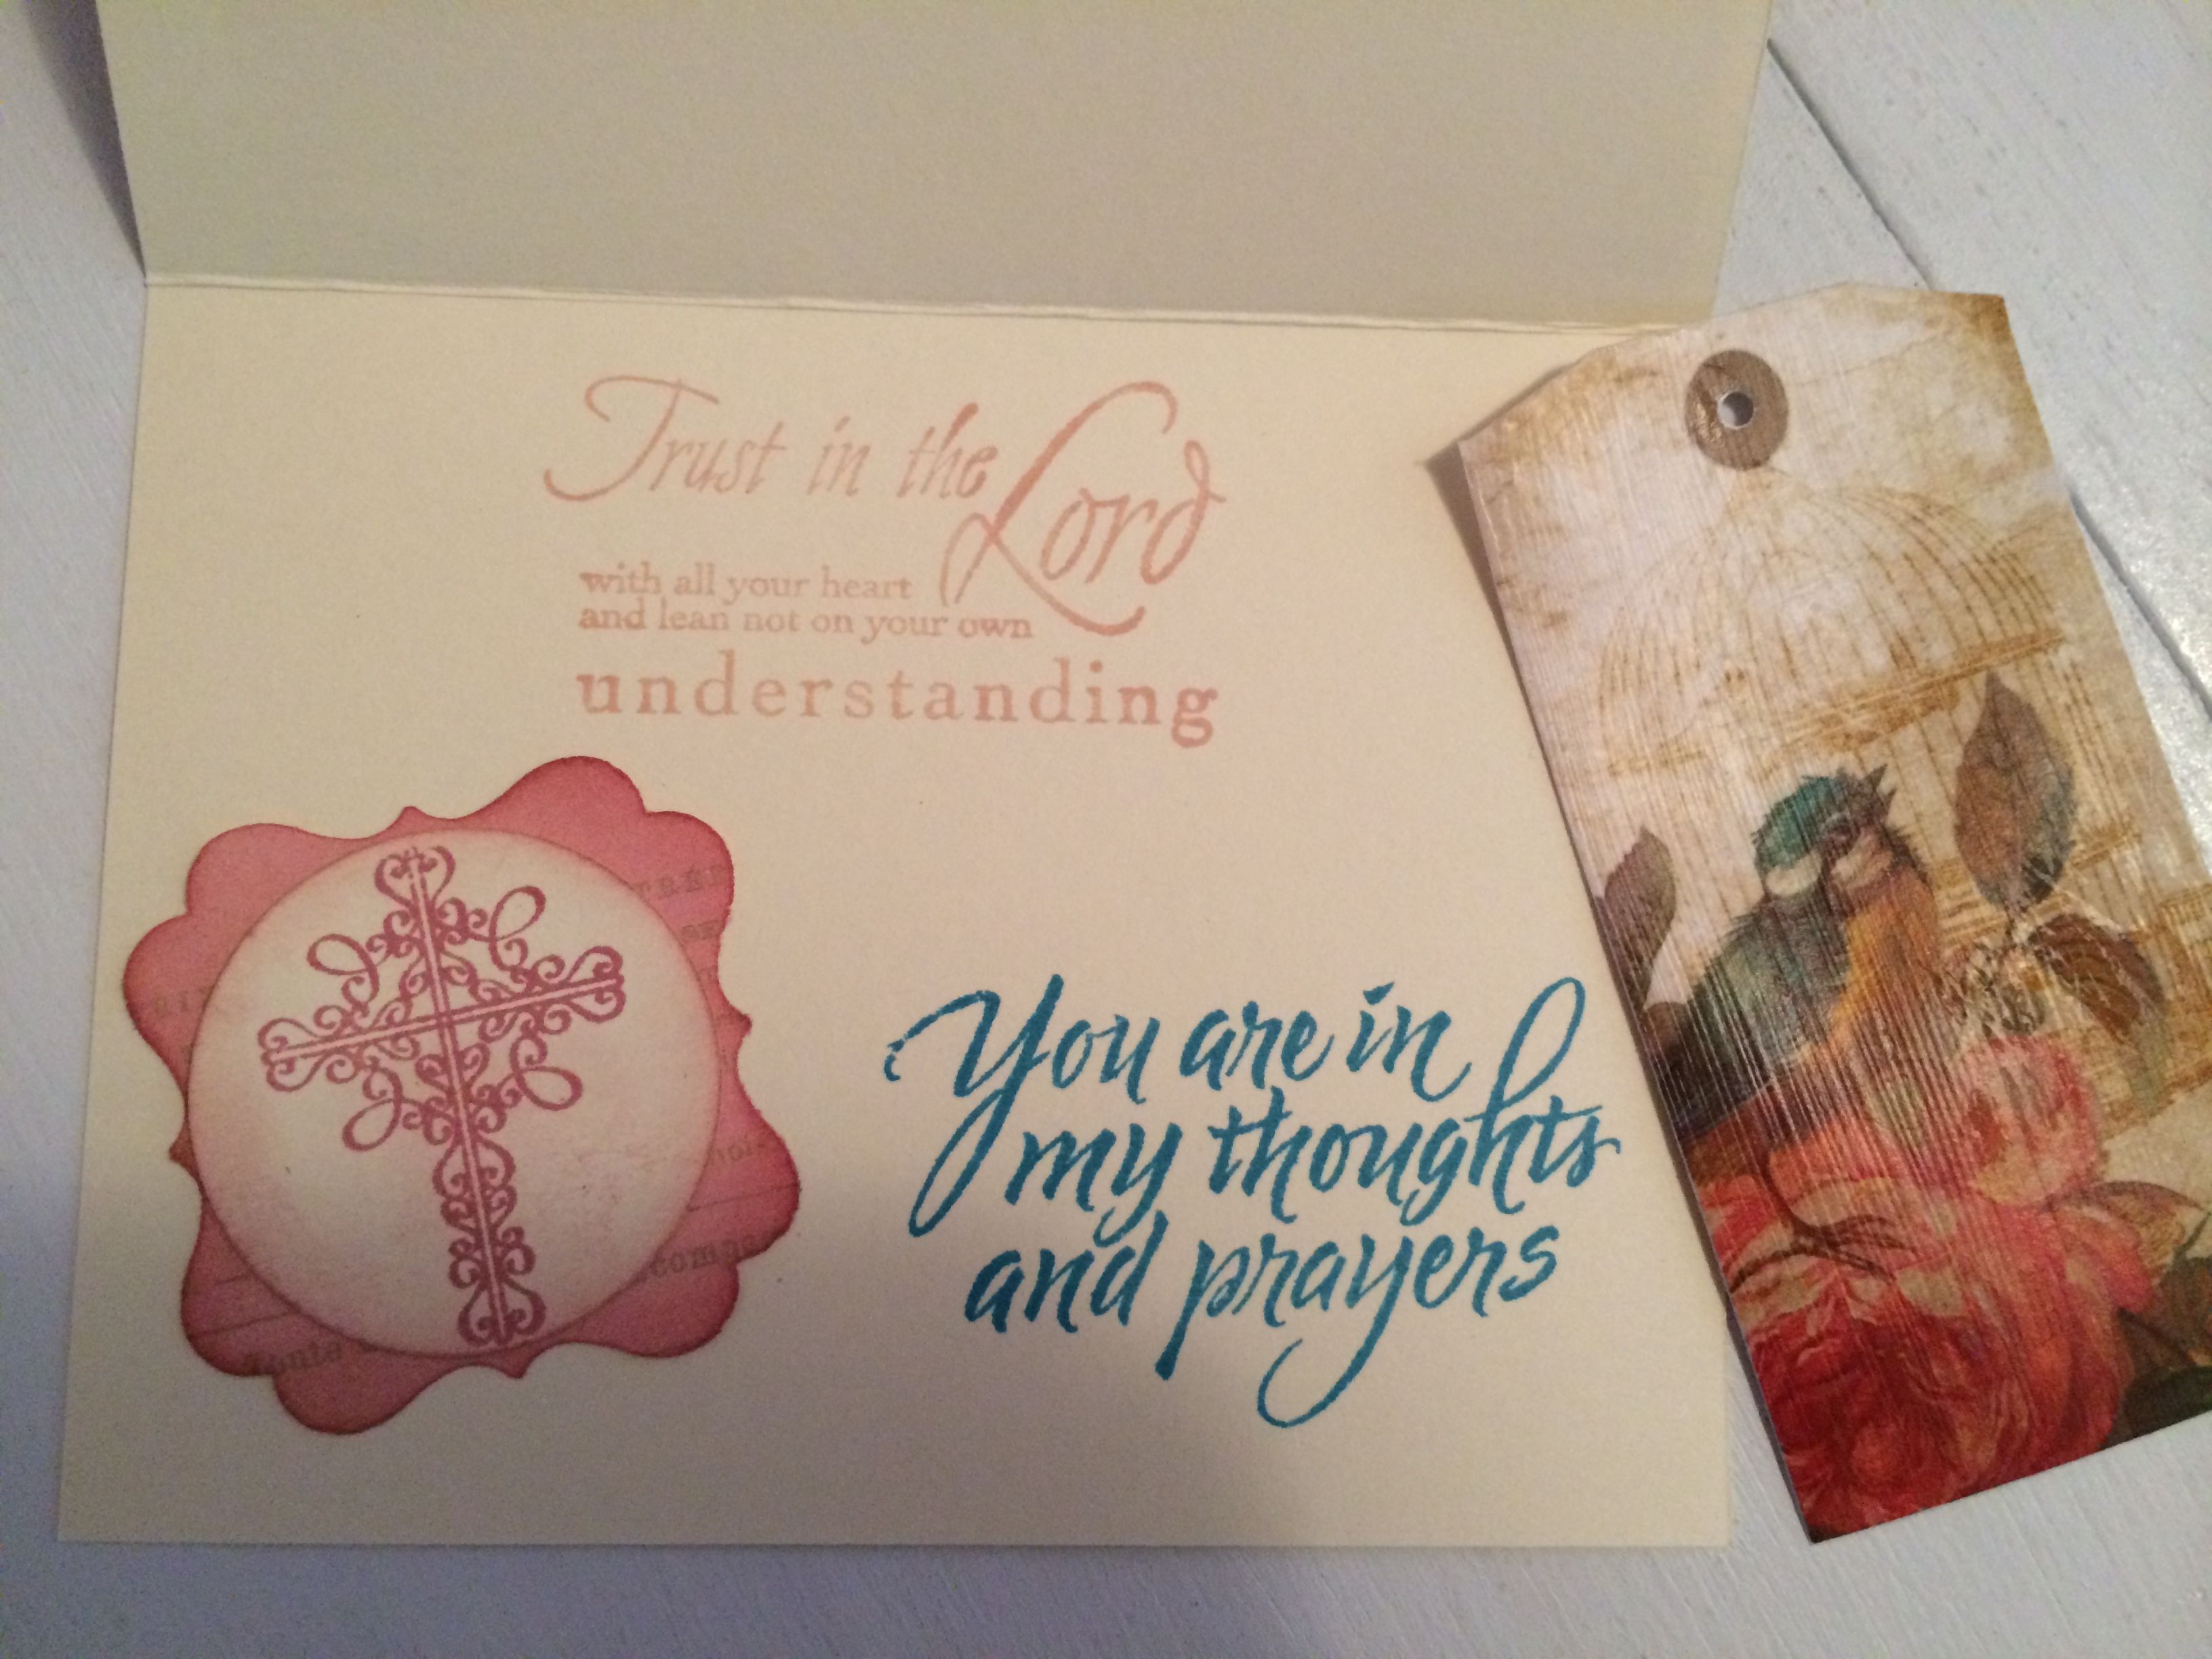
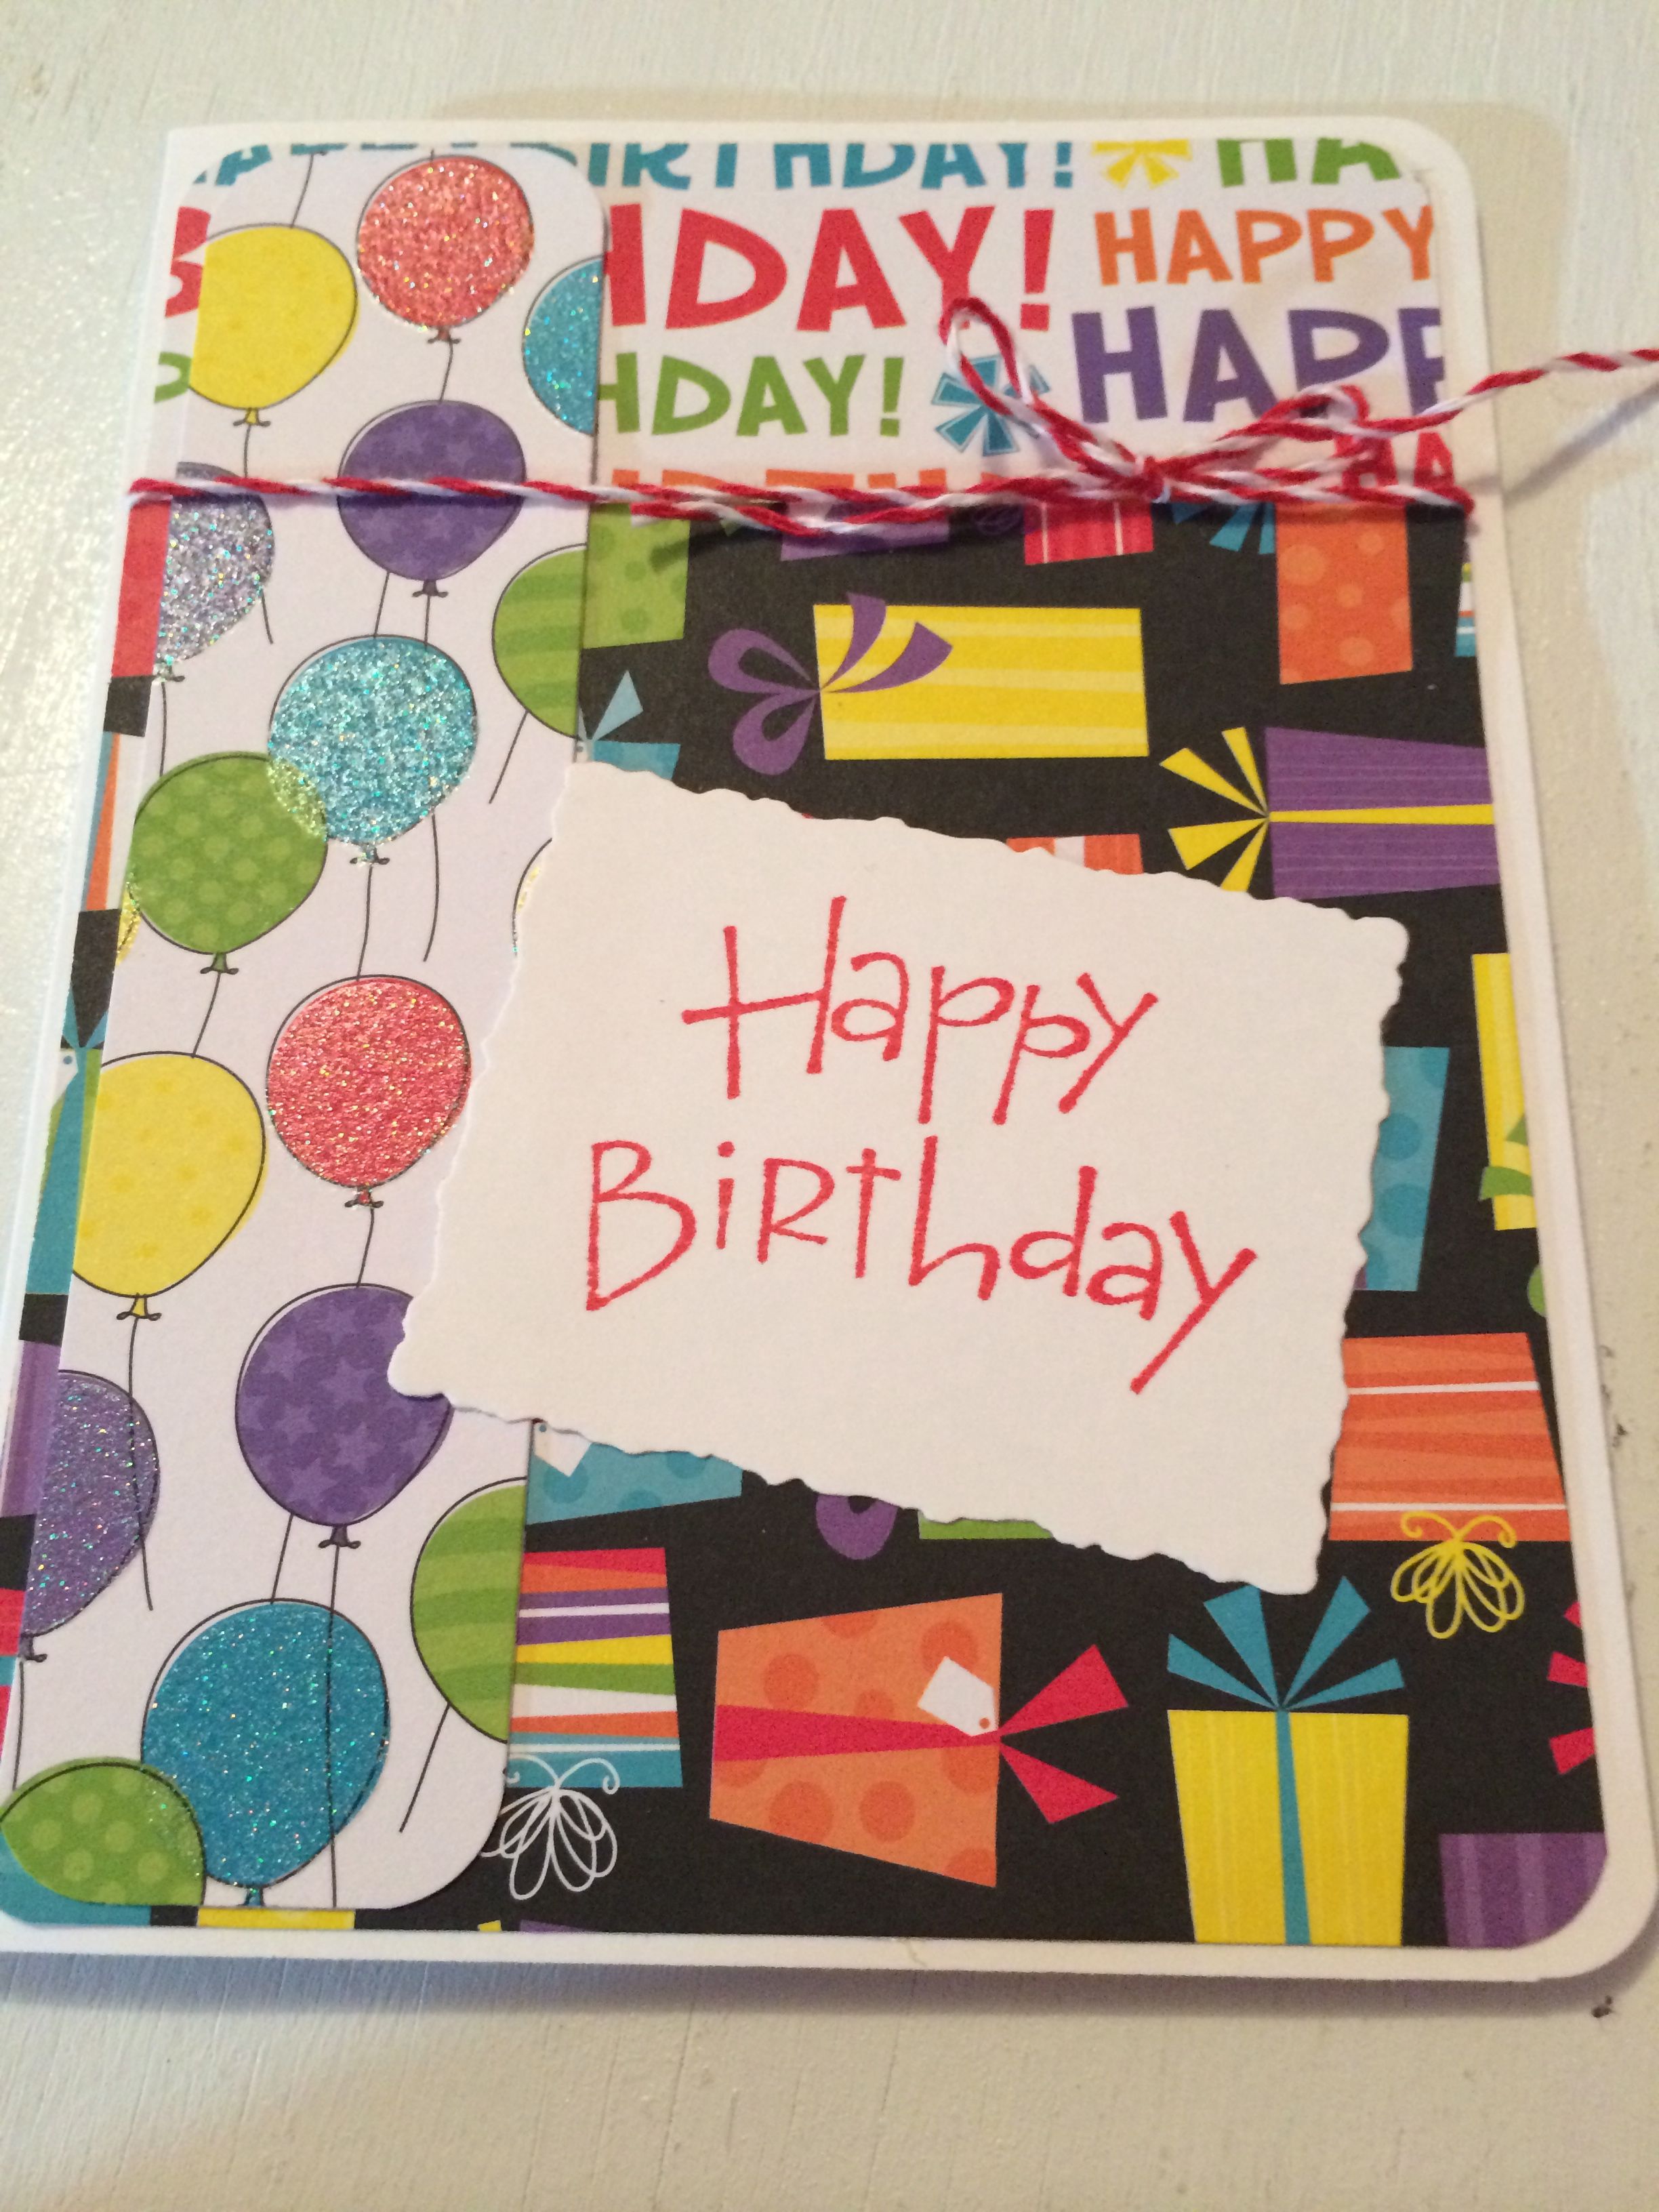
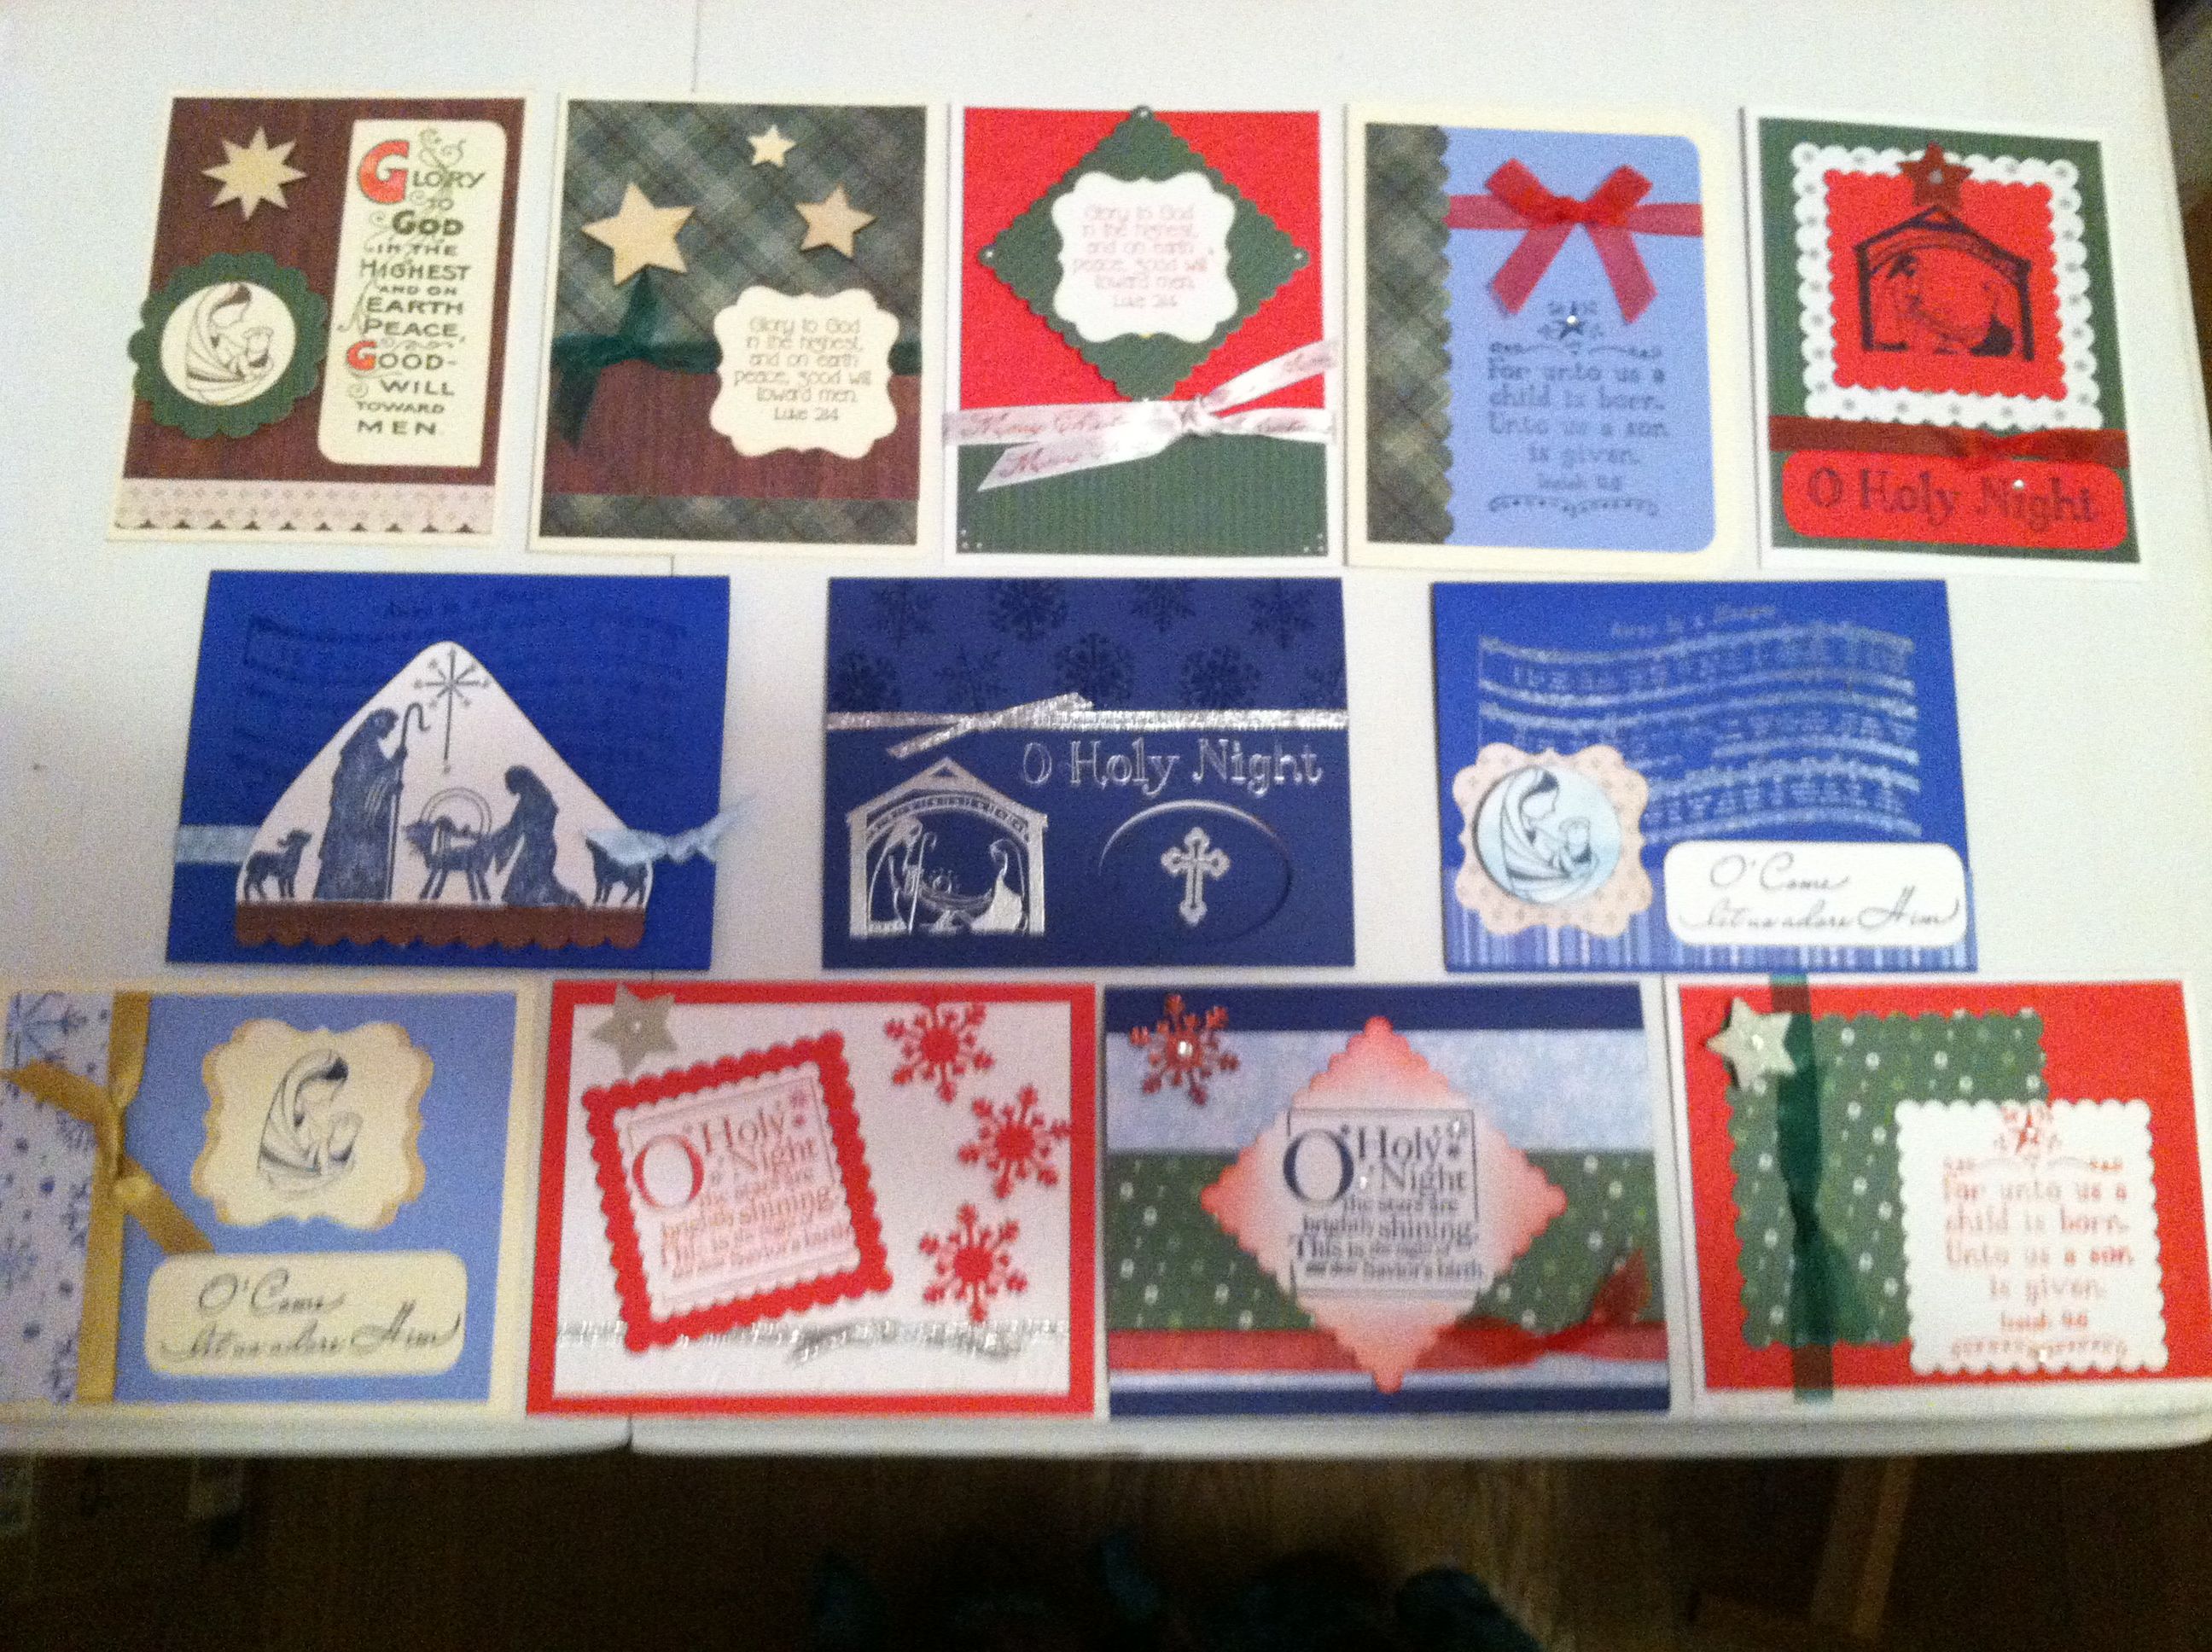
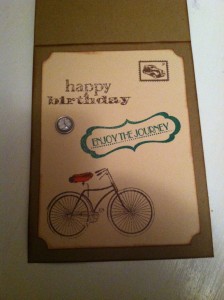
Sentiments are word sayings, like Happy Birthday, With Deepest Sympathy, Just Because, etc. You can buy sets with an assortment of sentiments for various occasions, so you can probably start out with just one set. That will probably be cheaper than buying many individual stamps, but if you want to totally customize your collection, you can buy individuals. You may also want to branch out, (at least over time, after getting your initial set,) to several variations of the ones you use most, such as several types of birthday greetings, either in one “birthday” set or various single stamps. But perhaps you aren’t making cards. Do you still need word sayings? Probably. There are also stamps that say things used in albums, such as, Memories, Family, Summer Fun, etc. and other word stamps that are useful on your other paper projects. Look for sets or individual stamps that cover your paper crafting needs.

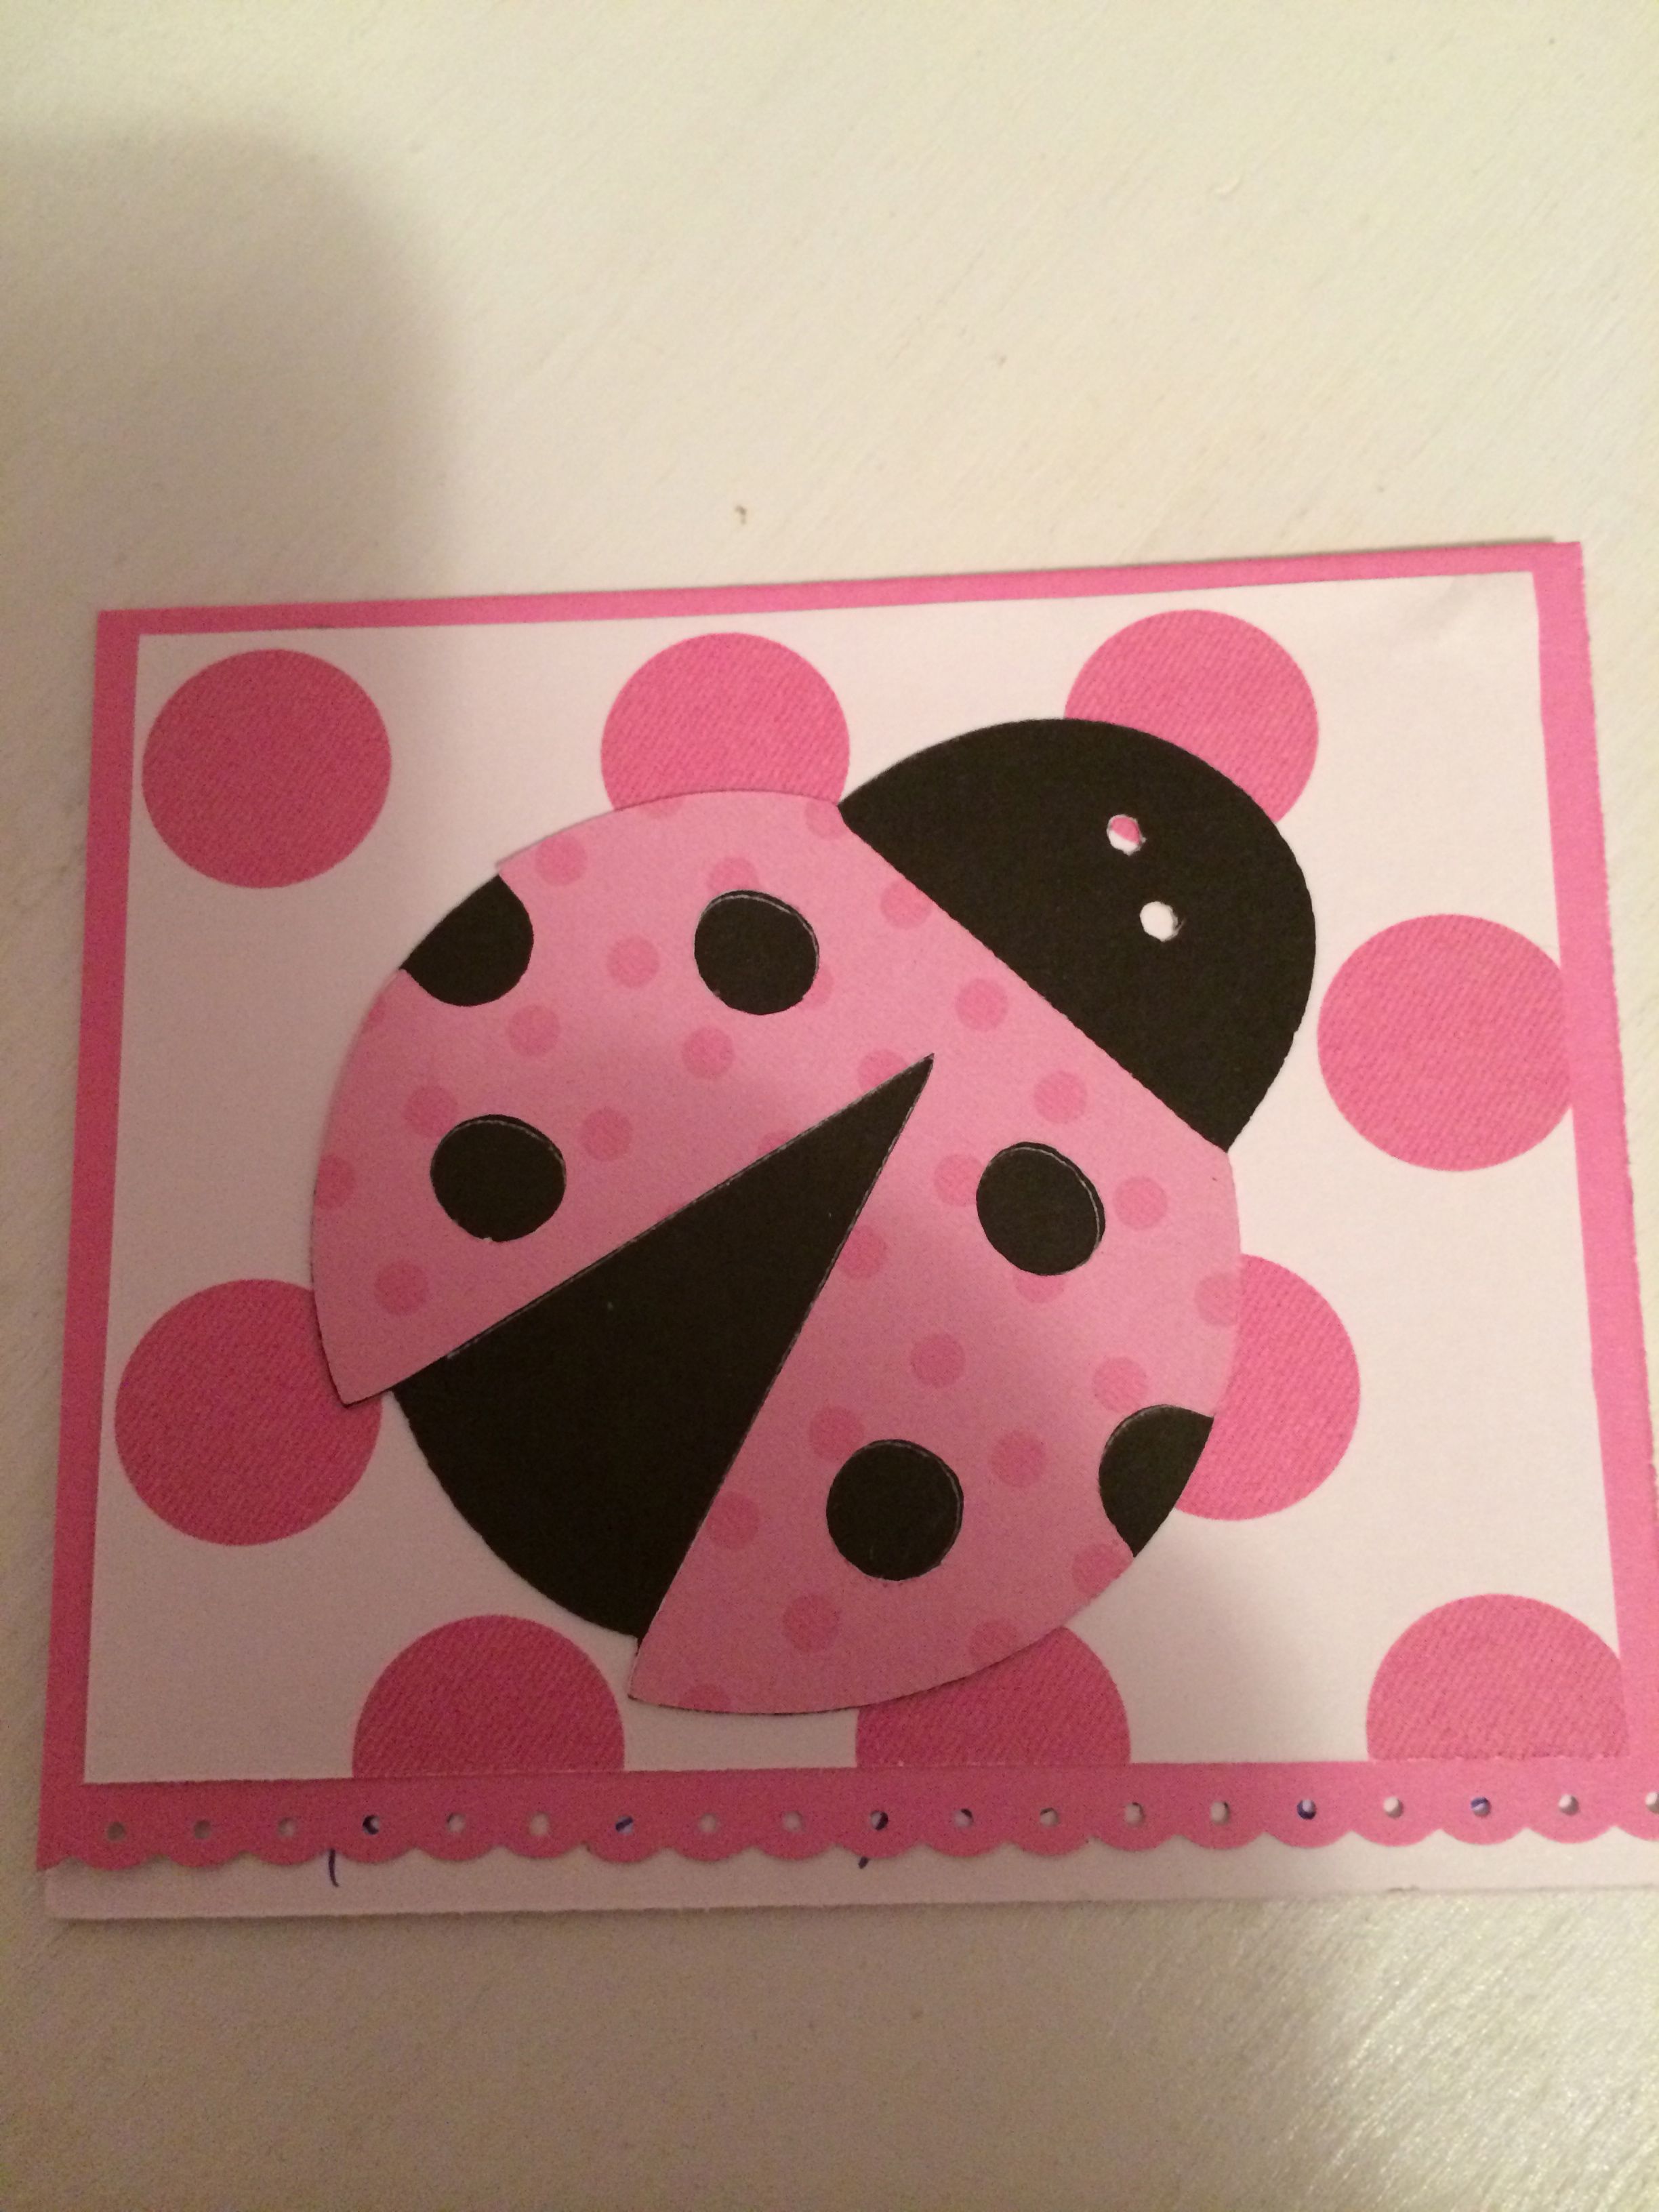
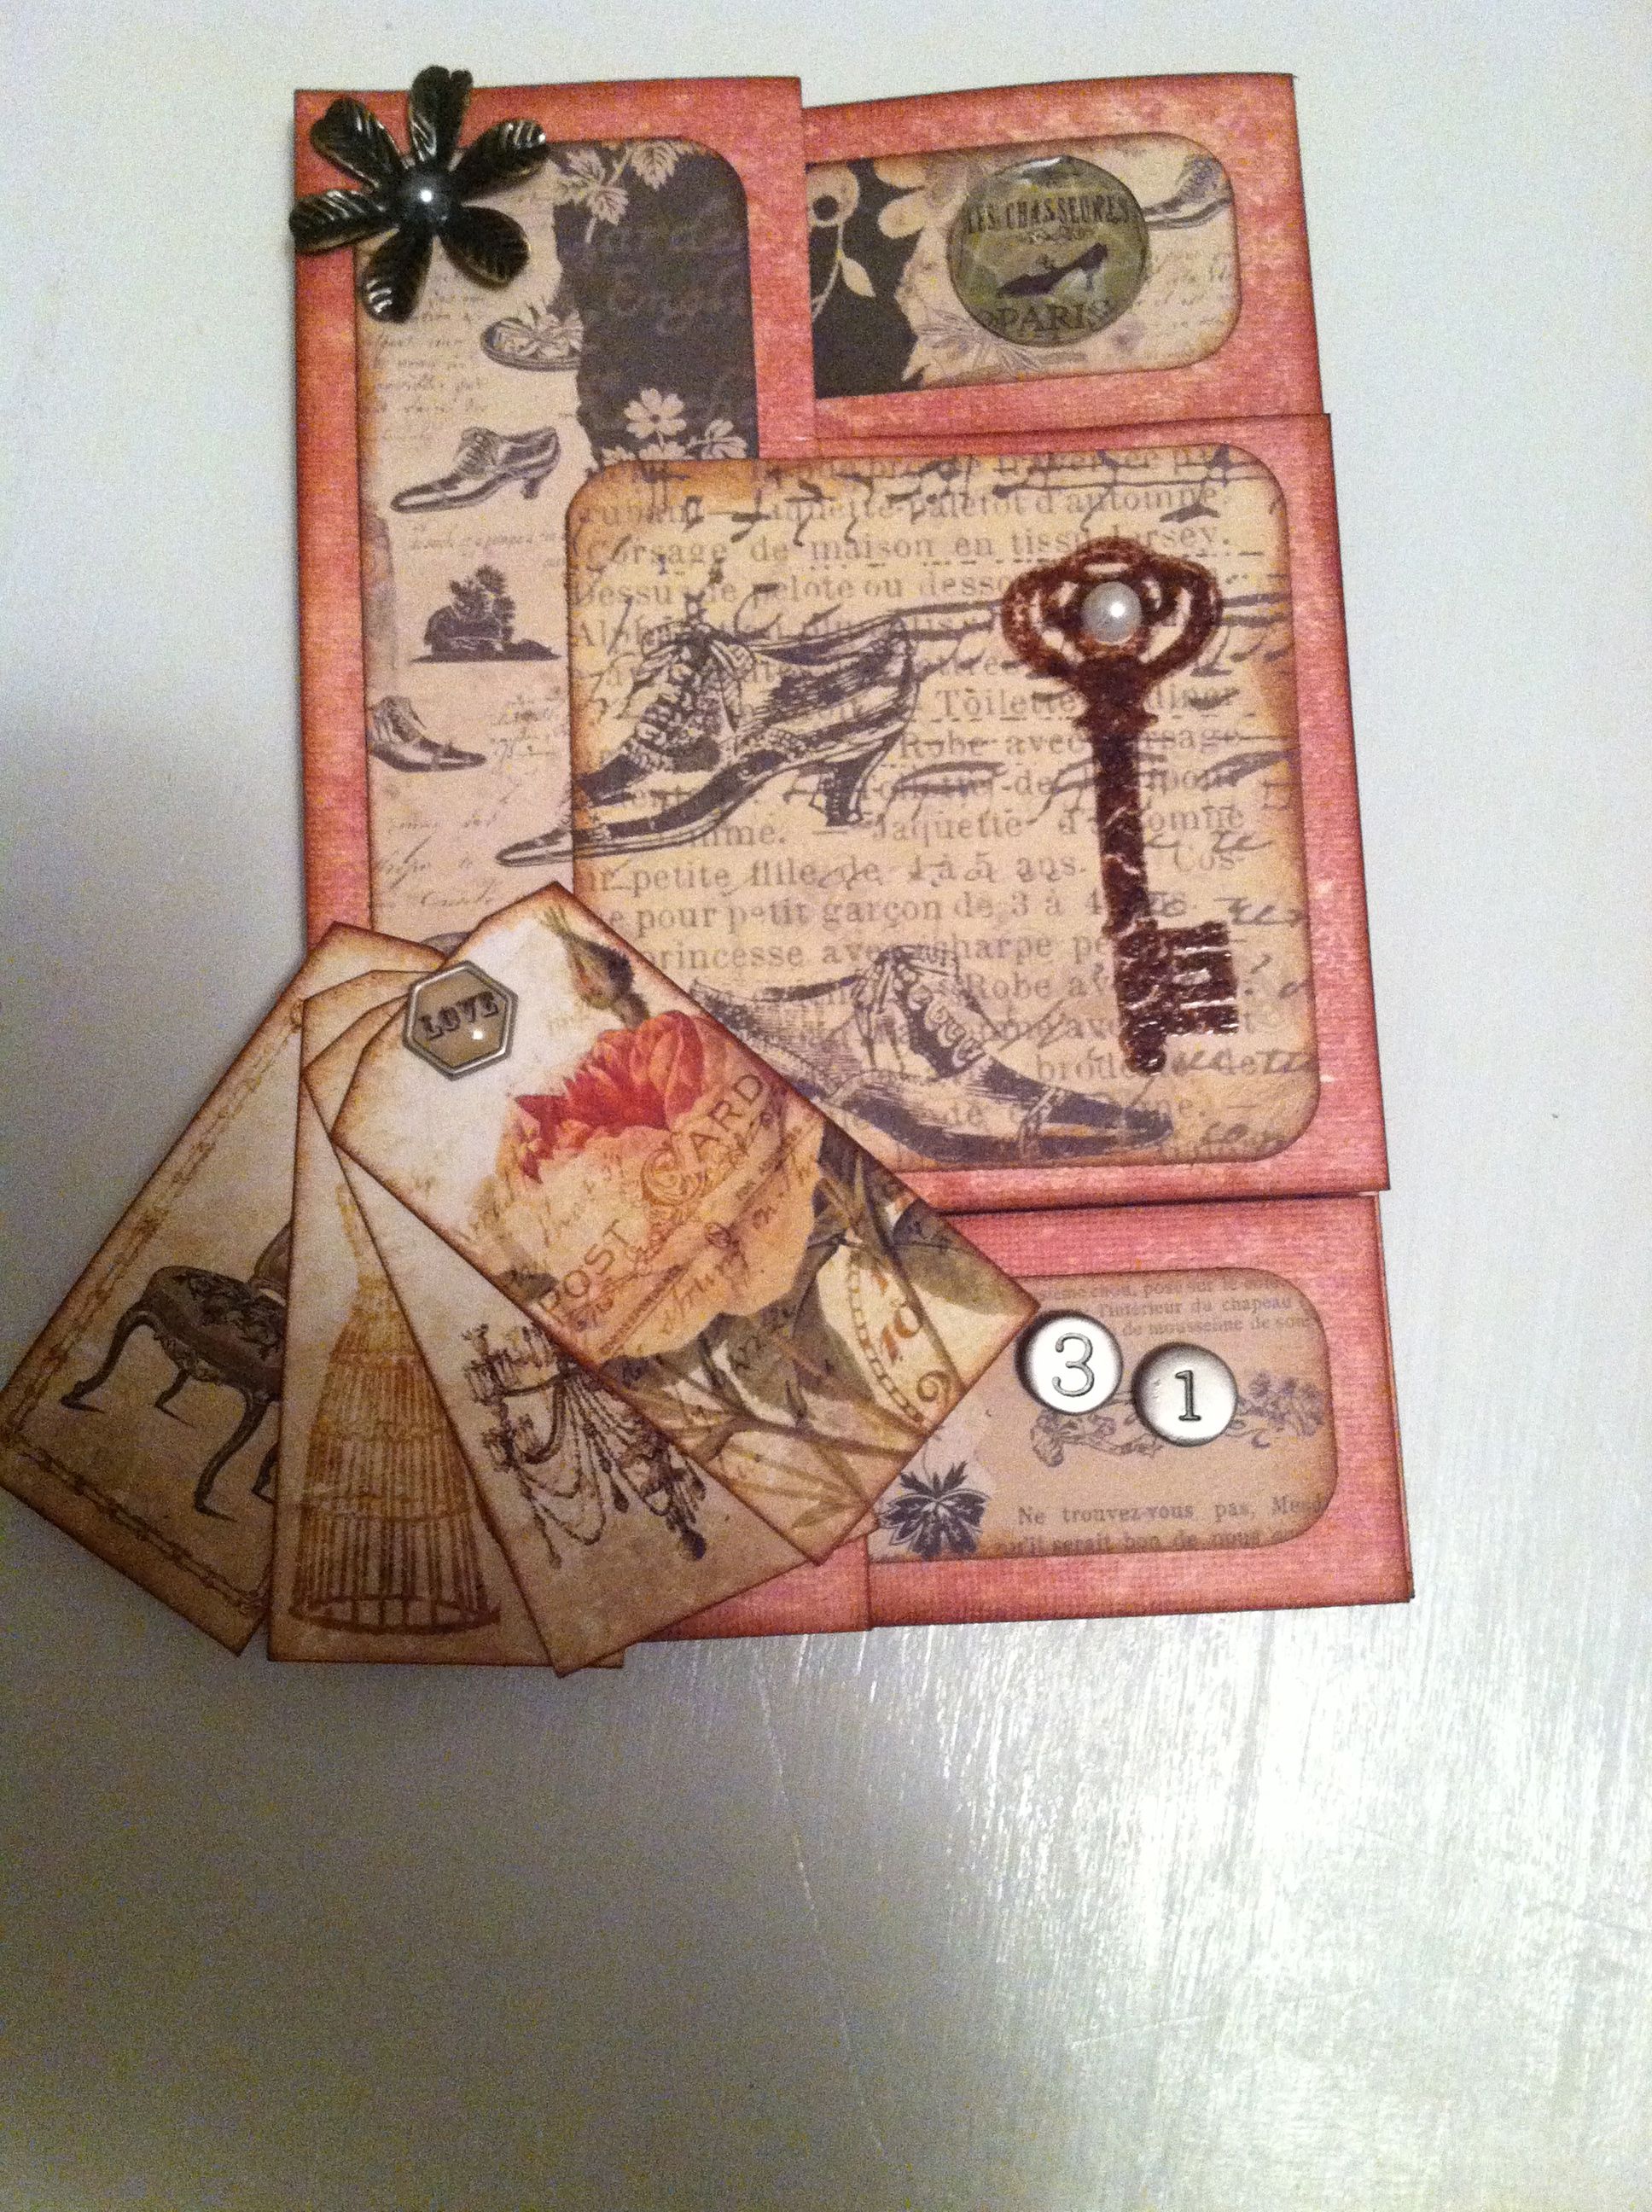
Single design, or decorative stamps are used to add a focal point. These are designs such as a flower, or a clock, or a suitcase, or a cake, or a person, … You will use these types of stamps on nearly all your work, and they’re the ones you will buy the most of. Again, you can buy singles or sets with several single designs that relate to each other. Many times a set will have several single designs and a sentiment or two that goes with them. Build your collection over time based on what you like and what is needed for the types of projects you do. Small mini sets can be picked up for $1, large sets may be $25 or more. But consider what you are getting in the set. (This and the following apply to Sentiments also.) For the number and size of stamps, as well as quality, it may be worth it to get a few more expensive sets, than many cheap sets/individuals. Besides, the big box craft stores have frequent sales marking stamps down 40-50%, or with a coupon for one item 40% off.

The last design type is background stamps. These are large stamps that cover a whole area, such as the entire front of a card. You may or may not choose to use background stamps. They are not as necessary as the other two types, but some people enjoy using them. Unless this is something you really enjoy using, you will probably only have a couple background stamps for occasional use, if any at all. Choose a couple of good multi-functional designs.

Kinds of Stamps

Papercrafting Supplies 201: Stamps ~ Me & My House
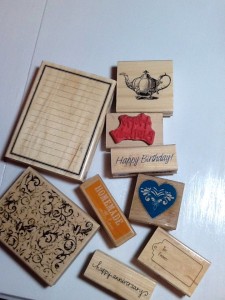
There are 3 basic kinds of stamps. Mounted rubber stamps are the traditional type. These are an etched piece of rubber that is mounted on a cushion on a wood block, usually with the design stamped on the top of the wood, making placement easier. Rubber stamps provide a crisp, clear impression, even with fine details. They can be used with nearly any type of ink, and are quite durable and will last a REALLY long time, a lifetime or much more.  They are really high quality stamps and only have a couple of cons. Since you can’t see through the wood mount, you can’t see exactly where your stamp will be. (There is a solution for that called a stamp jig.) Also as your collection grows, it will take up quite a bit of storage room. Also rubber stamps tend to cost more than the other options (because of their quality). Wood mounted rubber stamps are usually sold individually. Occasionally you’ll find a few mini’s in a set, and of course small alphabets come in a set.

Papercrafting Supplies 201: Stamps ~ Me & My House

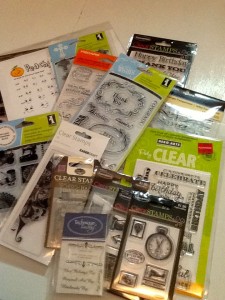
More recently, the newer clear cling stamps have gained much popularity. These  can be made of photopolymer resin or (more commonly) vinyl, and they are unmounted. To use them you temporarily mount them to an acrylic block, that they cling to, while you ink and stamp with them. In fact you can mount several at once, to stamp a complete design, of sentiments and decorations in one stamping. Therefore they are super for getting everything lined up just as you want it. Then you clean them (see below), take them off the mount and return them to their package. I love clear cling stamps because you can see exactly where you are stamping your design, since they are see through, and because of their popularity there are a lot of great designs available. But clear stamps have their cons too, and their quality varies greatly.

Photopolymer stamps are better quality, sturdier, and closer to rubber in hardness and performance than vinyl stamps. They are usually made in the USA. Vinyl stamps are usually cheaper (in quality also), usually made in the Orient, and may not produce as sharp an image, tending to wobble more and to cause the ink to bead up. (But there is a wide variety of quality available.) Because they are more flexible than rubber, you need to only press lightly or your image may smear. But you do need to gently press evenly, all over the stamp, to transfer the image. Also a plus is, because clear stamps are flexible, you are able to bend them to do stamping around a curve, a fun technique. Most clear stamps come in sets, large or small, unless they are a background stamp in which case they may come individually.

The problem some (many?) clear cling stamps have is ink beading. The ink may not spread evenly over the whole stamp, but rather bead up on the stamp. That may be fine if you’re going for a distressed look, but not so nice if you want a crisp clear sentiment stamped. Different brands and qualities of clear stamps, as well as different inks used, are better or worse at beading. (Cheap stamps may also tear easily or break down over time. Never use acetone, bleach, or oil based inks with clear stamps. Solvent based inks, such as StazOn will also cause them to deteriorate.) Good quality clear stamps will serve you well for years, but perhaps not decades.

Back to beading. There are 3 ways you can reduce beading on your clear stamps. First, your clear stamps (especially vinyl ones) should be conditioned by washing them with mild soap and water before using, to get manufacturing residue off them. A second step, that some  recommend for all clear stamps and others only resort to if the washing doesn’t remove all the residue, is to go over them with a (good old pink pencil) eraser, then rinse, before using. Other crafters sand them lightly with an emory/manicure board, rather than using an eraser. (I’ve had to do this on some.) The third step some do (instead of the second for some, in addition to it for others) is to first “prime” clear stamps by inking with a pigment or VersaMark ink. Some just do this before using the stamp the first time, and leave the ink on the stamp to dry. Others stamp it into VersaMark before stamping it into a dye ink, each time. This leads us into, the types of ink you use also can make a difference. (I’ll talk about that in the post on Inks.) Others claim the only conditioning a clear cling stamp needs is stamping a few times onto scrap paper. With a little TLC, clear cling stamps can be a good choice, especially if you get photopolymer ones, but even vinyl (which you will find far many more of than any other kind) can be worth adding to your arsenal.

Papercrafting Supplies 201: Stamps ~ Me & My HouseThe third kind of stamps are unmounted or cling rubber stamps. These are kind of the best of both worlds. You get the sharp, crisp images and durability of a rubber stamp and the convenience and ease of a cling stamp. Unmounted rubber stamps are just like wood mount rubber stamps, without the wood. You put them onto an acrylic block when you want to use them, just like the clear cling stamps, making much less storage space needed. Although you still can’t see through the stamp itself, it is mounted to an acrylic block that you can see through, making placement easier, and allowing for mounting multiple stamps at once for a complete image. Although these stamps themselves (not the images they produce) don’t look as “cool” as the clear stamps (usually grey foam cushion), they really have the benefits of the other two kinds combined, making them an excellent choice. (Just a quick note about using multiple stamps on one mount. You need to be sure all the stamps are the same thickness. Clear cling and rubber cling are not the same, and some brands of clear cling may not be the same as other brands of clear cling. Doing a test stamp is always a good idea anyhow.)

My personal preference for stamps, if I can find similar stamps at close to similar prices, leans toward the photopolymer as a first choice. (I just really like that see through design.) Cling rubber is second. Although wood mount is what I began with, (all there was back then,) I really try to stay away from them because of the storage issue and placement issue. Although I’ve had my share of frustrations with vinyl stamps, and they probably come in as my least favorite; because they are the most plentiful, readily available and cheapest, I have the most of them.

Stamp Mounts

Papercrafting Supplies 201: Stamps ~ Me & My House
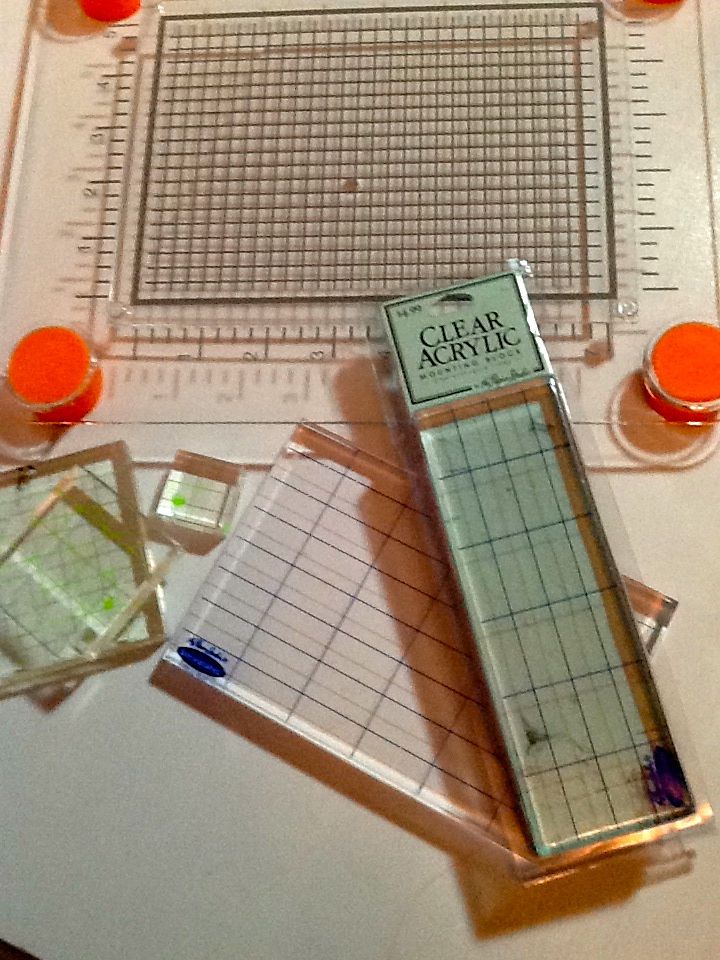
You will need an acrylic mounting block to use both your clear cling and unmounted rubber stamps. You can get thick block or thin blocks, plain blocks or blocks with grid lines, straight edged blocks or wavy edged (for finger grip). You can even get a stamp press that has foam corners that raise it off your work surface, suspending the stamp in mid-air. You just press it down, for even stamping and no shifting. I recommend either the stamp press, and/or thick blocks for getting a good hold on them, and ones printed with a grid for making it easier to line your stamp up straight. I also prefer the straight edged blocks to make it easier to line up straight with your paper edge, but that’s totally personal preference.

There are many different sizes of acrylic blocks. Your block needs to be larger than your stamp; but you have better control over it, if it is not too much larger. Therefore having a few different sizes is handy, at least a 2×6″ and a 4×6″. I’d probably add a 2 or 3″ square also. Another option is to get the Fiskars Stamp Press. It can be used with stamps of all sizes, yet you still get nice even pressure.

The surface you stamp on will also make a difference in how clear your stamping is (as well as how you ink your stamp). Some recommend stamping with a mouse pad (or special stamping mat, or even a magazine or a few layers of newspaper) under the paper for a clearer impression. Others say you should stamp on a hard surface. In general, the pad is more needed for the clear cling stamps, as they don’t have the cushion built-in that rubber stamps have. Experiment to see what works best for you. Whichever you do, be sure your surface is flat and stable.  As for inking, gently tap your stamp on your ink pad (or, many prefer, ink pad onto your stamp, especially for large shaded areas) a few times. You can also give a gentle twist, if you want. Do not press too hard or you can over ink your stamp and cause smudging.

One final note, on cleaning your stamps. Mild soap and water works great. Wood mount stamps, of course, should not be submerged in water. Many people use baby wipes, but be sure to get ones with no alcohol and no aloe in them, and no anti-bacterial wipes. I use my homemade wipes that are made with a mild soap and other gentle ingredients. A bit of glycerin (with your soap and water) in your cleaner (homemade wipes) can be helpful for reconditioning rubber stamps. There are also specialty stamp cleaners, if you want to spend the money for them.

Stamps are a fun and easy way to add some pizzaz to your paper crafting projects, and there are so many different designs available. Start looking at stamps and find ones you like, and I’ll be back soon to talk about Inks.


[subscribe2]

Twist & Turn Card

I’ve finished the last (3) of the cards for a while. (One left for this year, at the very end of the year, and I’m not making it ahead of time, because she lives here and crafts with me.) 🙂  I can only share one today though, because the other two haven’t been given yet, and are both to people who may possibly see these posts. So stay tuned.

Today’s card was a fun one to make. It’s a twist and turn card, that is easy to do but creates a unique, fun shape and design. It just opens normally, (but people wonder and try to do differently.) 😉 I put tags in both pockets, but it is great for a gift card too. I’ve also seen it online with a large die cut on the front, rather than using it as a pocket.

Number Twist Card ~ from Me & My House

The base is a simple half-sheet of 8.5×11″ card stock, cut 4.25×11″. (I used Recollections Kraft from Michael’s.) Score on the diagonal. Lay so the length is horizontal, then fold left (large) side up and crease with bone folder. Then score in half vertically, fold and crease with your bone folder.

Need a visual?

Twist 'n Turn Card ~ from Me & My House

I matted all 4 sections with “pretty paper”. The lower mats are cut from 2 pieces, each 2×5.5″, cut on the diagonal from top left corner to lower right corner. If your paper does not have any directional pattern to it, you can use just one piece and use the 2 cuts, 1 for the front, one for the inside. My paper had direction, and I wanted 2 different designs, so 2 pieces. (And yes, I wanted the Bingo board to go sideways, so you could better see what it is.)


The upper mats are cut from 2 pieces, each 4.5×4″. The cut is made on the 4″ side at 2″ (the middle) of the left side down to the lower corner of the right side. You will use the top part of this piece. You can use plain (instead of patterned) paper or card stock on the inside if you’d like to put your sentiment there. I put my sentiments on the back of my tags.

I also chose to mat the left of the inside of the card. Typical you may not do that, but if you’re like me and want to, you’ll need a piece 5.5×4″ and will need to cut off the bottom and the right side at angles. (I don’t have measurements, I just marked and cut it to fit.) And I chose to make tags for the pockets. I believe they were 2.125×4.25″ and cut 1/2″ over and down on the diagonal–or maybe I had my Tonic Studios tag (angle) punch by then and used it. The mats for them were 1/4″ smaller in length and width.

Number Twist Card ~ from Me & My House

I matted each place with a different patterned paper, as my emphasis was numbers. The receiver and their family continually joke about age, so the sentiment on the back side of the tag in the front pocket was “It’s just a number! Happy 57th.” (The other tag has our signatures on the back.)

The papers I chose are from DCWV Heirlooms stack. Edges are inked in Tim Holtz Vintage Photo Distress Ink. The embellishments are: Bingo number, brown buttons (in a glass bottle, so cute,) and Clock gemstone from Paper Studio. The stamps (on the left inside) are from 3 different sets, and stamped in Rich Cocoa from Memento. (I think. If not, they’re also Vintage Photo) Pocket watch: Stampabilities “Time & Travel” set, “Time” and clock: Fiskars “Journey” set, 36 and #25 with flowers in urn: Kaisercraft “36” edge stamp.

Hope you enjoy my fun little “Numbers” card. If you make (have made) a Twist and Turn card, I’d love to see it.


[subscribe2]

SaveSave