Albums, Journals, and Passions

Sometime this past summer a FB friend introduced me to Scripture Art Journals. I looked around the web at several and fell in love. Just one problem. Although I’m a visionary/designer, I am not an artist. Can’t draw. Can’t paint. Can’t make art journals.

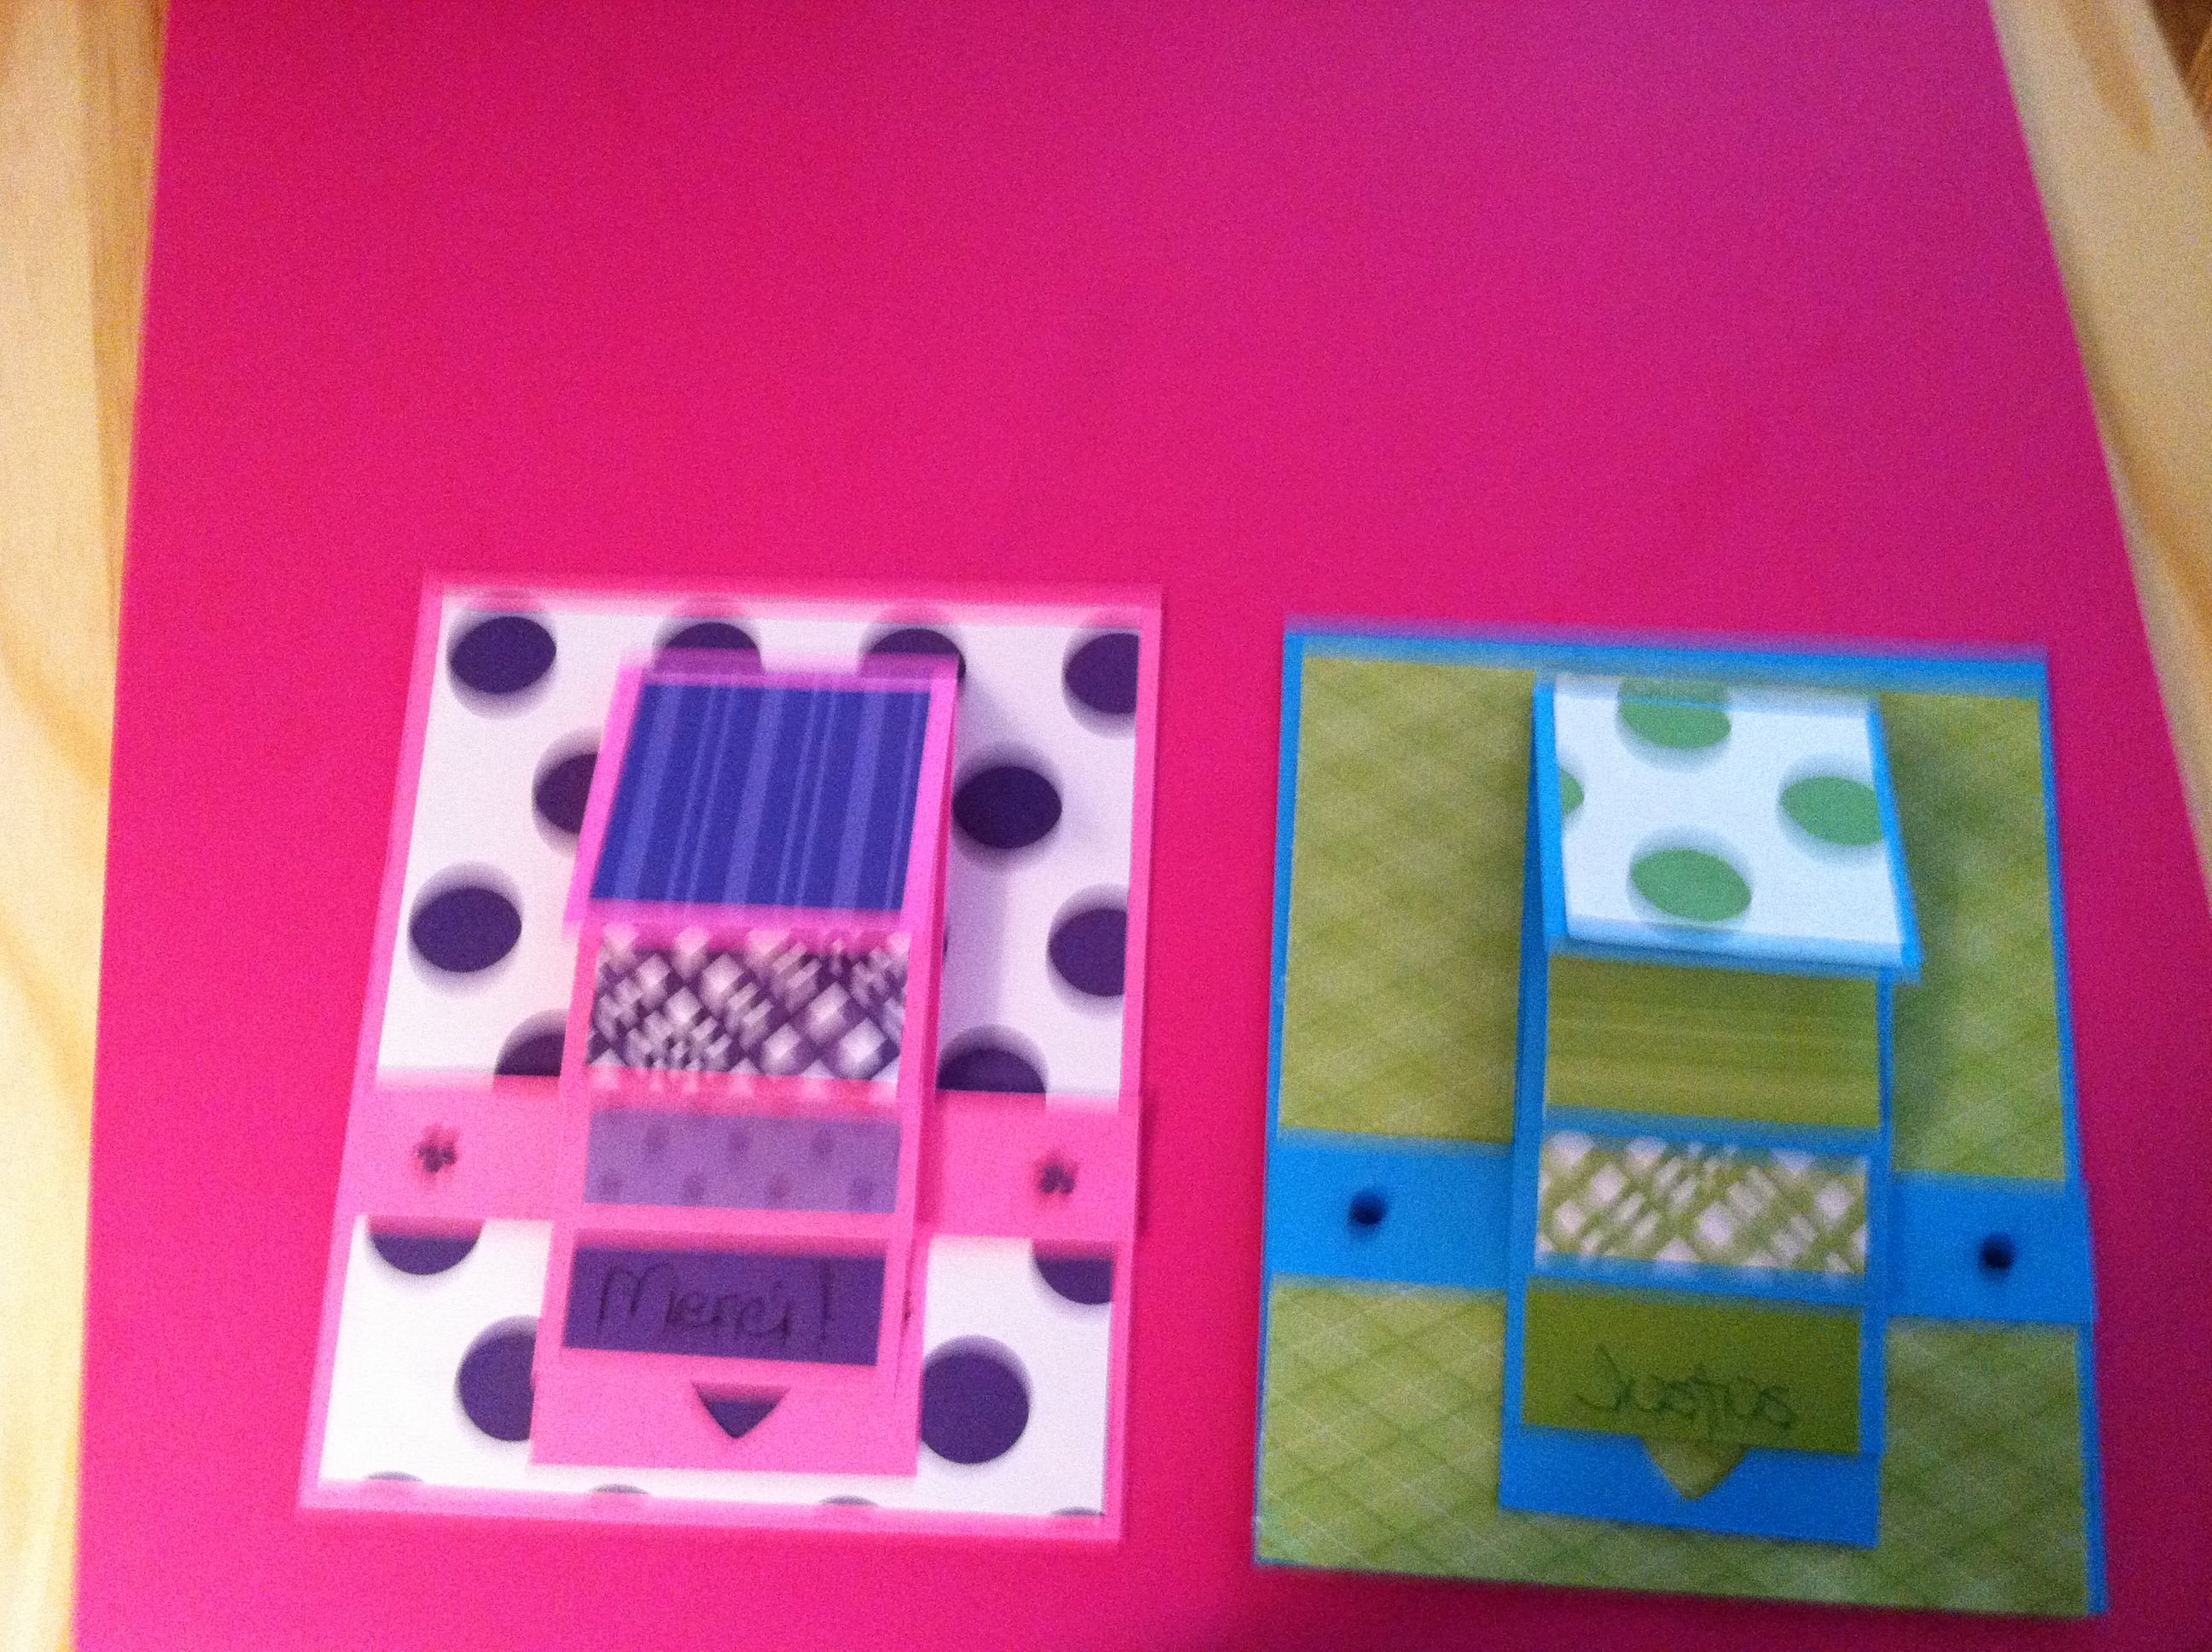
But, in all my browsing, I figured I could make albums and other journals. I can cut and paste–and possibly even stamp. Well, only cut if I have a straight edge or paper trimmer. But I could do that. And besides, it’d put my Cricut and Cuttlebug to more use than just greeting cards and birthday parties.

My daughter was commenting this week about her husband’s trait of jumping whole hog into whatever he is into at the moment. She was kind enough to not say, “Just like you, Mom.” I think that is part of the visionary thing, being passionate about your interests. When I study a topic, I throw myself into it. When I make something, I throw myself into it. When I study how to make something, I throw myself into doing it. It may only be for a season, after which I throw myself into another interest. But it always becomes something I have learned enough about and lived with enough, to be comfortable with and return to in another season.

Anyhow, since my serger was out of commission all summer (and just yesterday, after 2.5 months of being in the shop, after 2 months of sitting here waiting to have the $ to fix it, the shop finally got the part that will hopefully completely fix it…) and I needed a take-along project (for all those ballgames, tournaments, camping trips, etc.) and I was on just too much brain overload for that take-along to be a book to read, writing project, or lesson plans, I decided paper crafting was a good relaxing, summer venture.

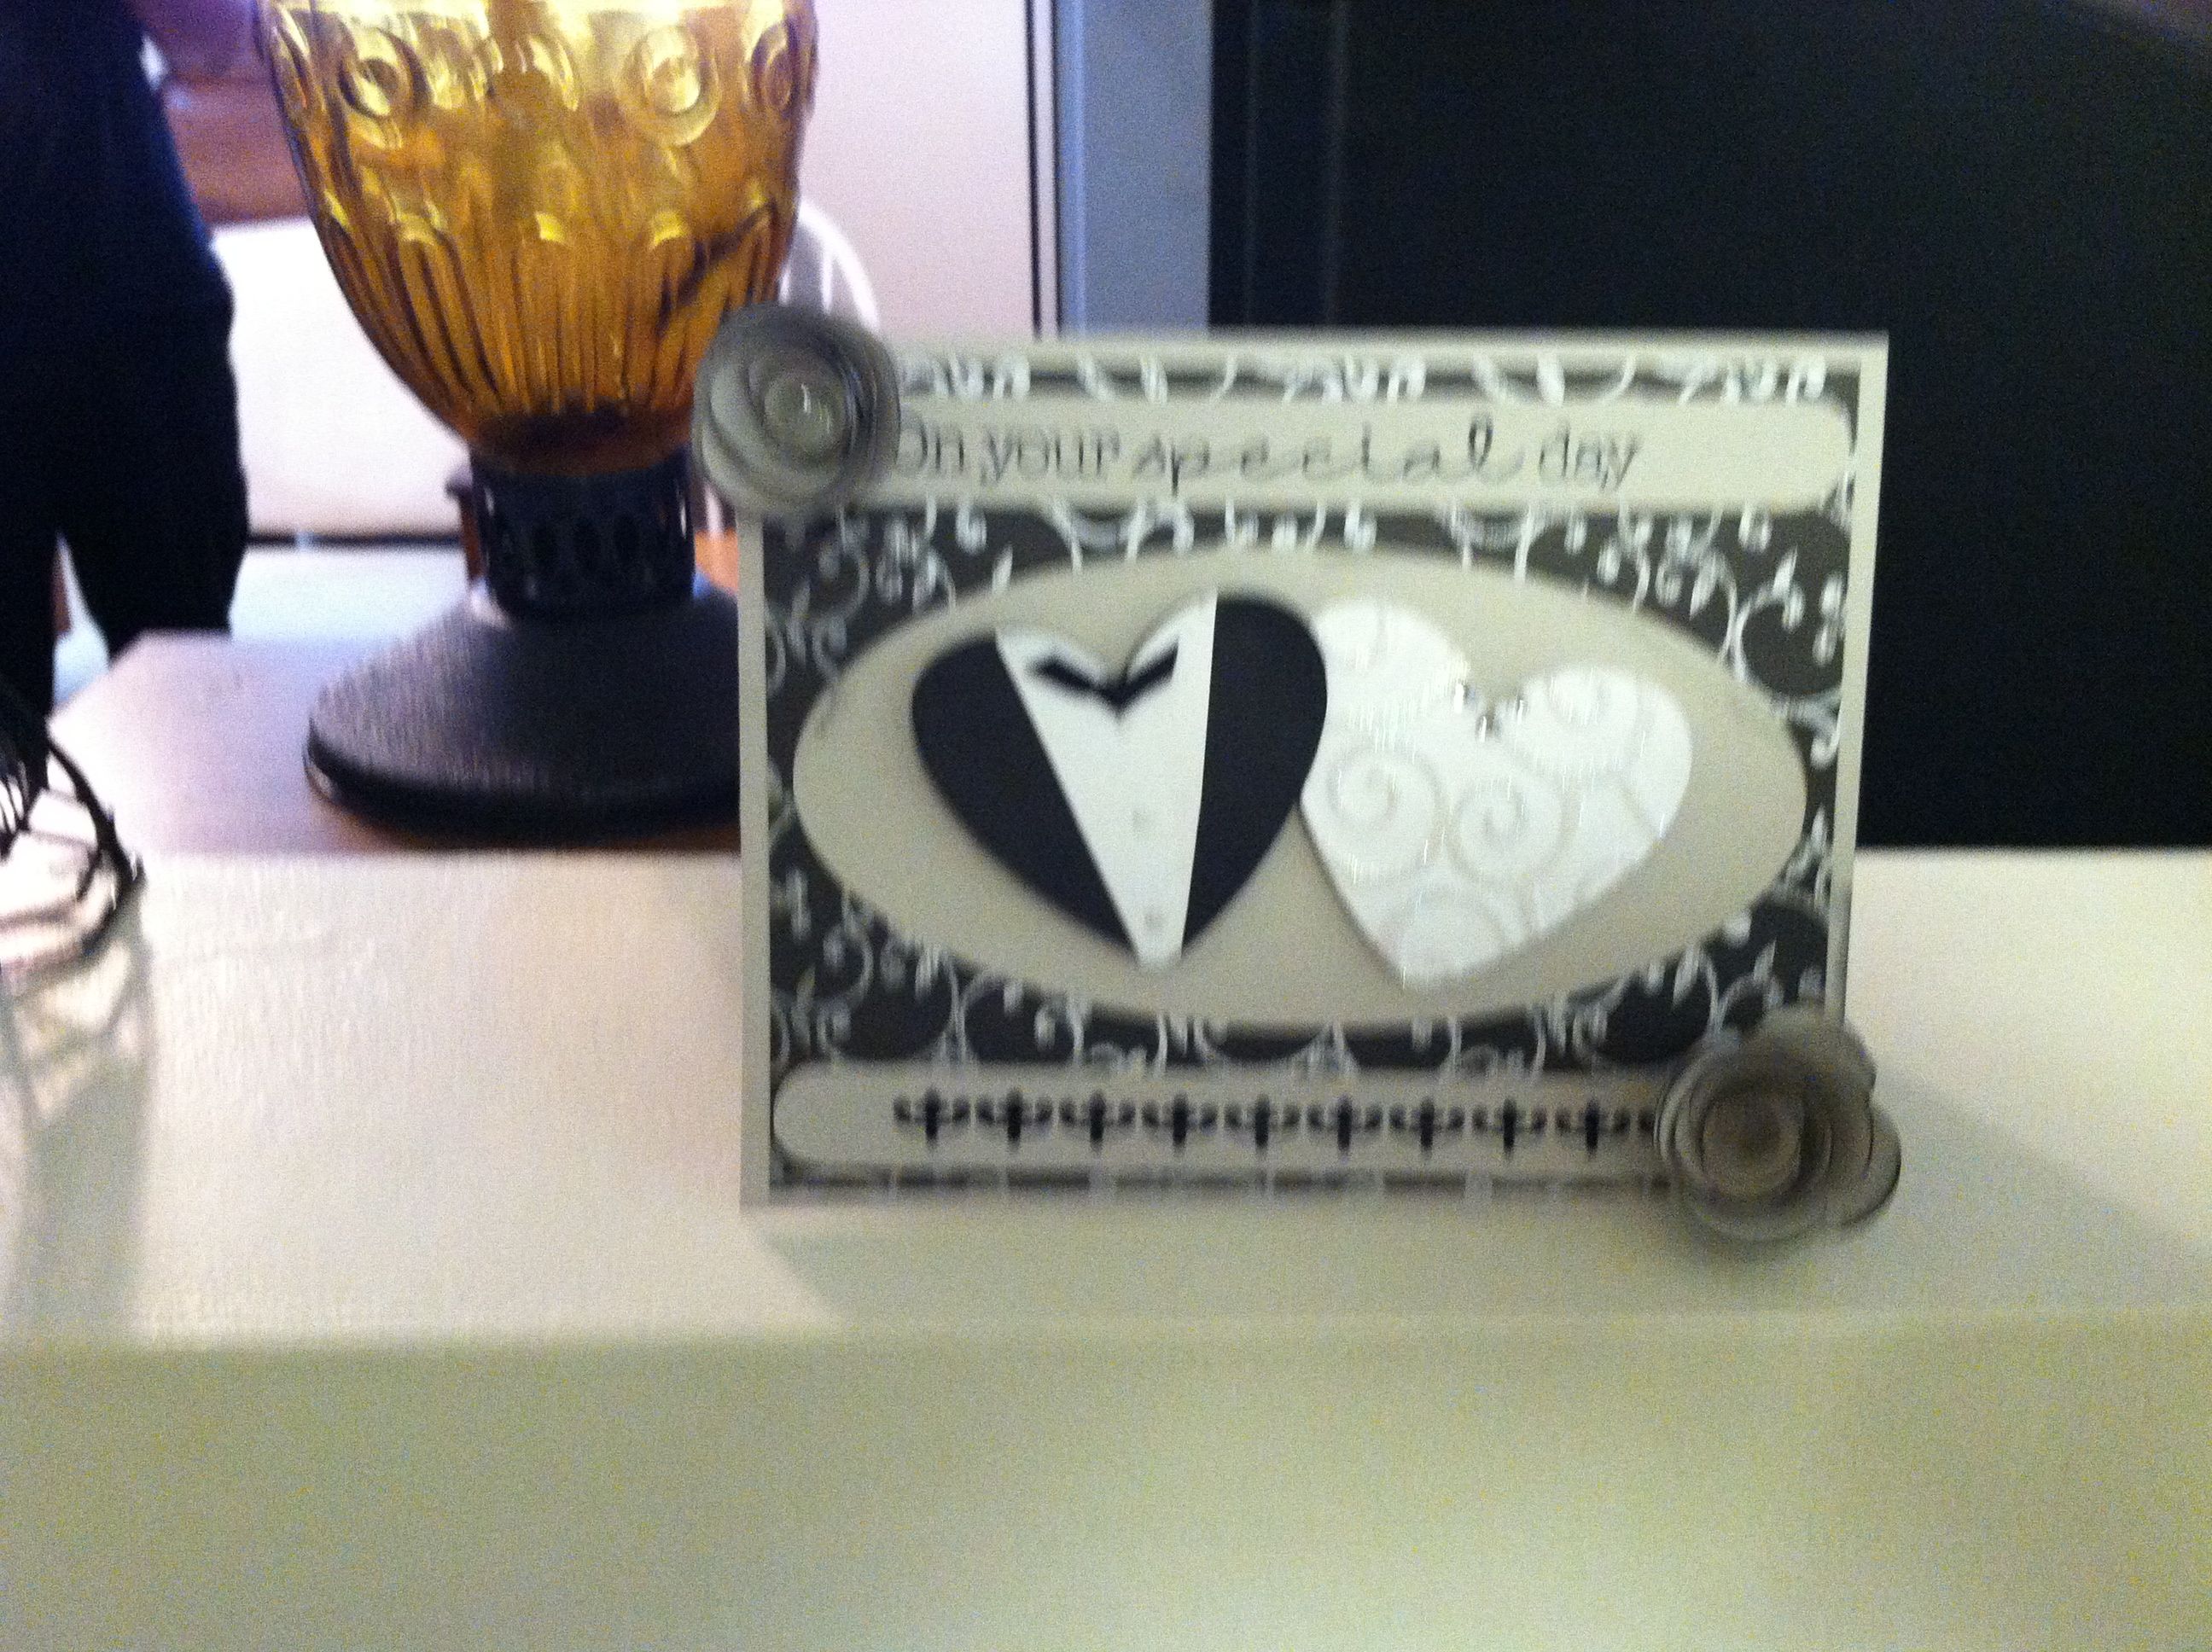
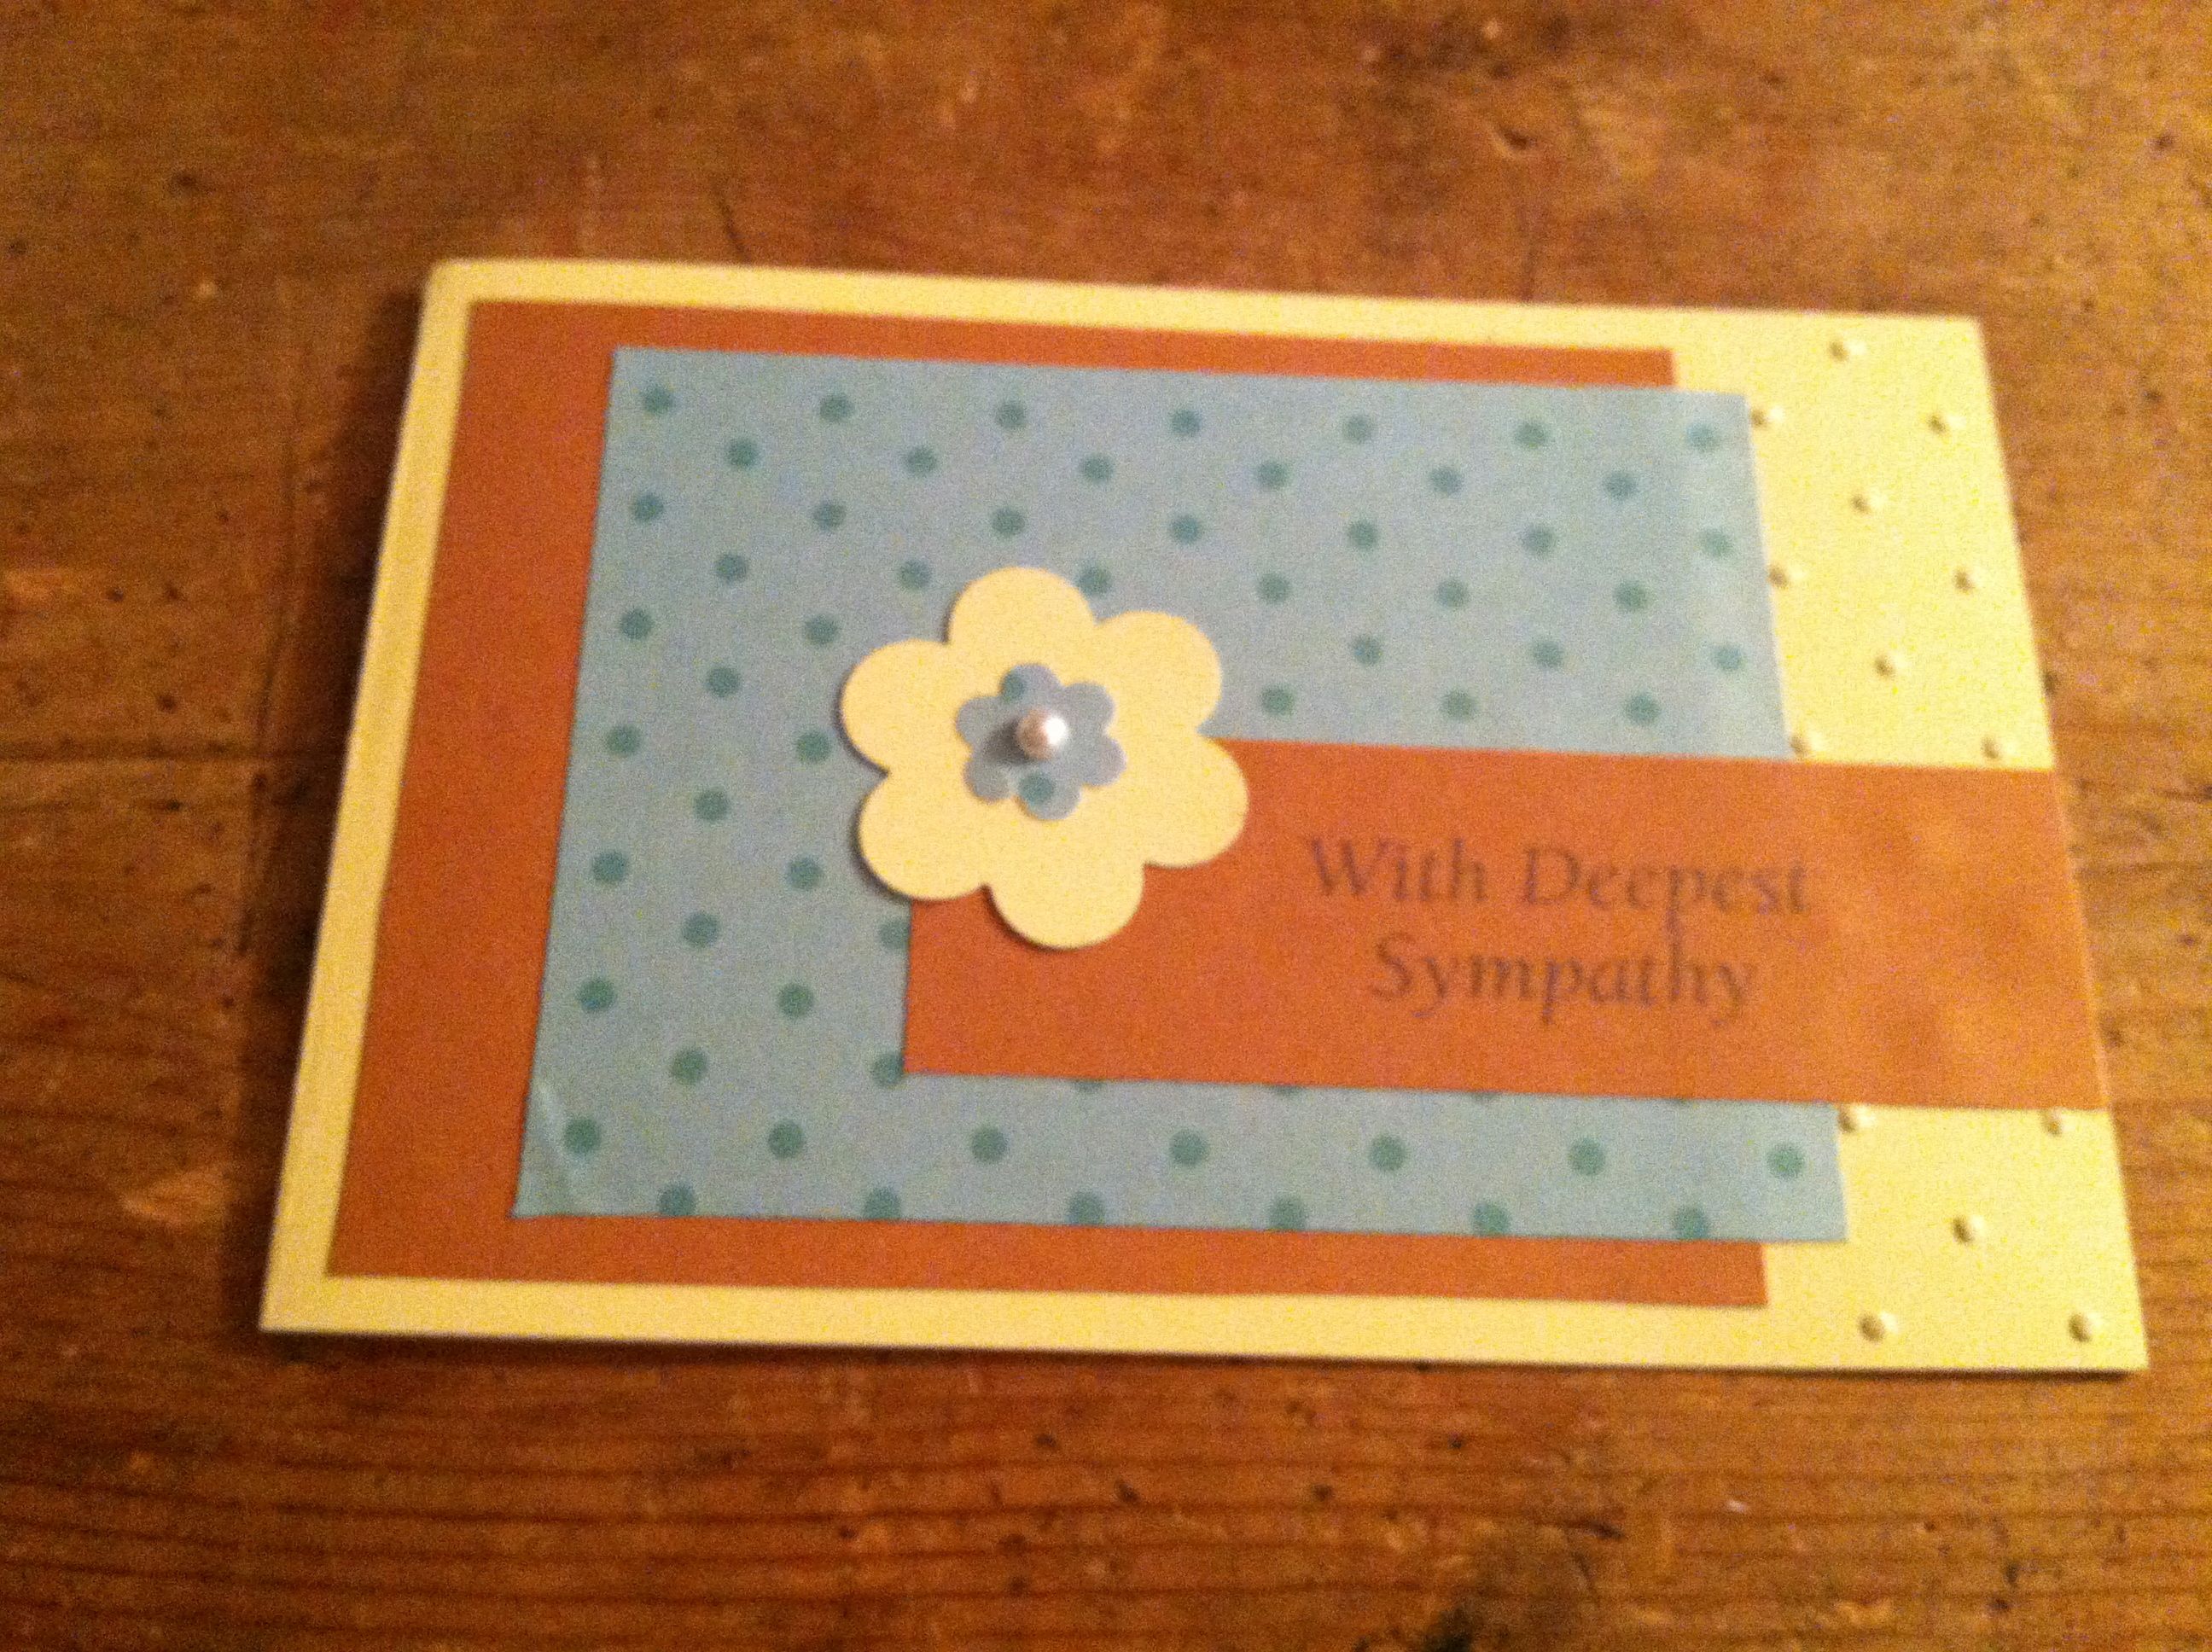
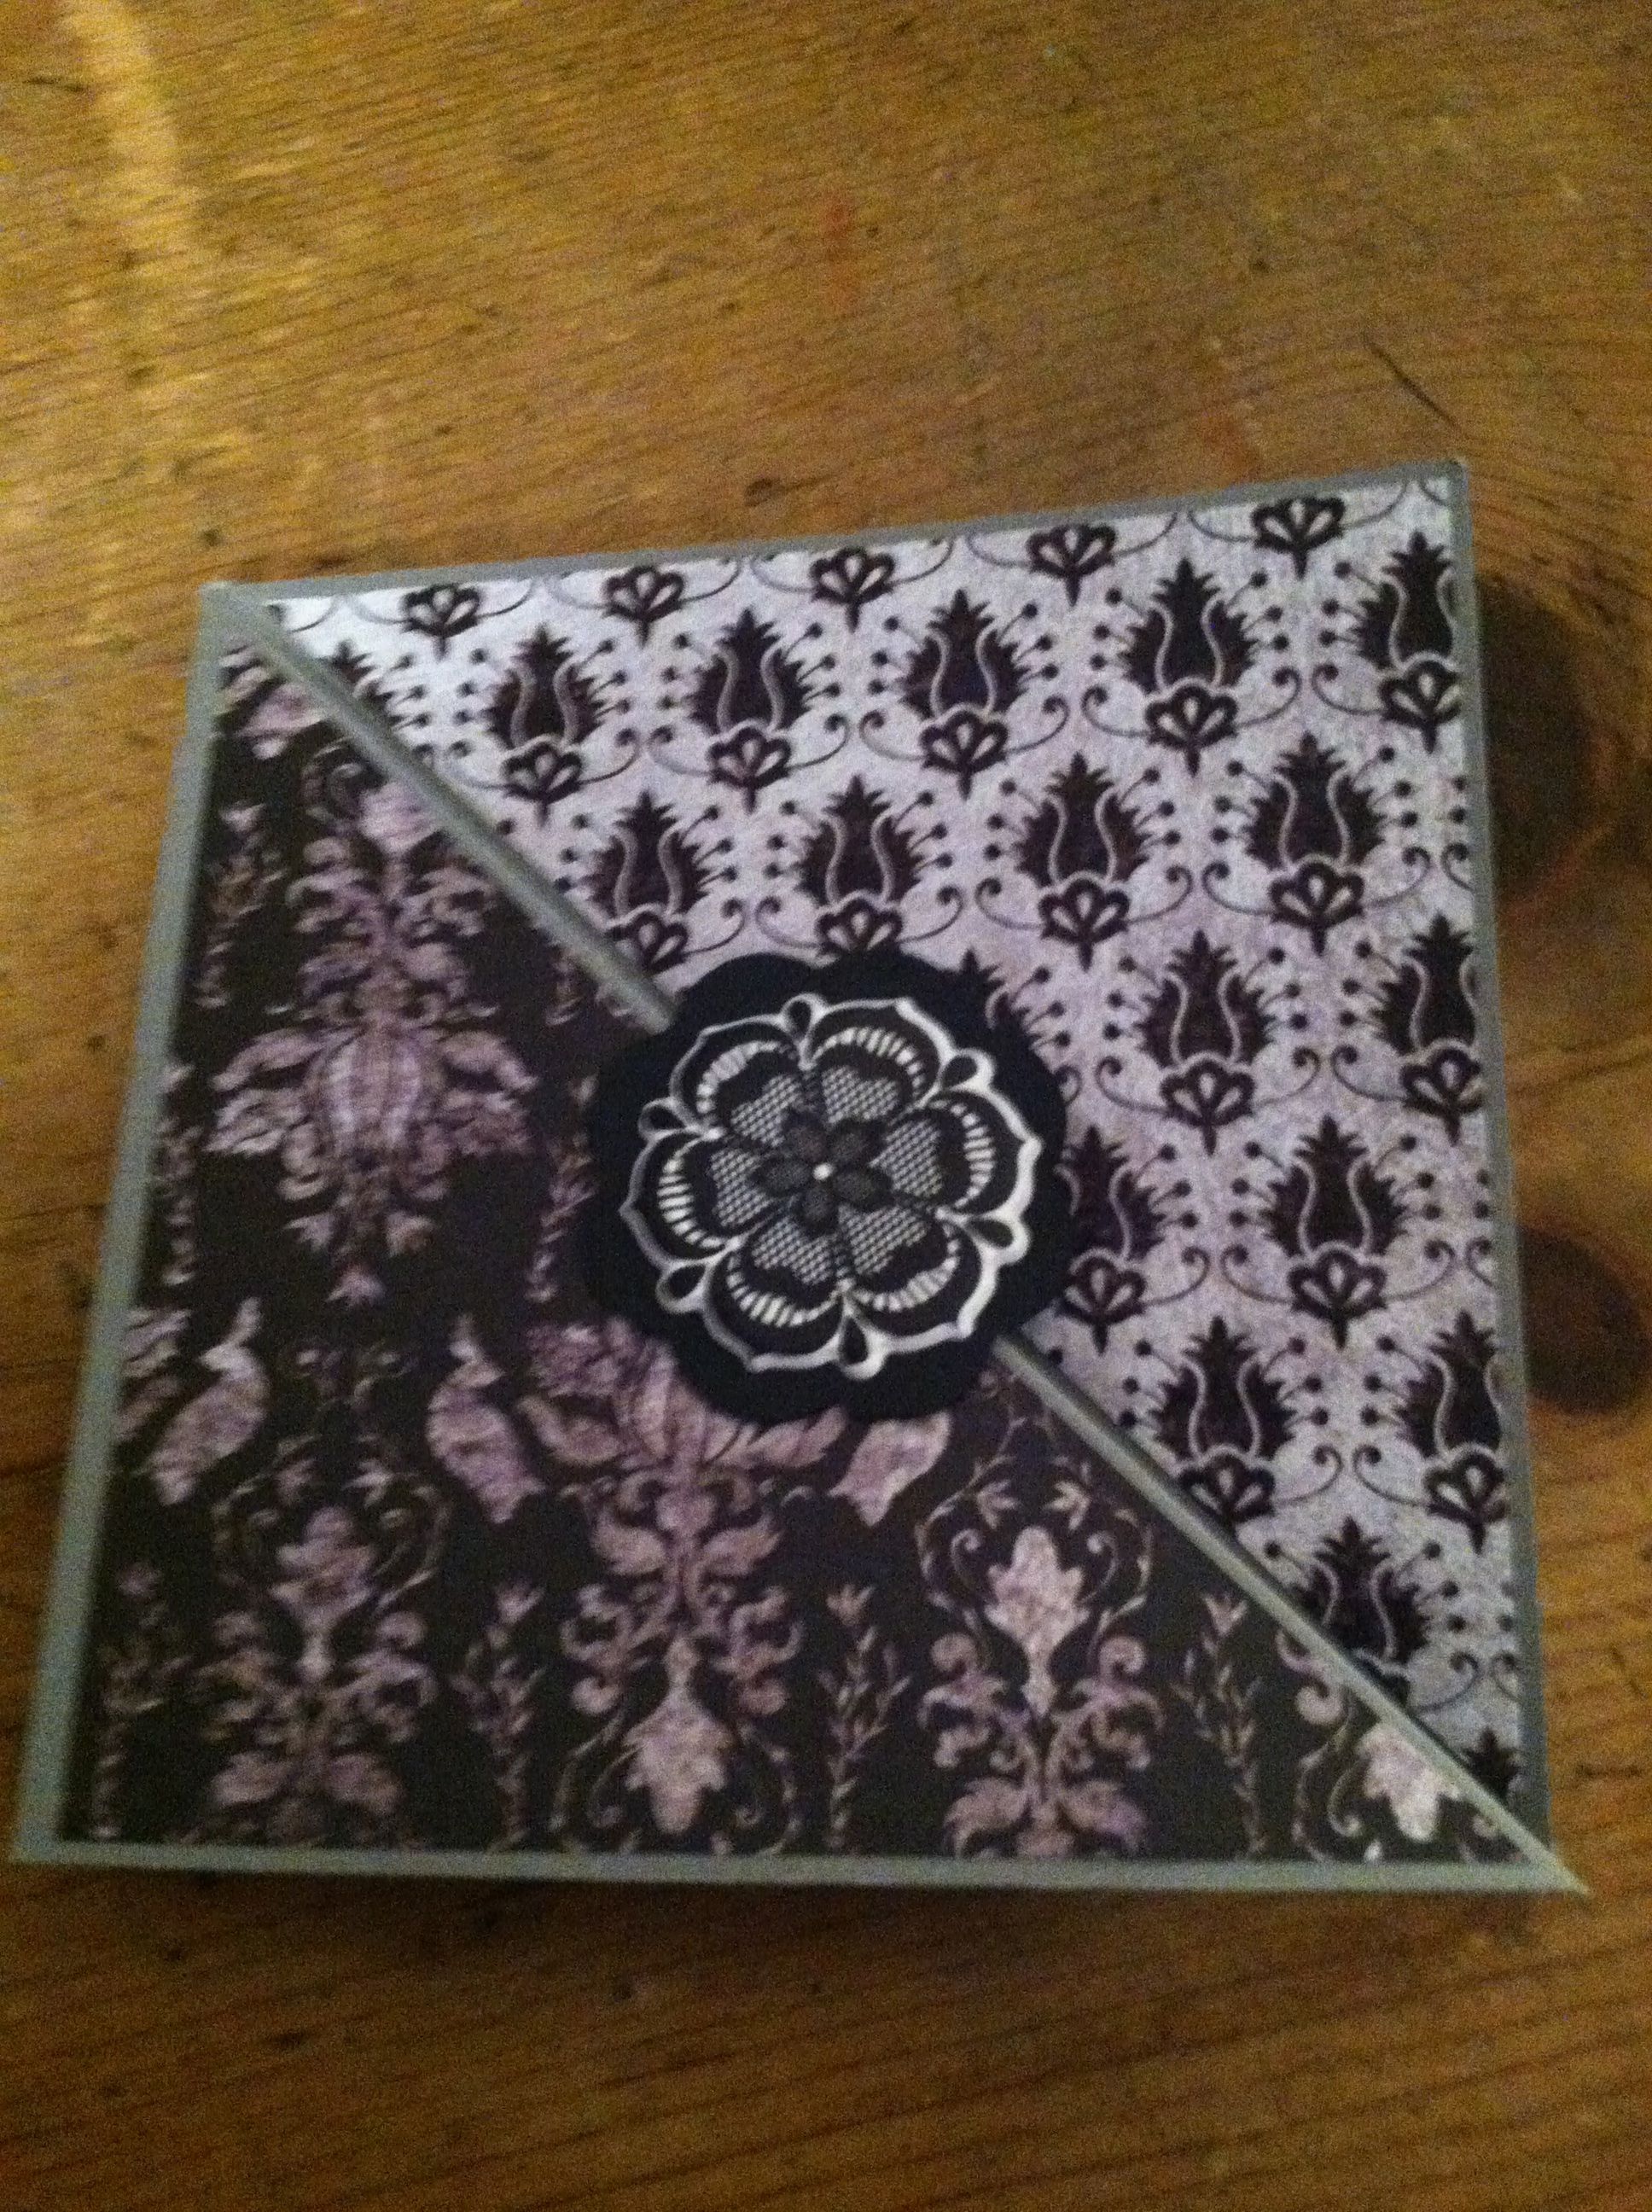
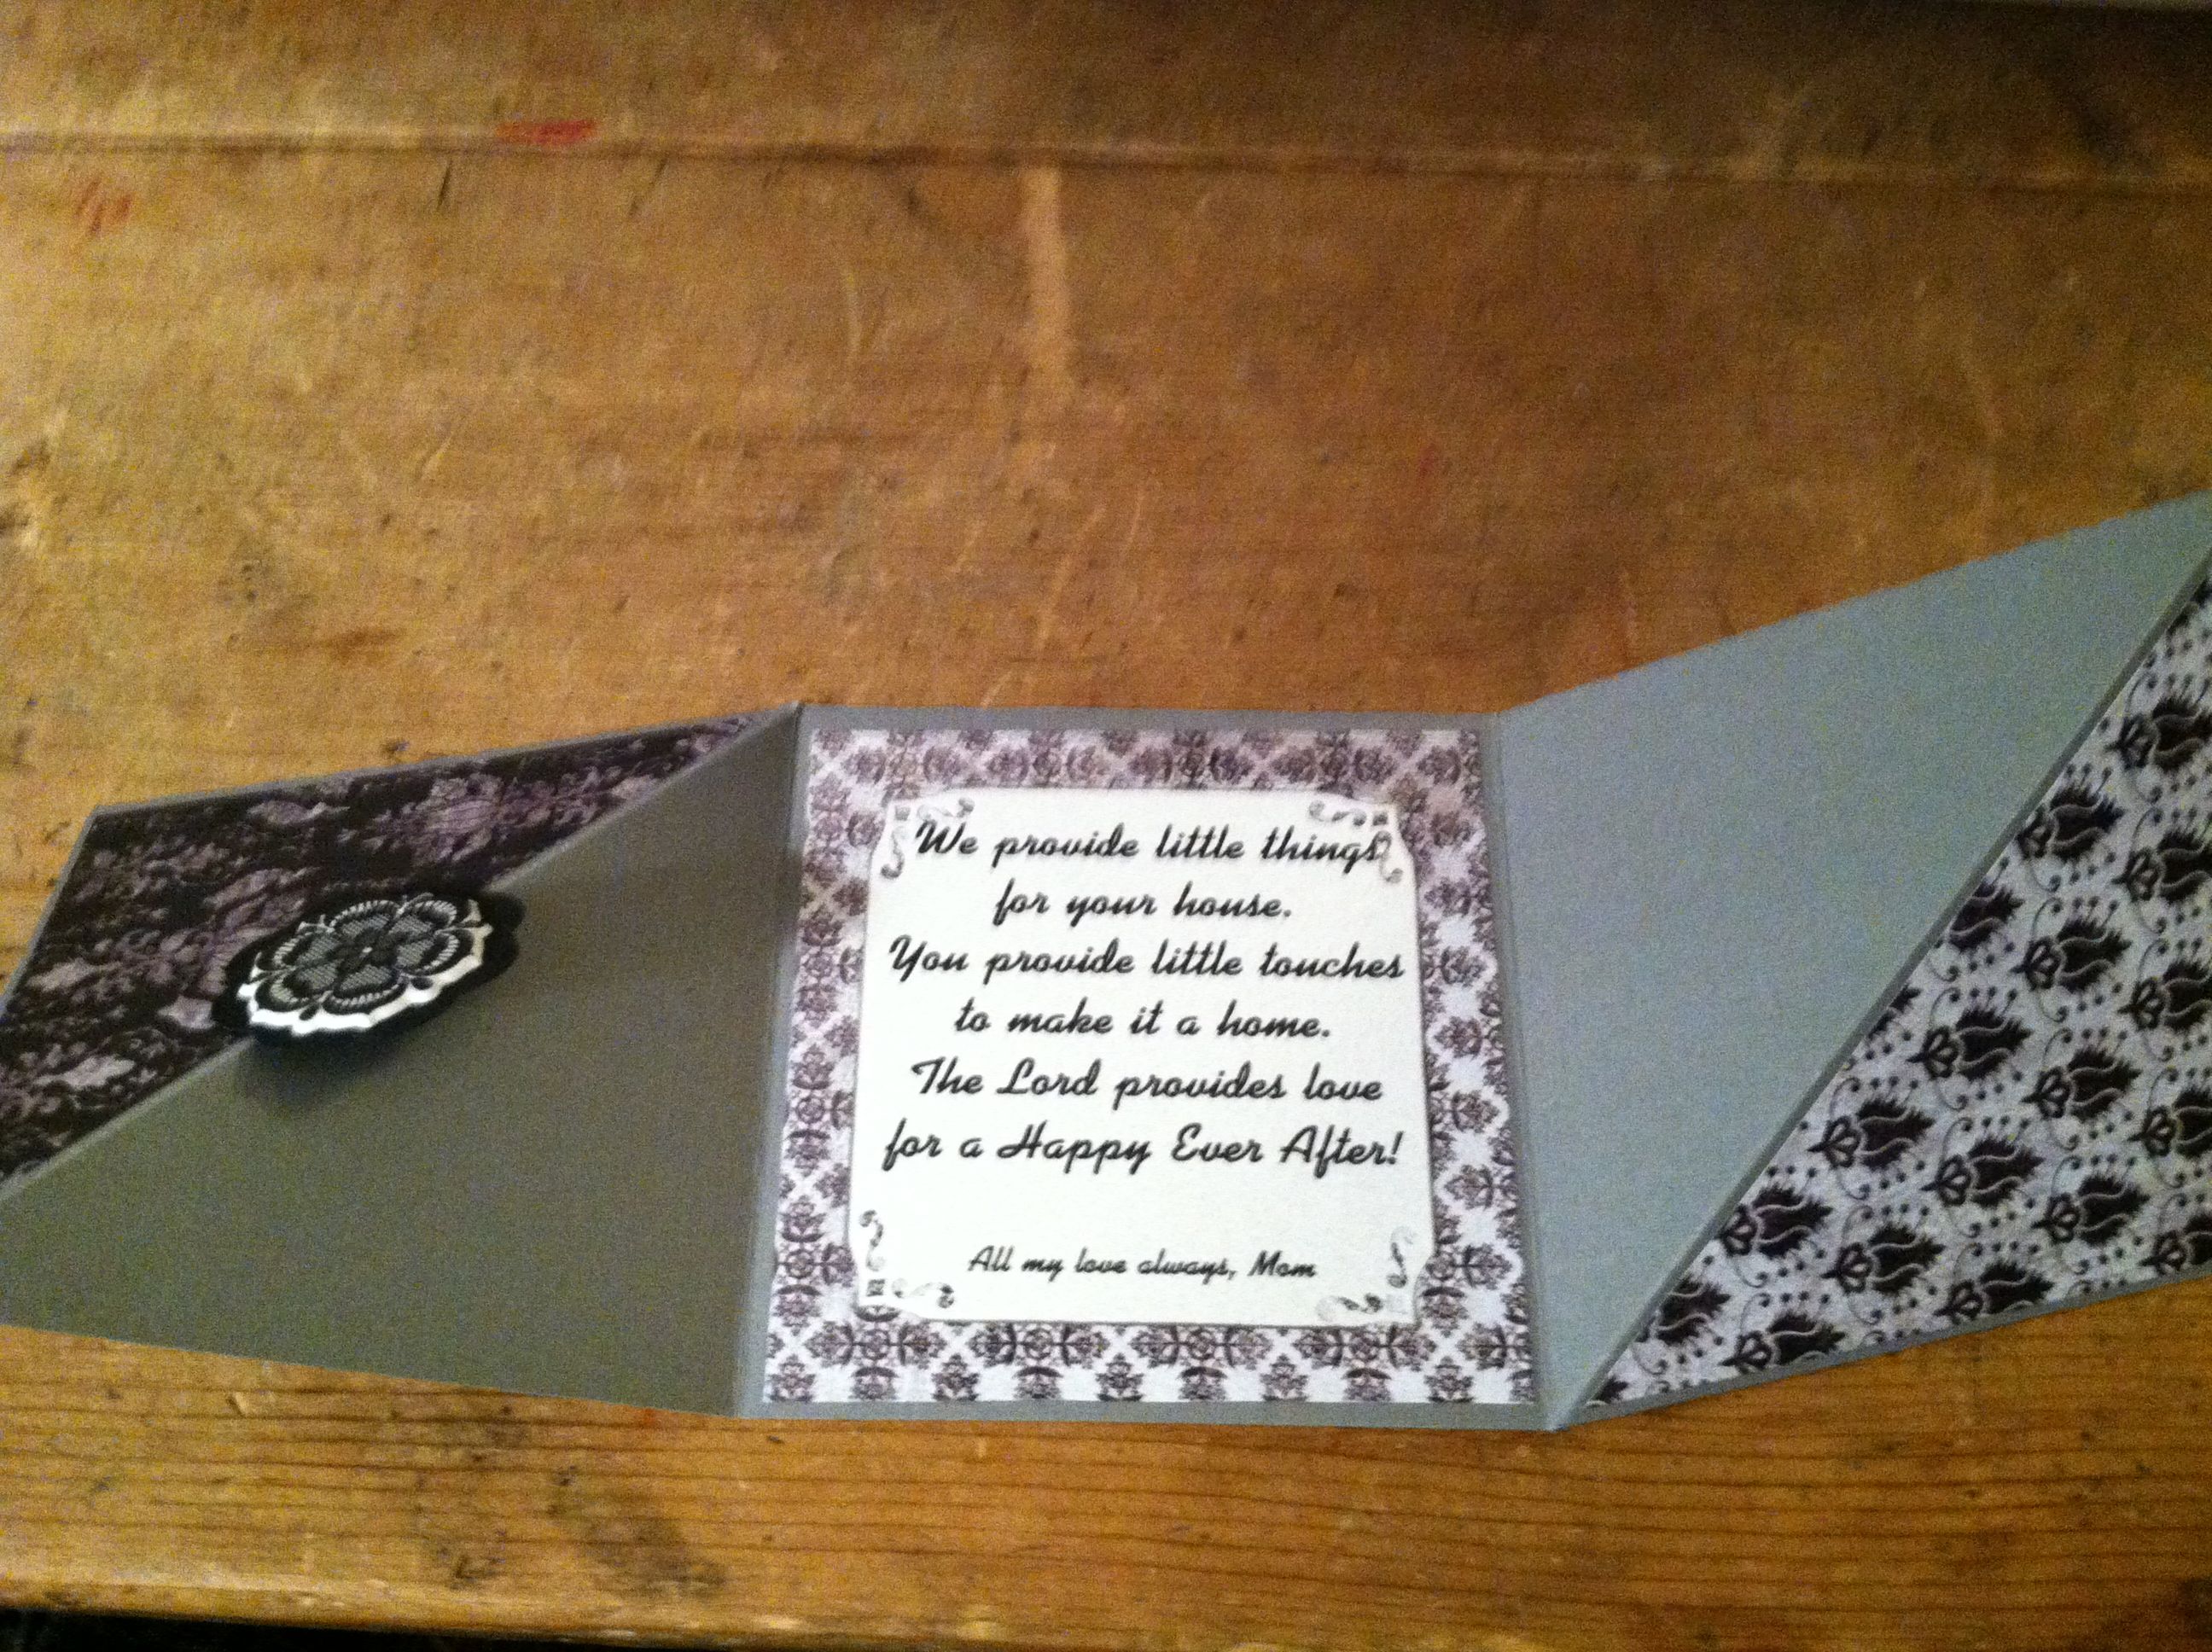
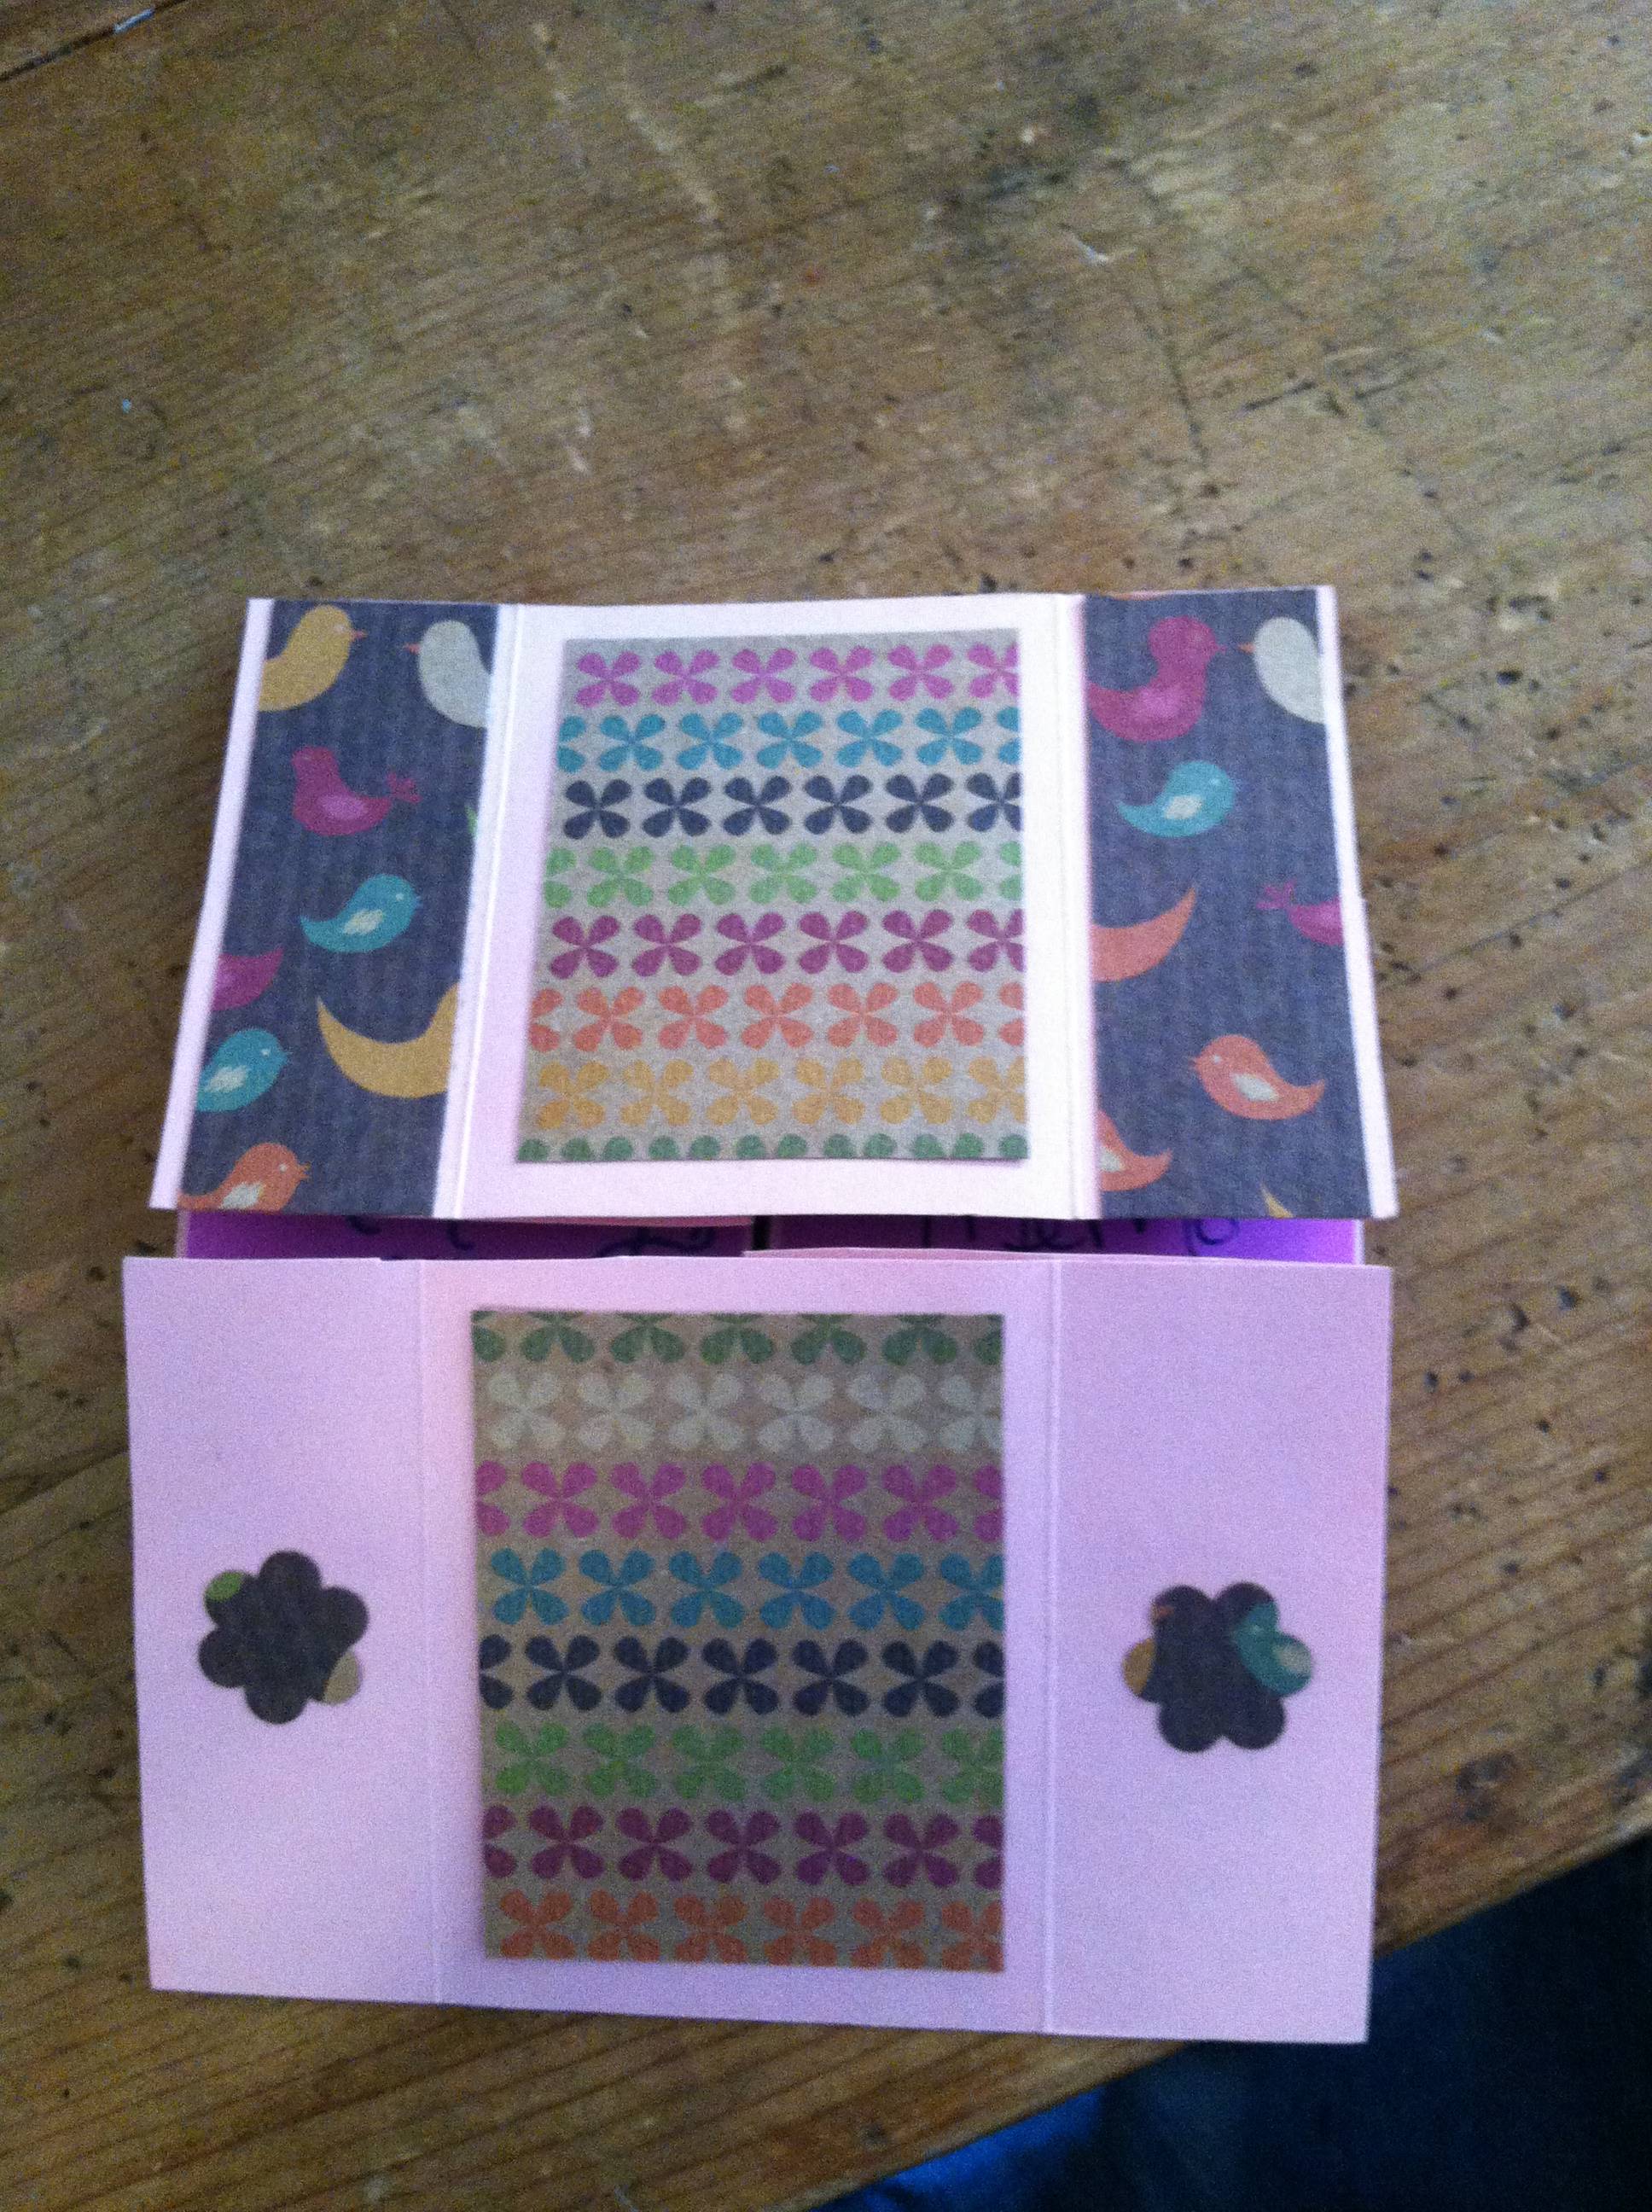
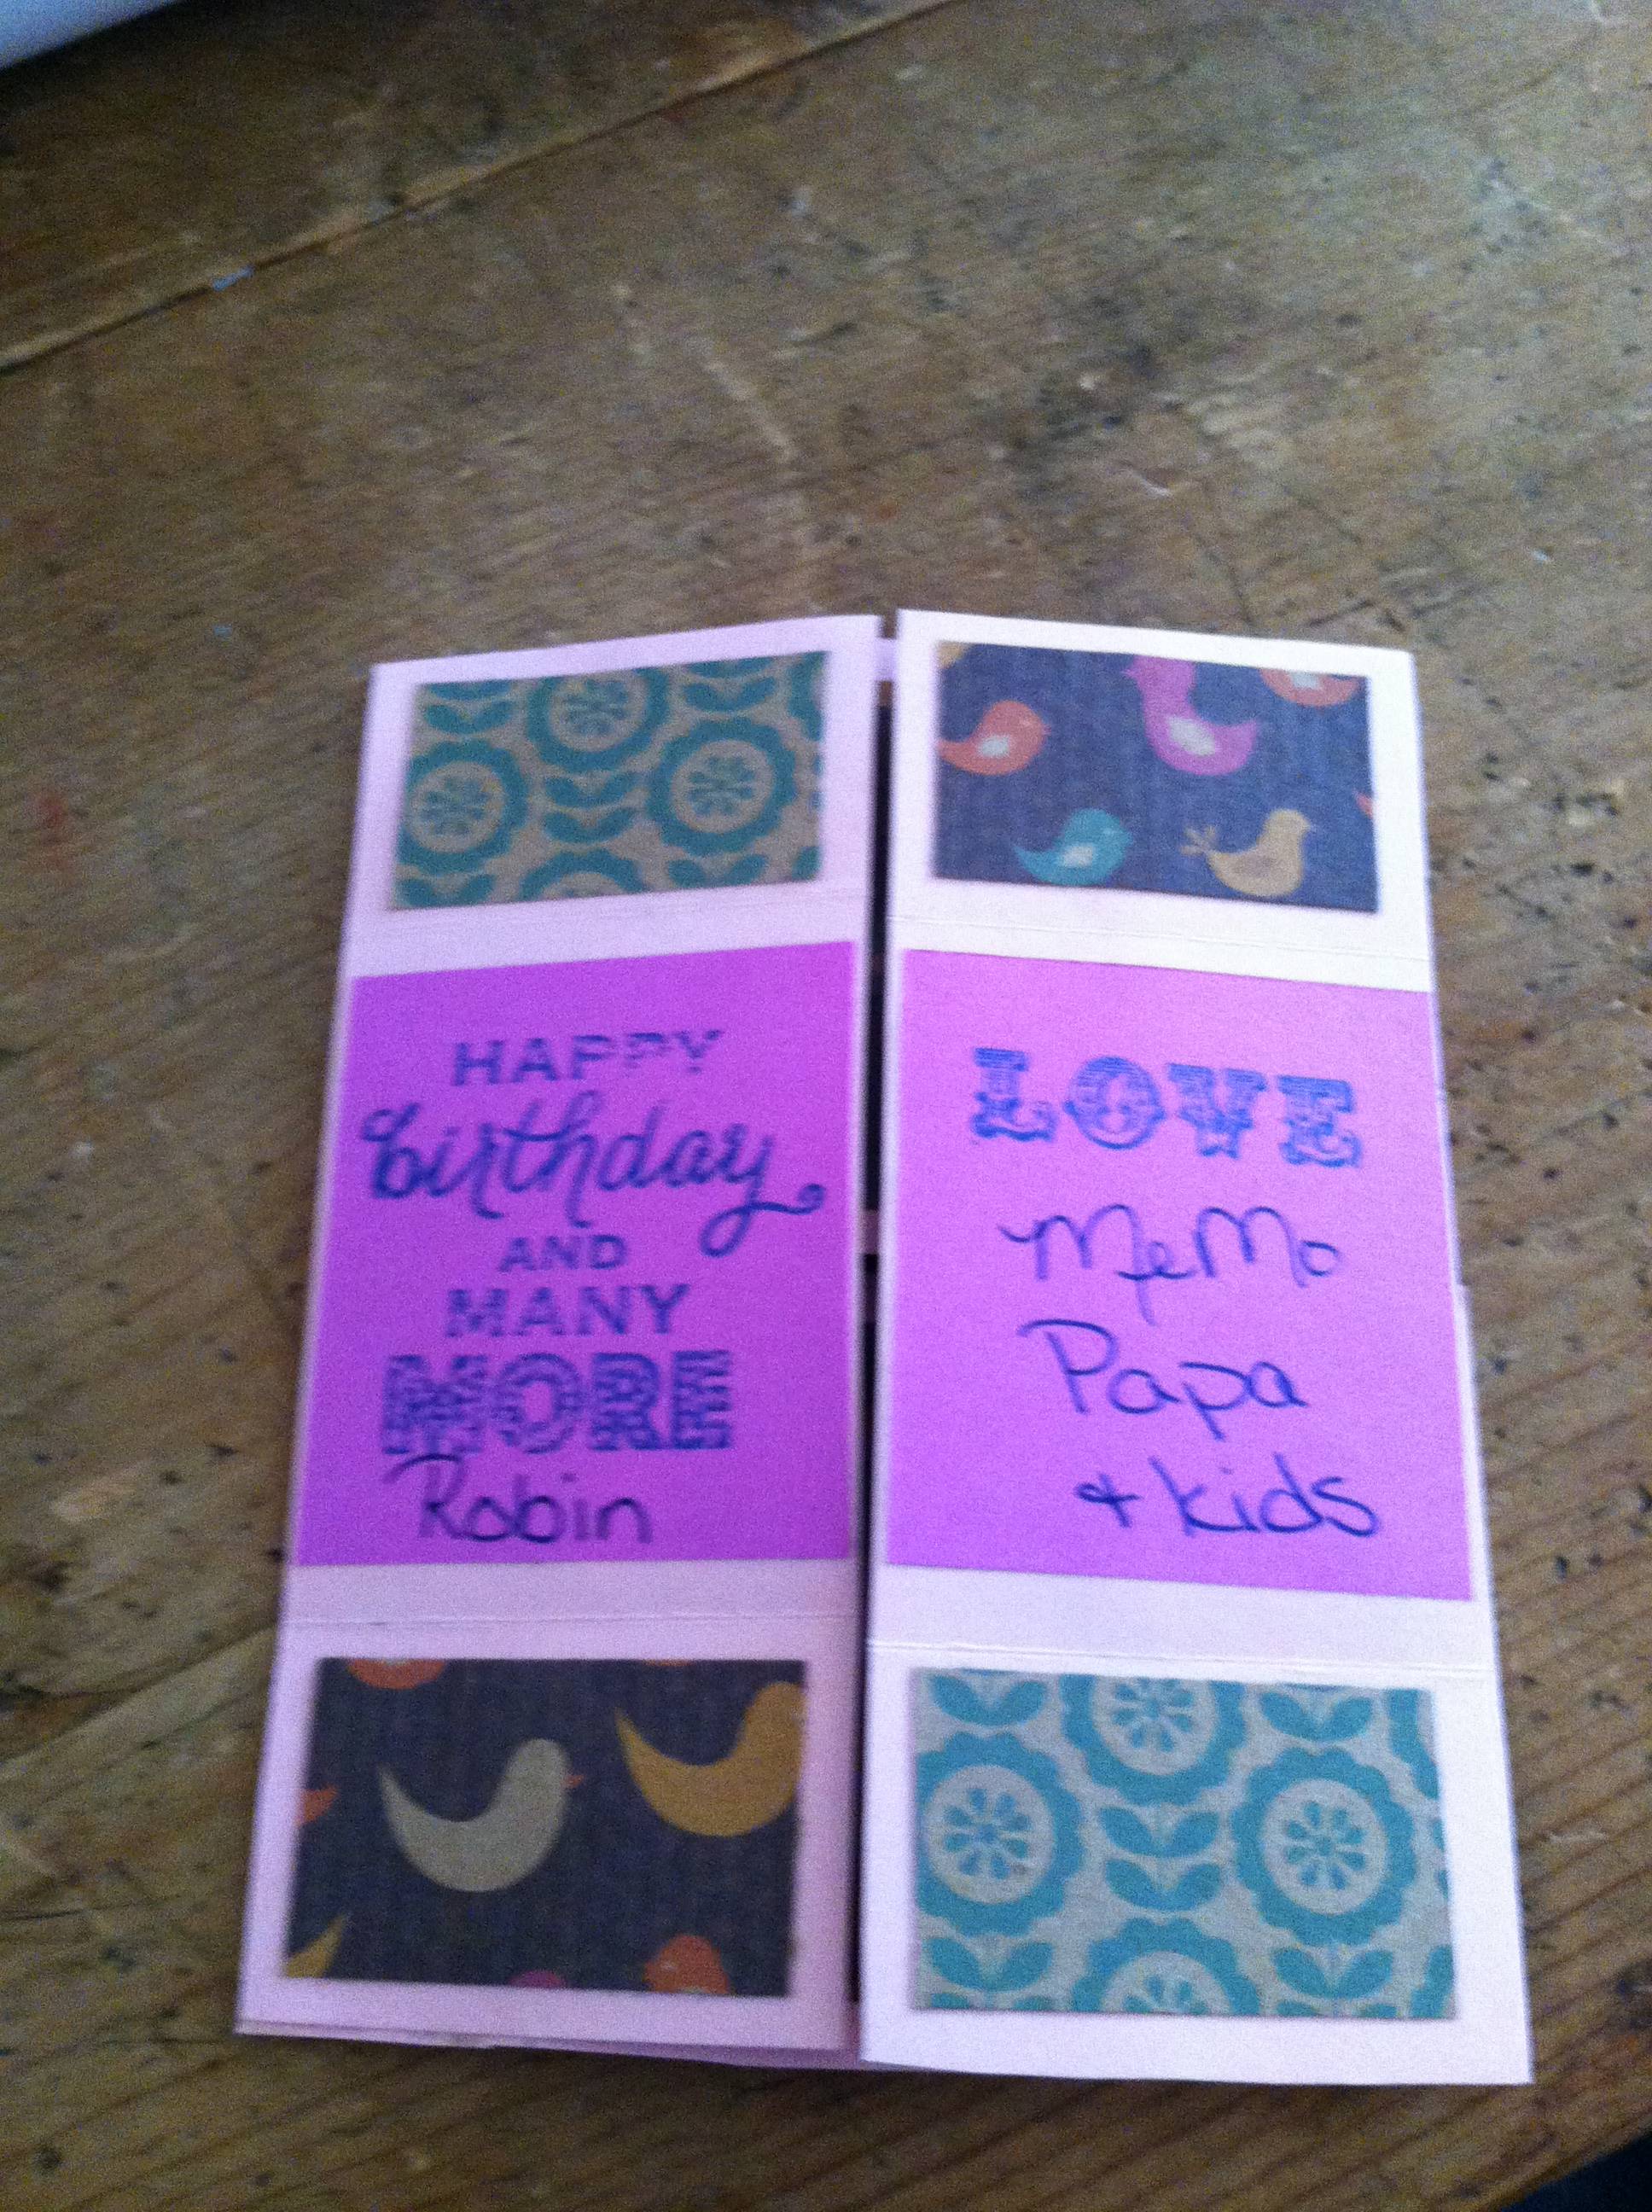
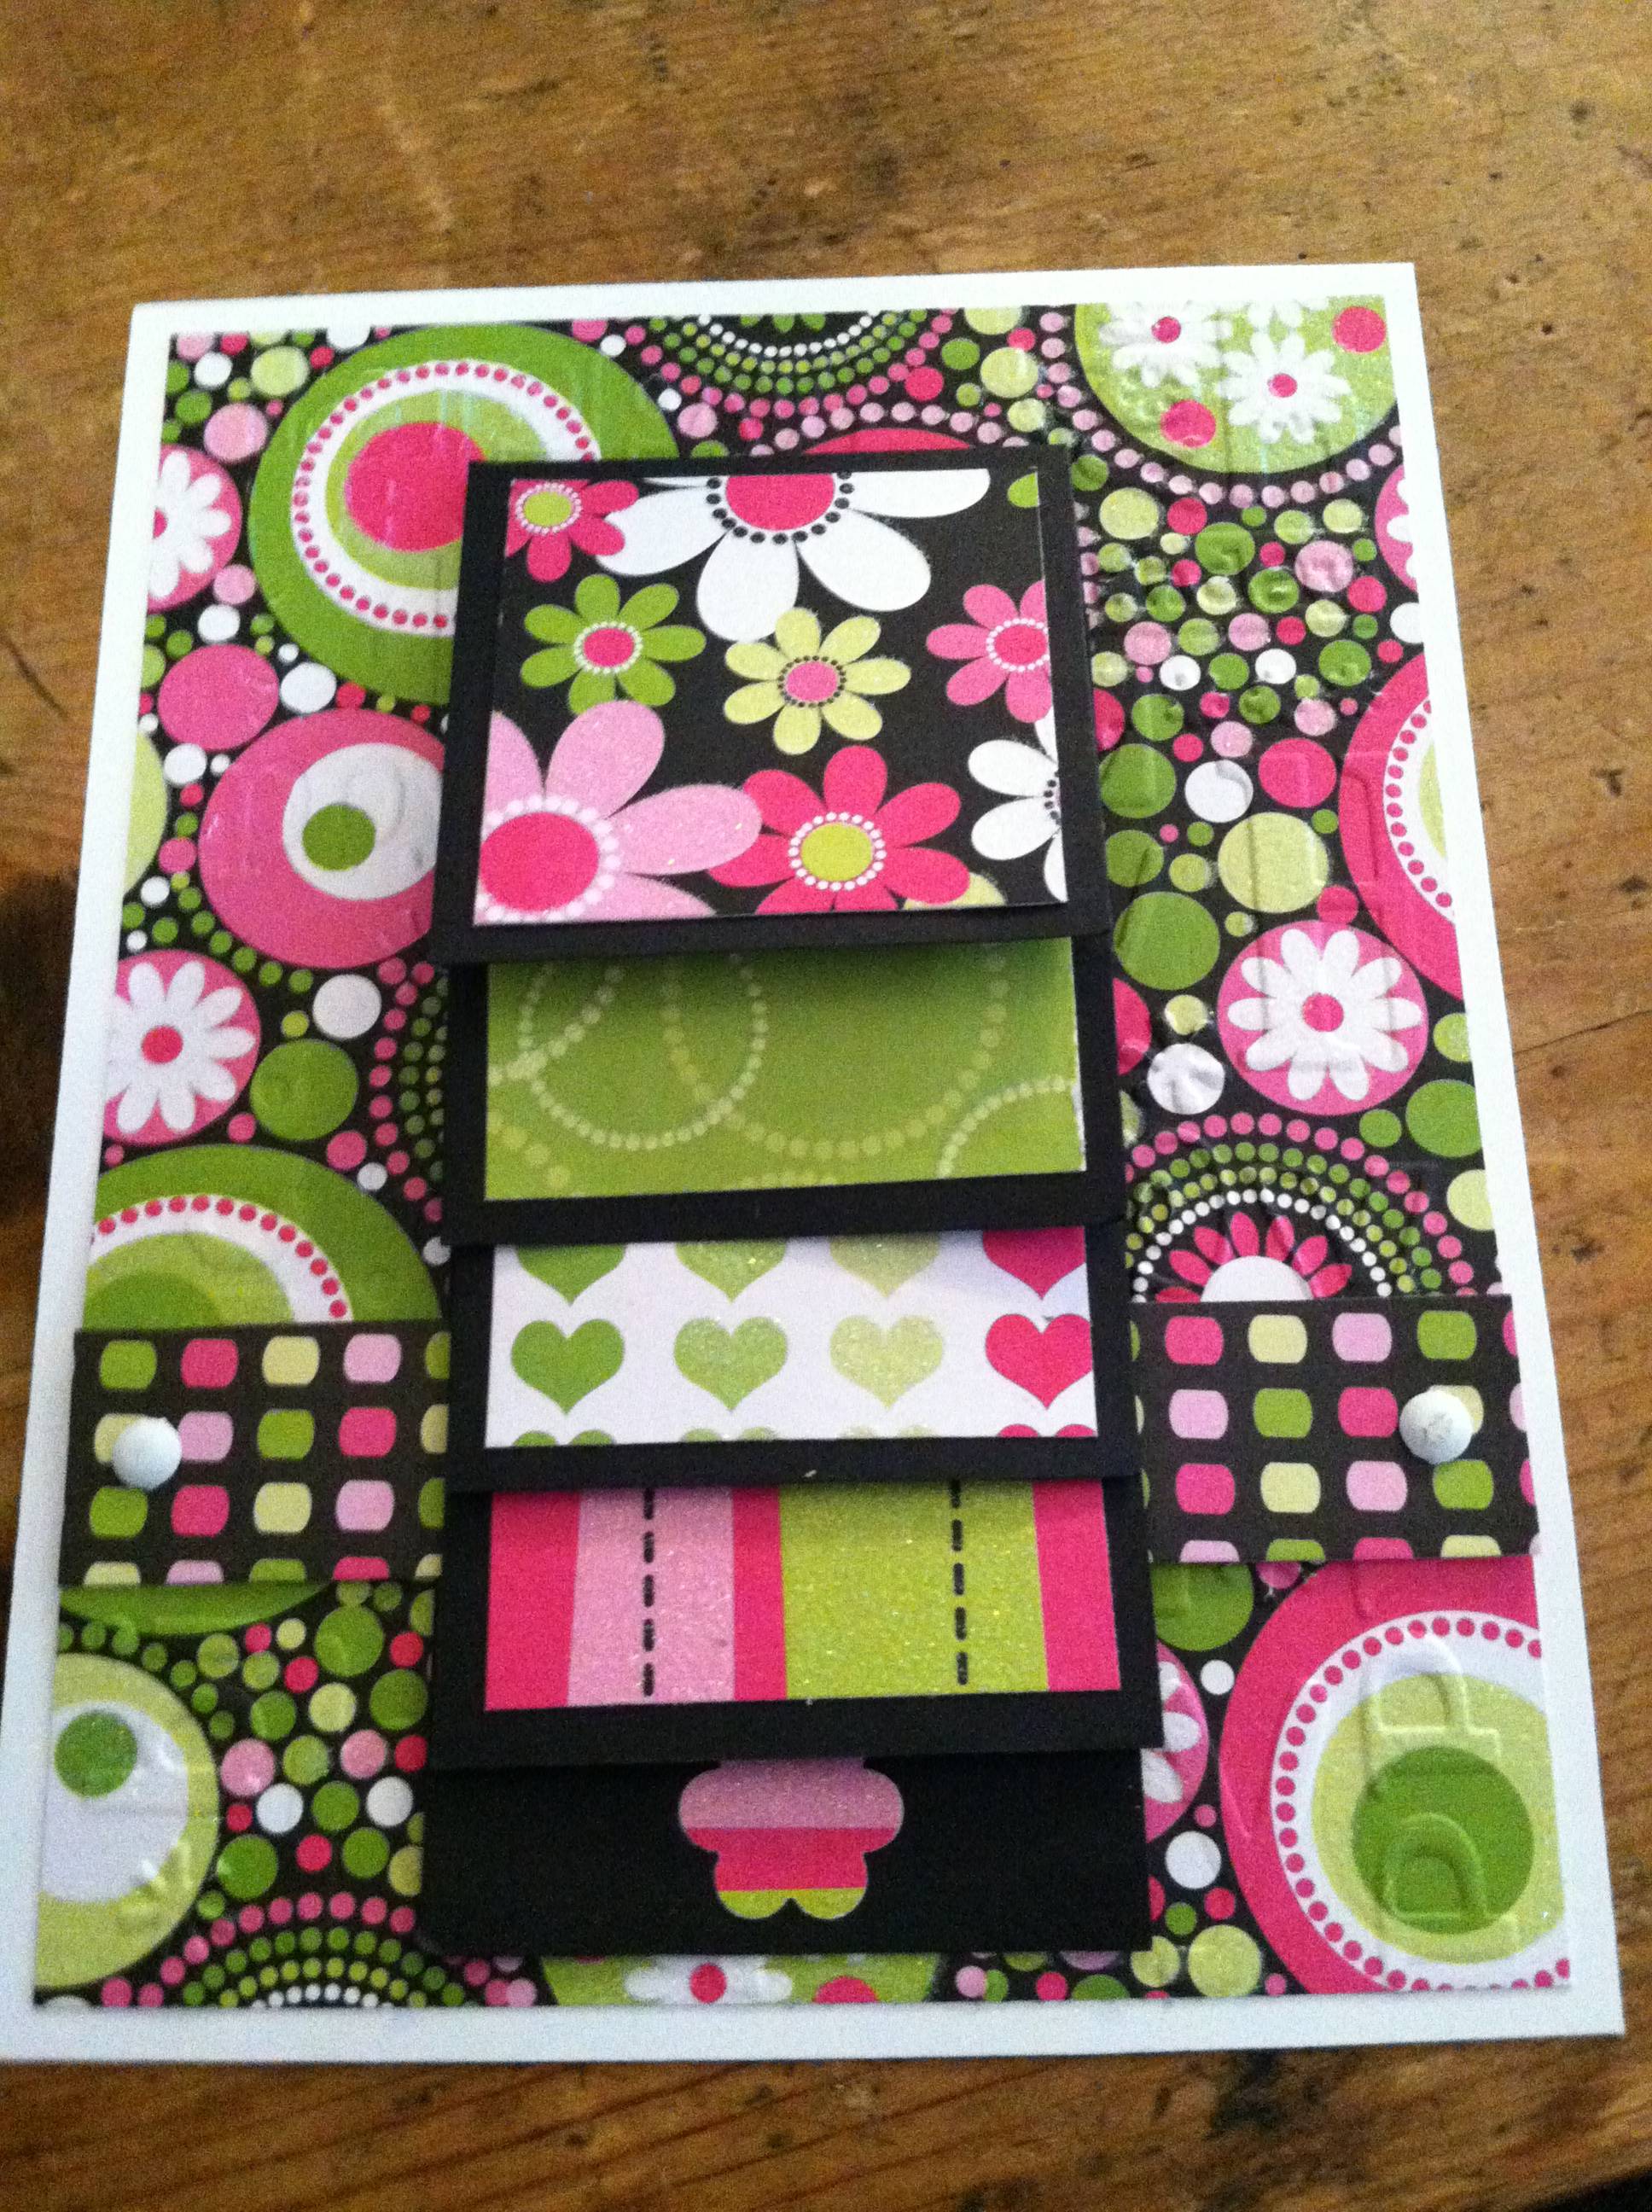
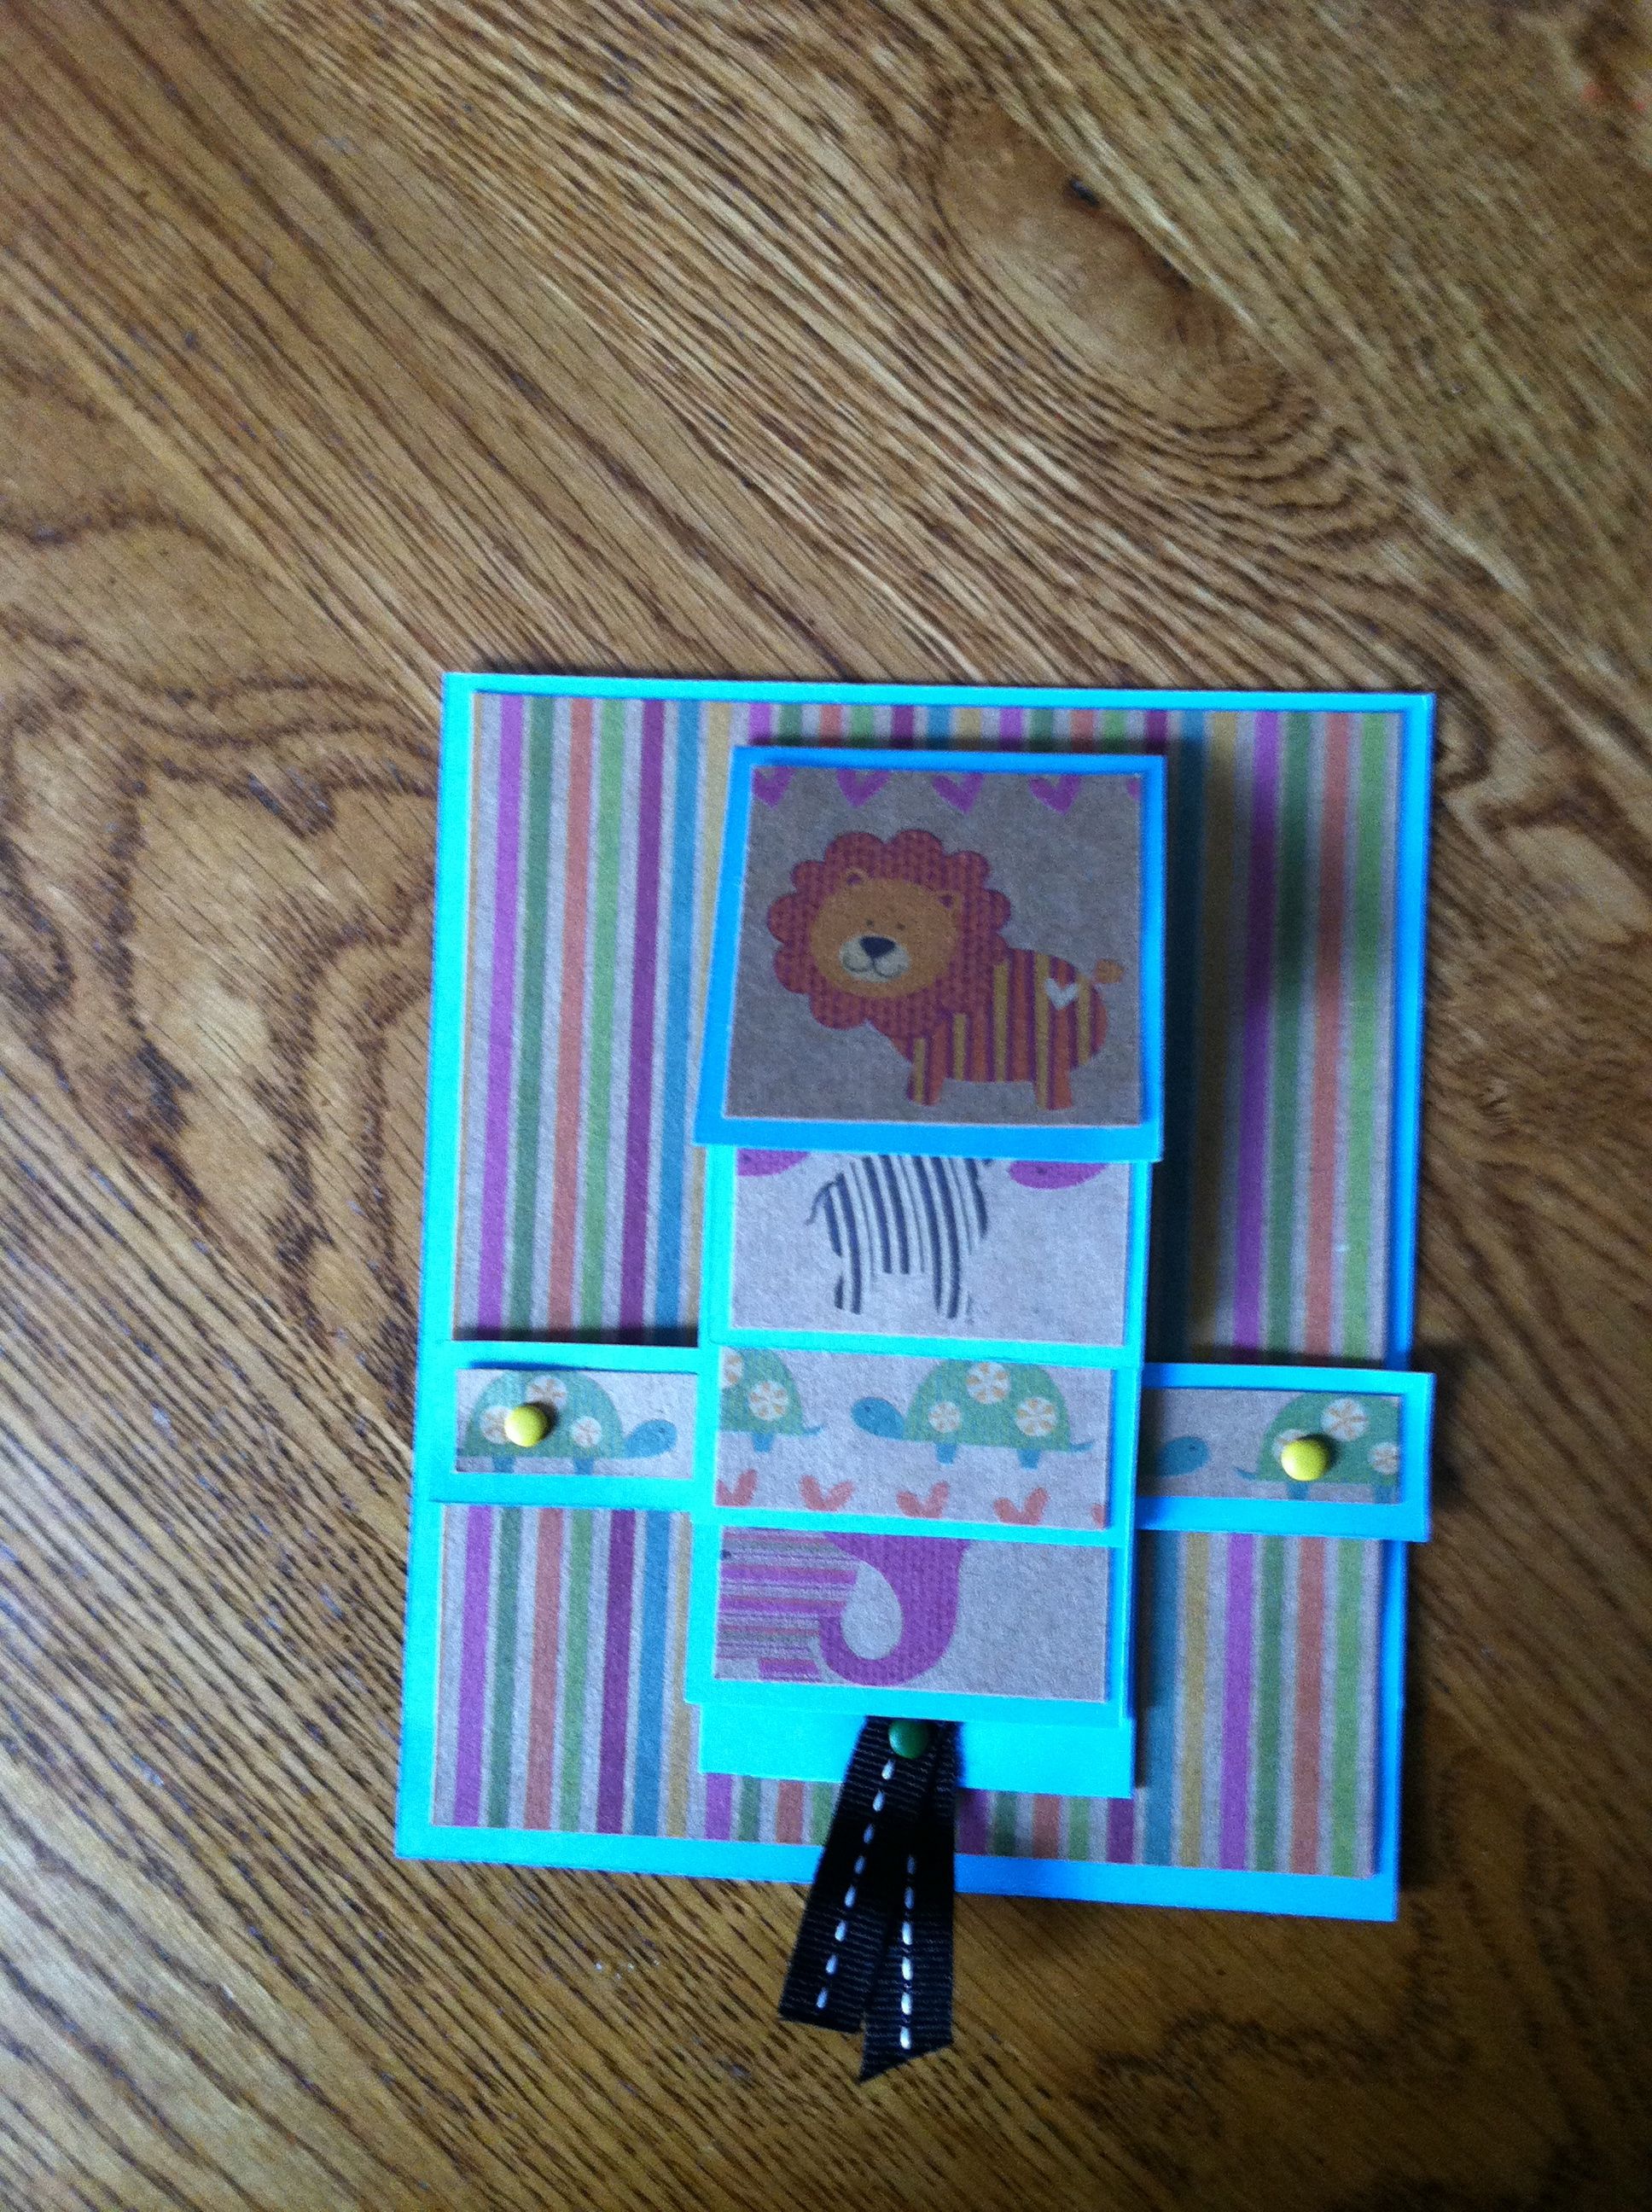
I completed 3 different types of albums (and started others) in the last 3 months or so–and have a very special journal design in mind, just for me. Over the month of October I’ll be sharing those with you (with perhaps some new cards scattered in also).

I hope you enjoy them, and that they inspire you to step out and do something creative. If you’re an artist–or can at least “do” art, consider a Scripture Art Journal (google it, I didn’t save any links since I can’t do it.) But if not, perhaps my cut and paste style of book making is more up your alley. We’ll start this week with one everyone has supplies for, a mini photo album made from empty toilet tissue rolls. See you soon with pics and instructions.

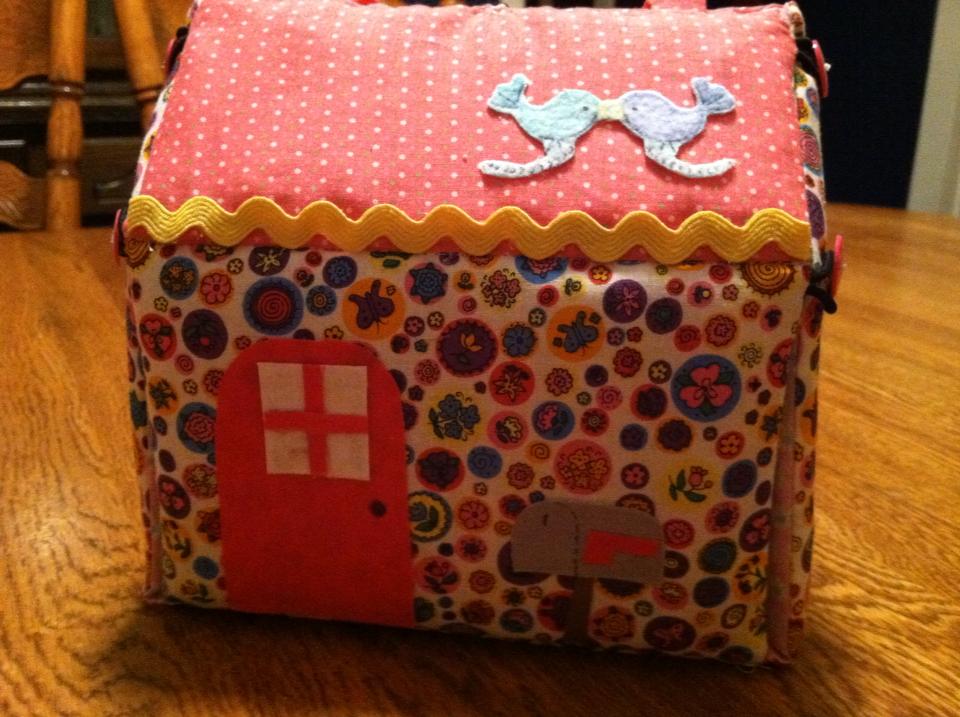
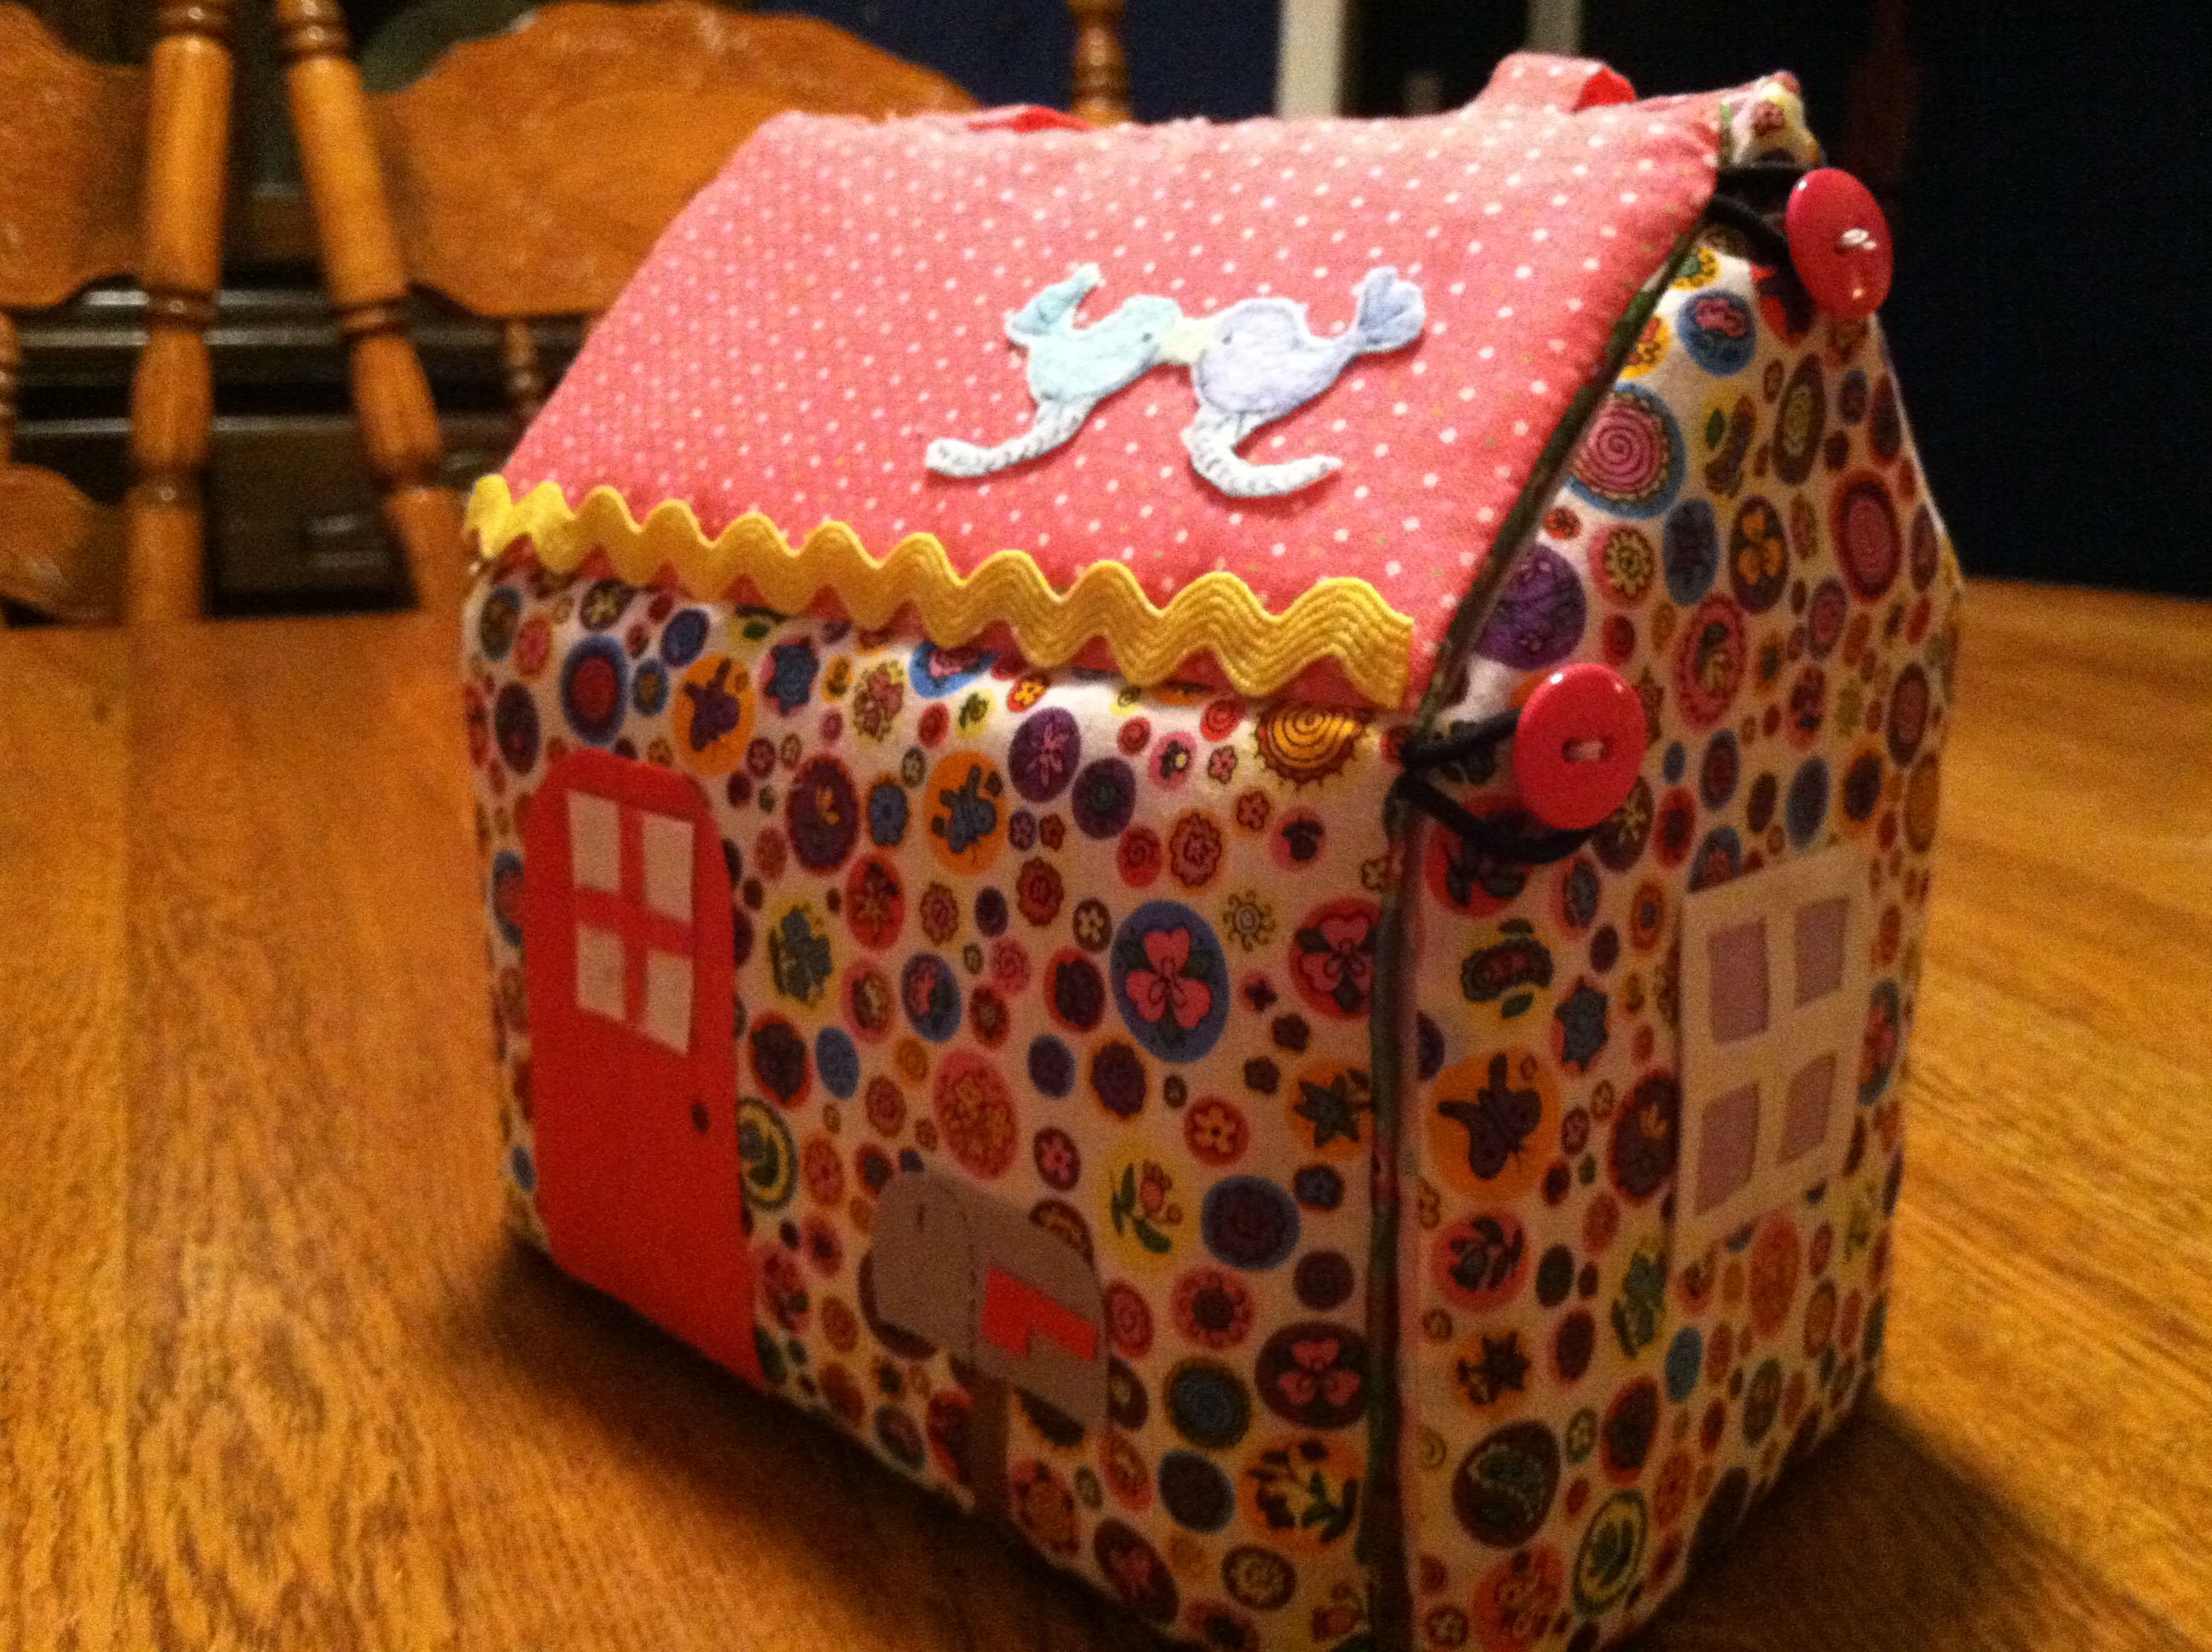
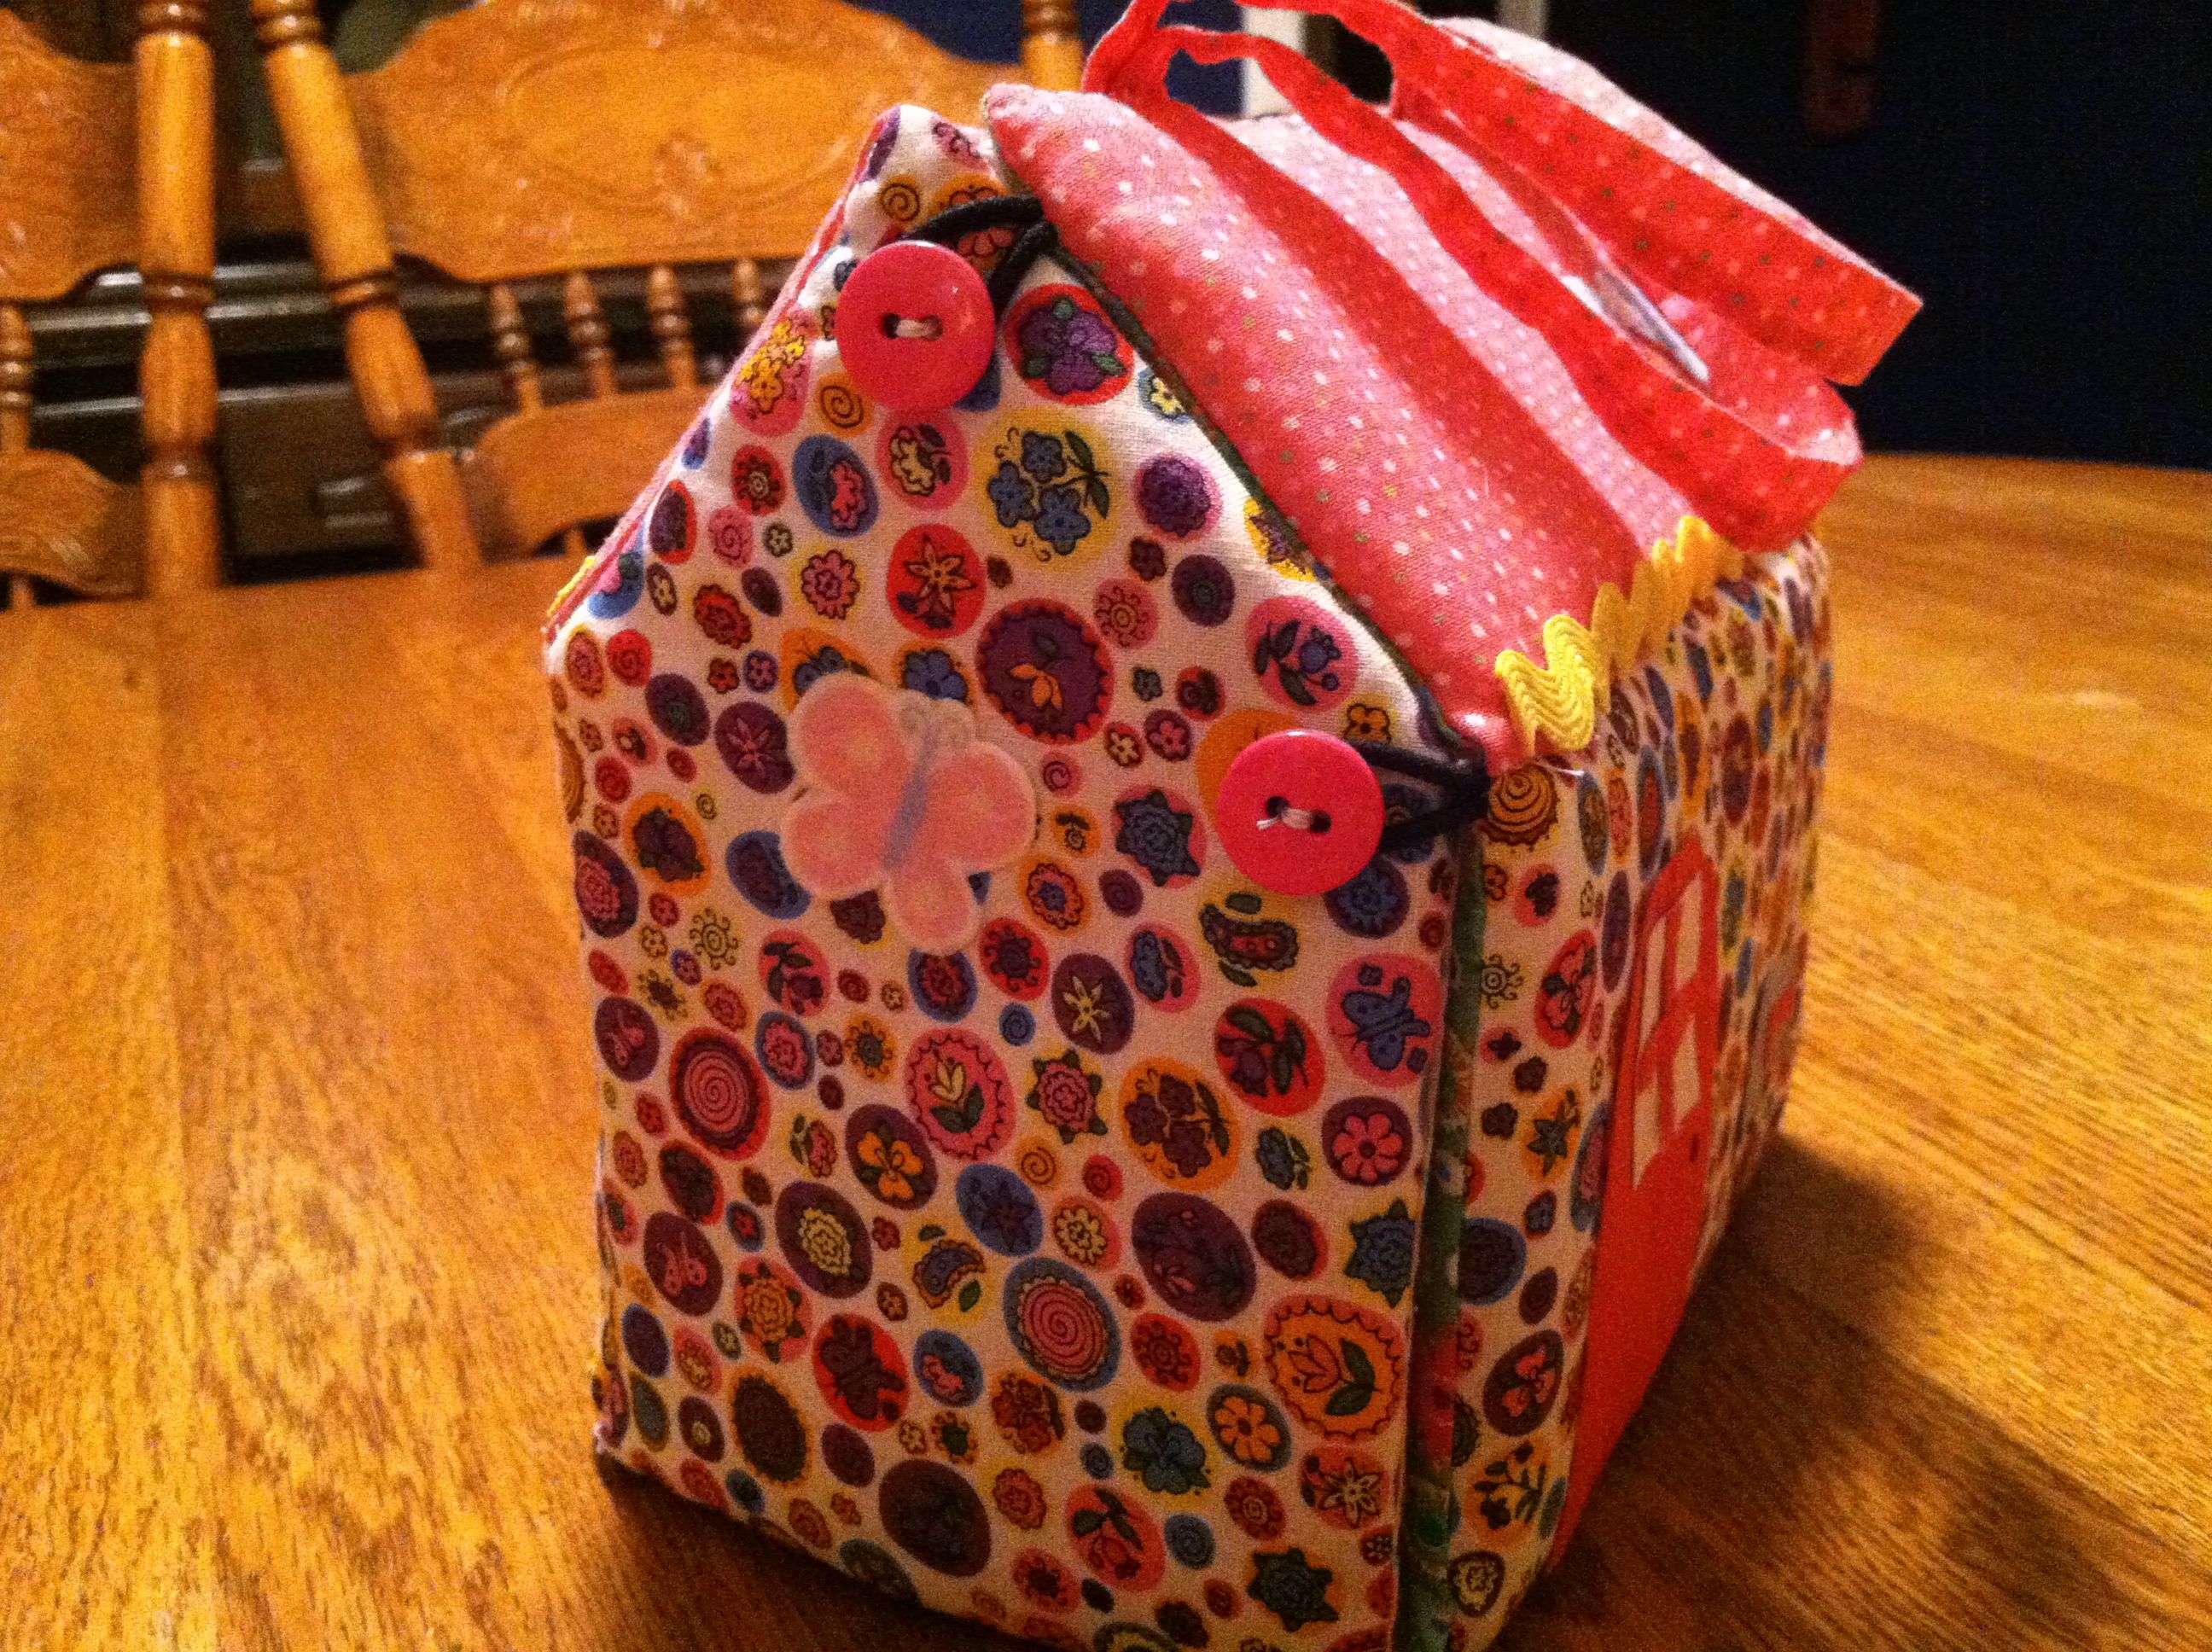
P.S. With holiday gift giving (and a new grand-babe) coming up, I’ll probably switch to sewing projects next. And for those of you that just want to be (or only have time to be) in the Kitchen, don’t miss our 5 Favorite Fall Recipes!


[subscribe2]

Wedding Card

September has been a good month to catch up on posting my cards, as it is the rare month with only 1 birthday in it (whose card I have not posted yet.) I’m ending the month with the wedding card I did for our daughter and her husband. (Sorry for pic quality, its the only pic I have of it.)

weddingcardI loved the idea of the bride and clothes made from hearts when I saw it, so knew I had to use it on their card. I embossed dots for the grooms buttons, and double embossed (pressed and heat) the swirls on the brides dress. I’m not sure if you can tell in the pic, she has a “diamond” necklace. The paper roses were from a die cut, then twirled.

Have you tried double embossing?

This post was shared on Blog Hop Wednesdays at Joyous Notions.


[subscribe2]

Plain Jane Embossed Card

Lest you’re beginning to think that all my cards are super creative, fun and interactive, let me assure you that many of them are just plain jane. Not super creative, but fun to make just the same.

This one was made for one of our grown children’s anniversary. Sometimes mom just doesn’t have a lot of time for fancy and creative. Just plain embossing with my Cuttlebug and a couple Cricut cut-outs.

anniversarycard

Do you have a Cuttlebug or other embossing machine?

[subscribe2]

Slider Card

Some of those cards I’d been making were a bit too complicated for little ones. I wanted a simple interactive card for our grandgirl turning 5. I decided a slider card was perfect. Easy for her to operate, and easy for me to make. With this paper, no real extra embellishing necessary when you’re in a hurry.

slidercard1Simply pull the tab (or ribbon) and out slides the rest of the card, with greeting.

slidercard2Do you use a lot of embellishments on cards?


[subscribe2]

Never Ending Card

I began my card-making-athon with a never-ending card for a granddaughter. I showed our 2 youngest sons how to make these and they had so much fun with them. After I’d made this one I found a tutorial for making them easier here.

This card opens, and opens again, and again, and again, until its back to the beginning and you keep on going.

This was the front.

IMG_2528


The 2 center flaps lift up/down to reveal this.

IMG_2529


These two center flaps open out to reveal this.

IMG_2530Then these 2 open up/down to reveal this. Which then opens out to reveal the beginning again.

IMG_2531


Have you ever made a never-ending card?

[subscribe2]

Waterfall Cards

I love interactive greeting cards. They are so fun. I’ve had a lot of chances to make many of them lately.

With the wedding coming soon, I’d made all the cards I was going to need for the rest of the summer, each one a different interaction. That was 3 birthday cards and an anniversary one.

Here’s the waterfall birthday card I made for our oldest granddaughter.

waterfallcard-bday


When you pull on the bottom tab, the others cascade – revealing the underside of each in turn.

waterfall-bdayopen

After all my cards for the month were done, 3 of our grandchildren had to have quite a bit of dental work done. So I made them all waterfall get well cards too. I figured they’d be something fun to play with. (I had to do a sympathy card in there too – but not a waterfall, so not pictured here.)

waterfallcard-getwell


Sorry these aren’t real clear.

waterfall-getwell2

Do you make interactive cards?
* This post shared on Teach Me Tuesday Homemaking link-up

[subscribe2]

Carry Along Doll House

I have so many projects to catch up on here, but I’m going to work backwards, from the latest – back, and hopefully some new ones scattered throughout too.

Last month, right after our daughter’s wedding, was our granddaughter’s 5th birthday. My intentions were to make her a set of paper dolls (was thinking probably magnetic) but I didn’t have all the supplies (because – after I ordered the Cricut cartridges – I couldn’t find all the other things I still needed here in town, and didn’t know that in time to order them.) That led me to the night before her party and still not knowing what to do.

At 10:30 p.m. I went to Walmart for supplies, then came home to start on a fabric doll house with purse-type handles for carrying along. If I’d had more time I had more ideas for decorating, but was happy enough with it to call it good and give it to her. It’s the perfect size for small dolls, like Polly Pocket or such. I think it turned out really cute.

dollhousepurseoutsideThe frame is plastic canvas, covered with batting. The fabric insides and out are sewn together, then the frame inserted. 4 different “fat quarters”, plus scraps for the decorating, are needed.

I love the mail box. My door – was just OK, IMO. The love birds on the roof are fussy cut from a flannel print.

dollpurseout2This side has a window, backed by the same fabric I used for curtains inside. The house is “closed” by 2 buttons on each side and one at the top. The loops are small covered pony tail holders.

dollpurseout3This side only has a butterfly (another flannel cut out), but you can see the handles better.

dollpursein2When you open it up, you’re greeted with a lovely garden, with a stepping stone path, flowers (more flannel cutouts) on either side, and a goldfish pond.

dollpursein3Inside we have the inside of the window with curtains, a rug on the floor, a table with drawer and a bowl of flowers on it, a mirror on the wall, and a bed with pillows. The bed is a box I made from card stock, then covered with fabric. The pillows “puffed” with batting. The mirror was made by using silver heat embossing powder.

dolhousepurseinsideAnd lastly, the whole inside.

What was your last sewing/craft project?

* This post shared on Teach Me Tuesday Homemaking link-up

[subscribe2]