 What could be easier (or weirder) than saving empty toilet paper rolls to put your pictures in? But it works! Here’s how.
Supplies:
- Empty TP (cardboard) rolls (6) – for pocket pages
- Chipboard (or recycled priority mailing box) – for cover
- Patterned Paper – to cover
- Cardstock – for hinges and tags
- Closure (recommend Basic Grey small magnetic disks, but I used Velcro, as that’s what I had)
- Embellishments – to decorate with (whatever you like)
Tools:
- Ruler, Scissors. Exacto knife and mat – or Rotary cutter and mat especially helpful for cutting chipboard/cardboard.
- Adhesive – I recommend ATG gun (tape dispenser), ScorTape, and 3M Quick Dry Adhesive (glue). (But I used cheaper, more readily available adhesives – that aren’t quite as good.)
- Iron, spray bottle of water – optional, but helpful
- Paper trimmer, score board and bone folder – very helpful, but possible to do without
Step #1 – Flatten tp rolls. Tip! After flattening by hand, spritz folded edges with water and press with a hot iron. This gets them much flatter.
 Step #2 – Cover tp rolls. Cut patterned paper 1/2″ wider than the dimensions around the roll and 1″ or more taller. (My tp rolls were 2 5/8″ x 4″, yours may be different.) If your pattern paper has a direction, (specific top and bottom,) make sure you cut it correctly for that.
Use ATG (or other adhesive) to attach paper to roll, overlapping the edge in the back, and pushing the ends in. Tip! I scored (creased, to help the paper lay flatter on the rolls,) at 2 5/8″ and 5 3/8″ and folded the excess on the side over first, then wrapped, so it ends along the edge, rather than a seam down the front or back. (I cut my paper at 5.75″ x 4.75″. As you can tell, I should have cut taller, to fold more inside.)
Tip! As you tape any pieces, “burnish” (rub over it with your bone folder – or even ruler or finger, or fingernail or such,) to get a good contact/seal.
Tip! You can also cover them with solid colored cardstock, and just cut smaller patterned papers to mat the front and back (about 1/4″ smaller width and height than the tp rolls). This way is great for using up smaller scraps of patterned paper.
Step #3 – Cut your cover base boards. Cut chipboard (or recycled mailing box) to make front, bottom, back, top and flap. It should be taller and a bit wider than your tp pages. Mine was 3″ wide and 14″ for front, bottom, back, and top, 3 x 1.75″ for flap. I was able to just fold at my score lines, but if you don’t have a long piece like that, you can use separate pieces covered together. That would be 3×5″ each for front and back, and 3×2″ each for top and bottom (for my size tp rolls,) and flap can be any length you want.
Tip! If using magnetic disks for your closure, attach now to your front and flap. Center each and place the same distance from the top on each piece.
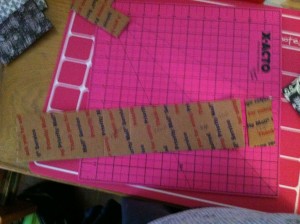
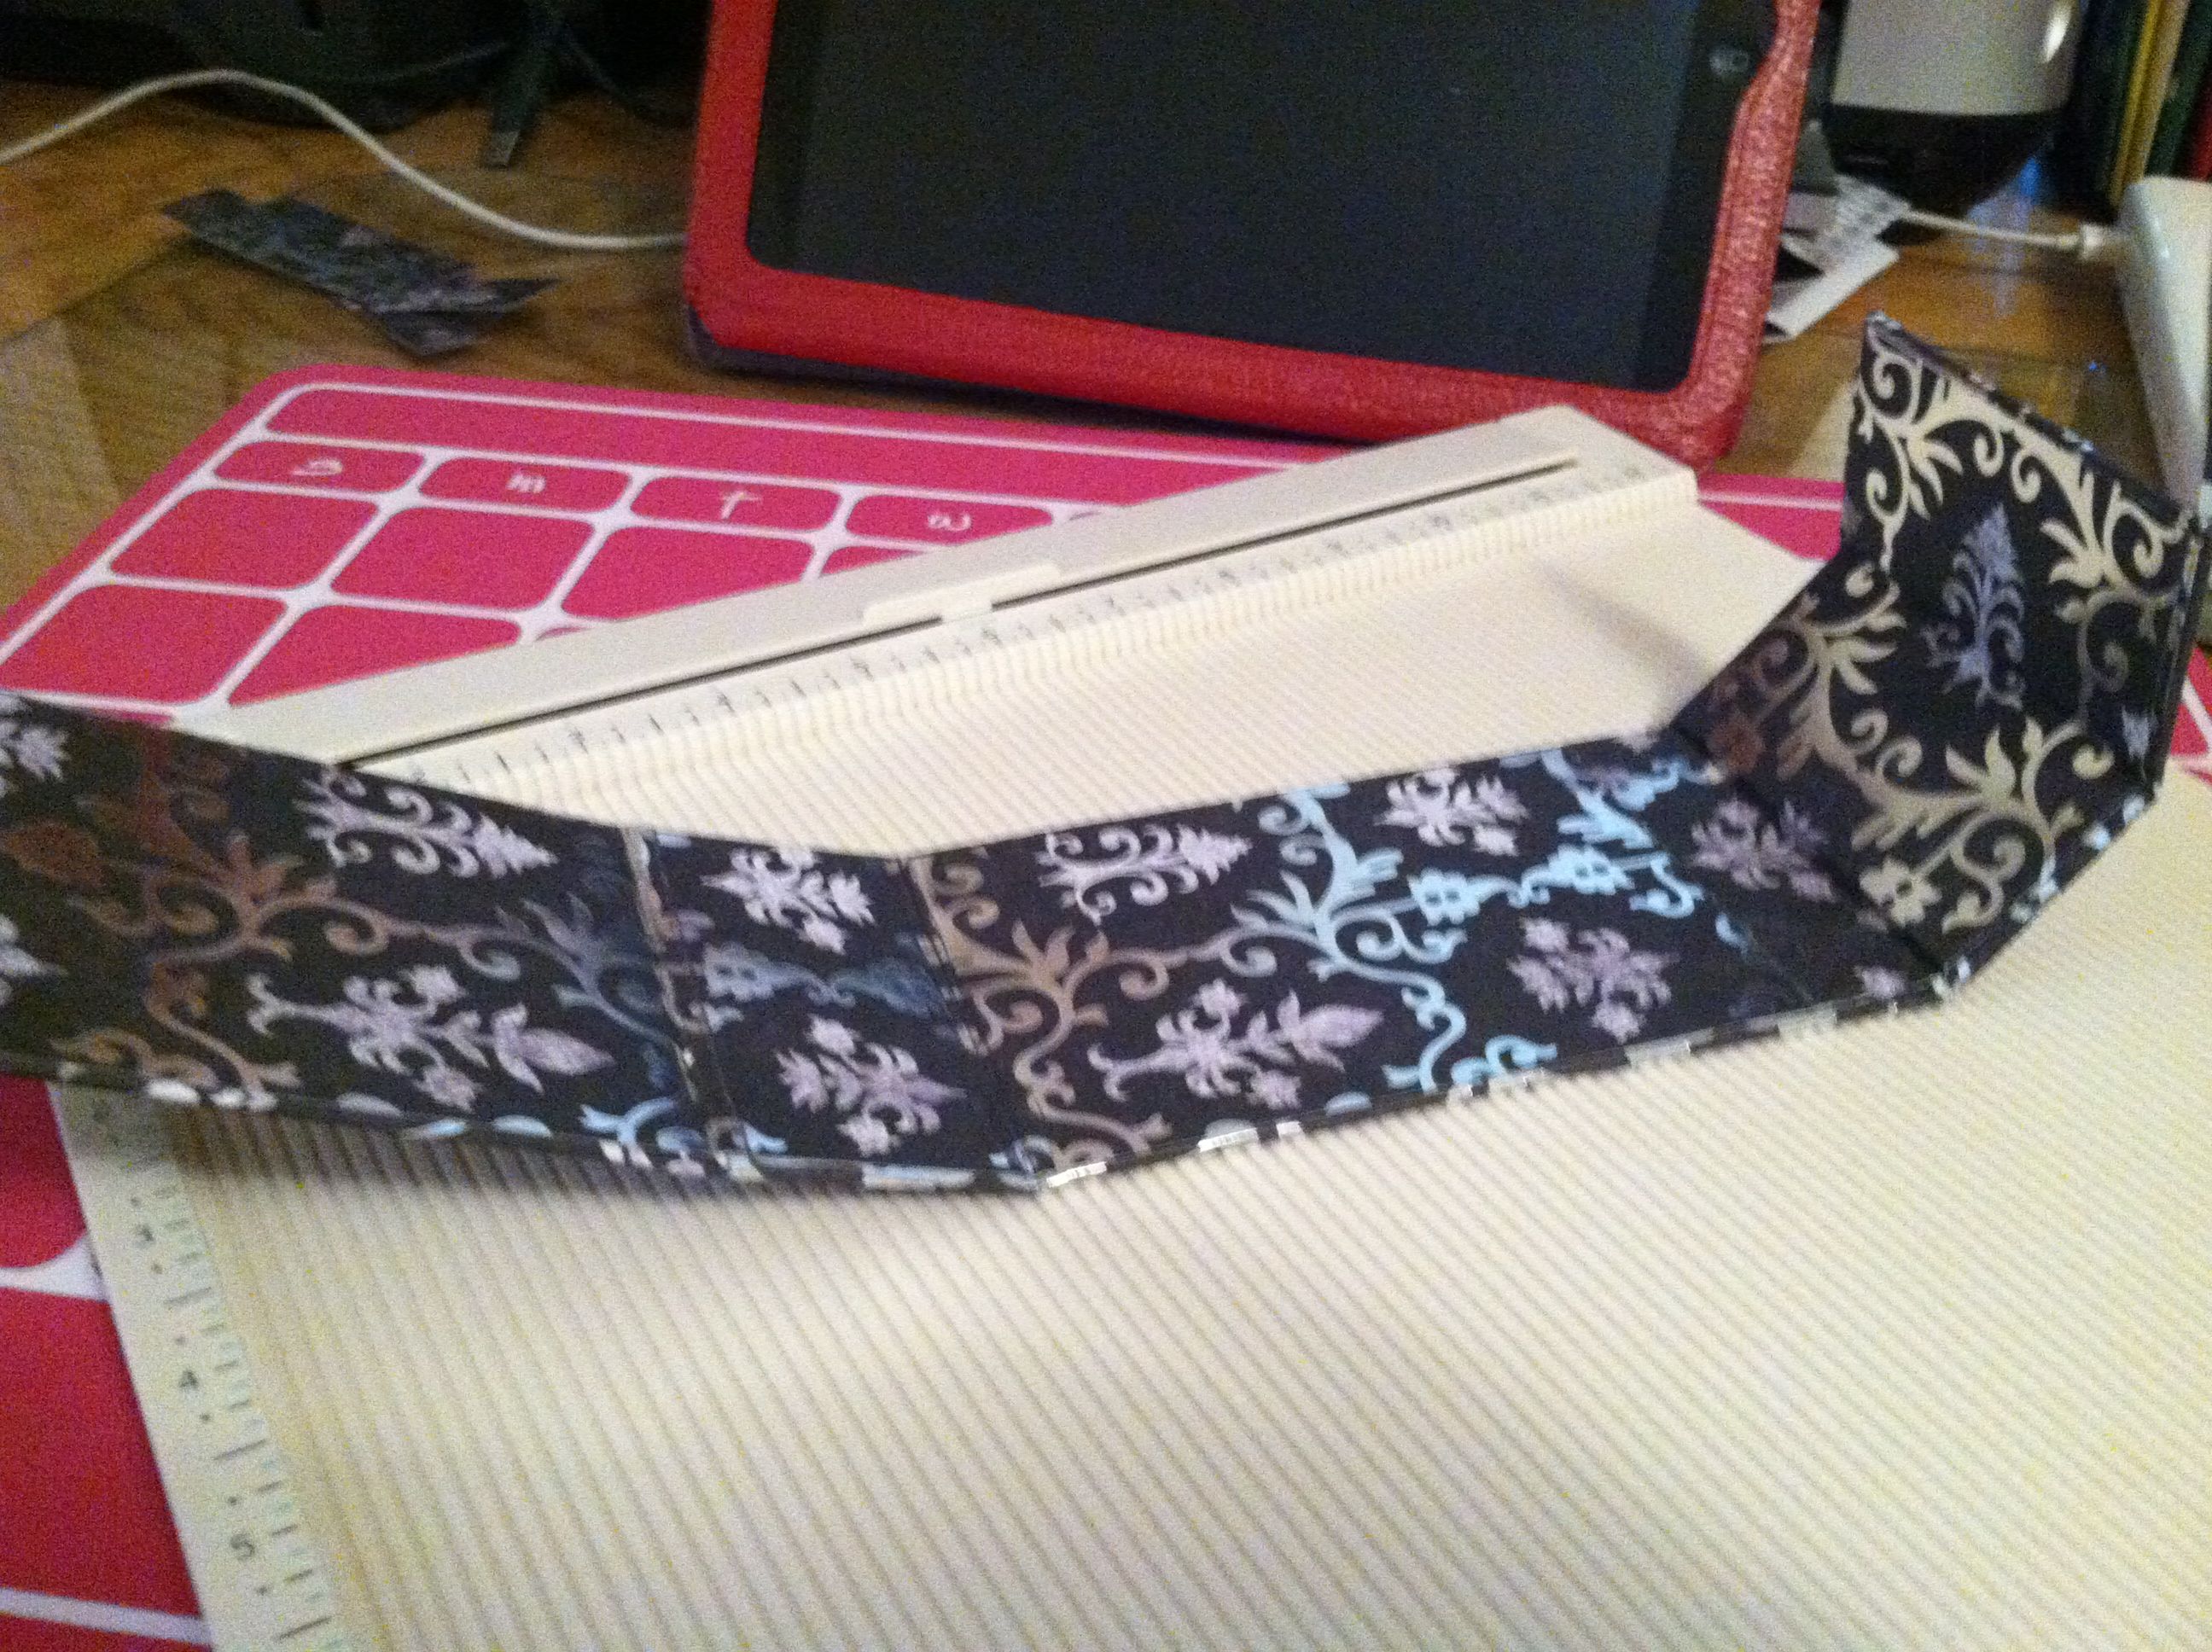 Step #4 – Cover your cover base boards. Cut patterned paper to cover your cover base PLUS 3/4″ around each edge. (1.5″ total) Tip! Since your paper is most likely not 17+” long, you will need to piece it. I like my piecing to be at the back of the bottom. (You may not care.) Also if your paper has a direction you will need to take that into consideration as you piece it, so it isn’t upside down on the back and flap. (Mine would be 4.5″ x 17.75″) (In picture is my Score Board.)
- Join paper with Scor-Tape (or other double sided strong tape,) to get it long enough.
- Put ATG (or Scor-Tape or other double sided tape) around edges of each piece of your cover base, and several strips in the middle (on 1 side).
- Lay you cover base pieces onto your paper, leaving 1/8″ space (about 2 chipboard widths) between each piece and the 3/4″ paper around the edge. Tip! I begin with the back piece on the joining edge, then work out with my other pieces.
- After attaching cover base to cover paper, score or turn the card on its edge, to fold the paper smoothly over the edges. Put Scor-Tape along edges of cover base boards and along outer edge of paper, all the way around. Miter corners of cover paper, leaving 1/8″ paper at each corner.
- Remove Scor-Tape backing and wrap paper edges around cover boards, smoothing and pushing in corners of paper to cover corners well.
- Cut inner cover lining from patterned paper 1/4″ smaller than length and 1/4″ smaller than width, again piecing at the bottom side. (Mine= 2.75 x 17.5″) Attach with ATG or Scor-Tape (or other double sided tape).
- Gentle fold cover on the folds (between each piece/side).
 Step 5 – Make your hinge. I used Laura Denison’s Stack the Deck Hinge.
- Cut 3 pieces card stock: 2.5 x 1.75″, 2.5 x 2.25″, 2.5 x 2.75″ Score and crease at .75″ from both ends of each piece on their NOT 2.5 side. (These 2.5″ wide fit well for the 2 5/8″ wide tp rolls.)
- Cover the bottom of each piece in-between center of score lines with Scor-Tape. Do not get tape on the score lines. (If using other double sided tape, you may need to cut the width of the tape down.)
- Tape each hinge piece down the center of the one next bigger than it. Tape largest one to center of cover bottom. Burnish each taping well.
 Put Scor-Tape on each side of the 6 hinges (sticking up after adhering bottom to cover).
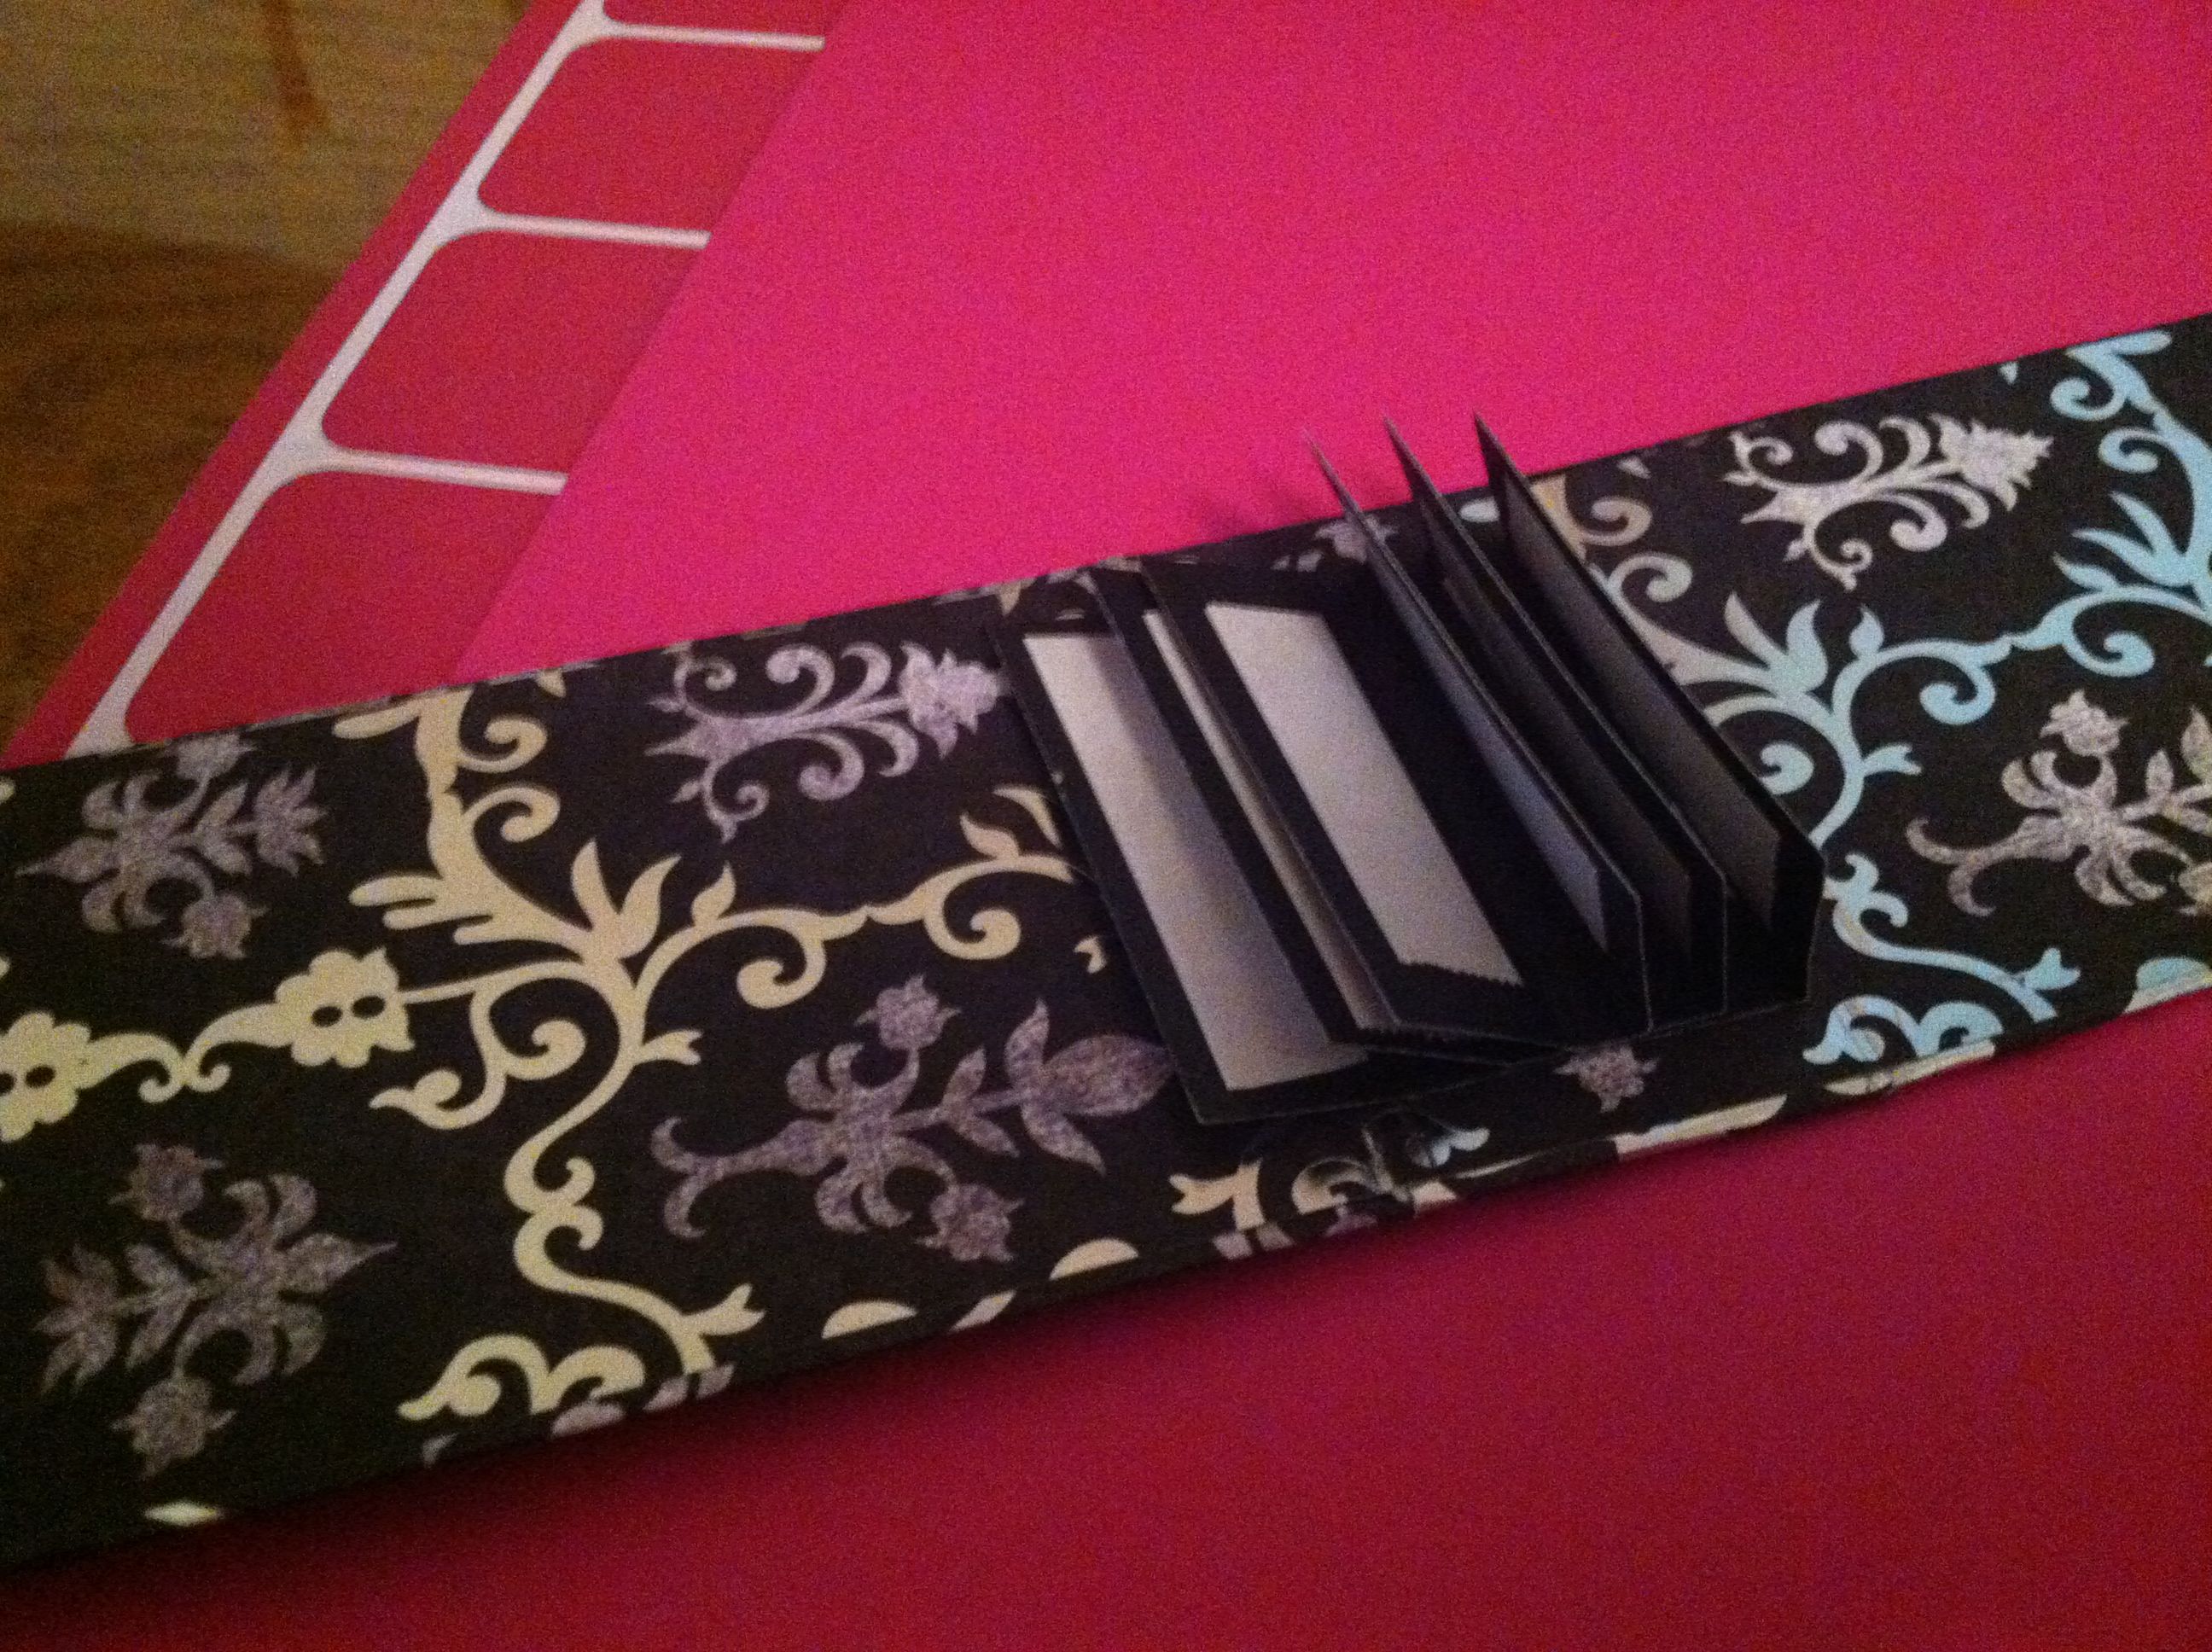
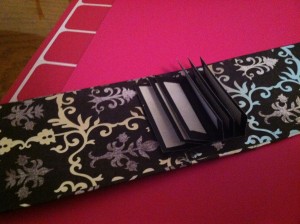
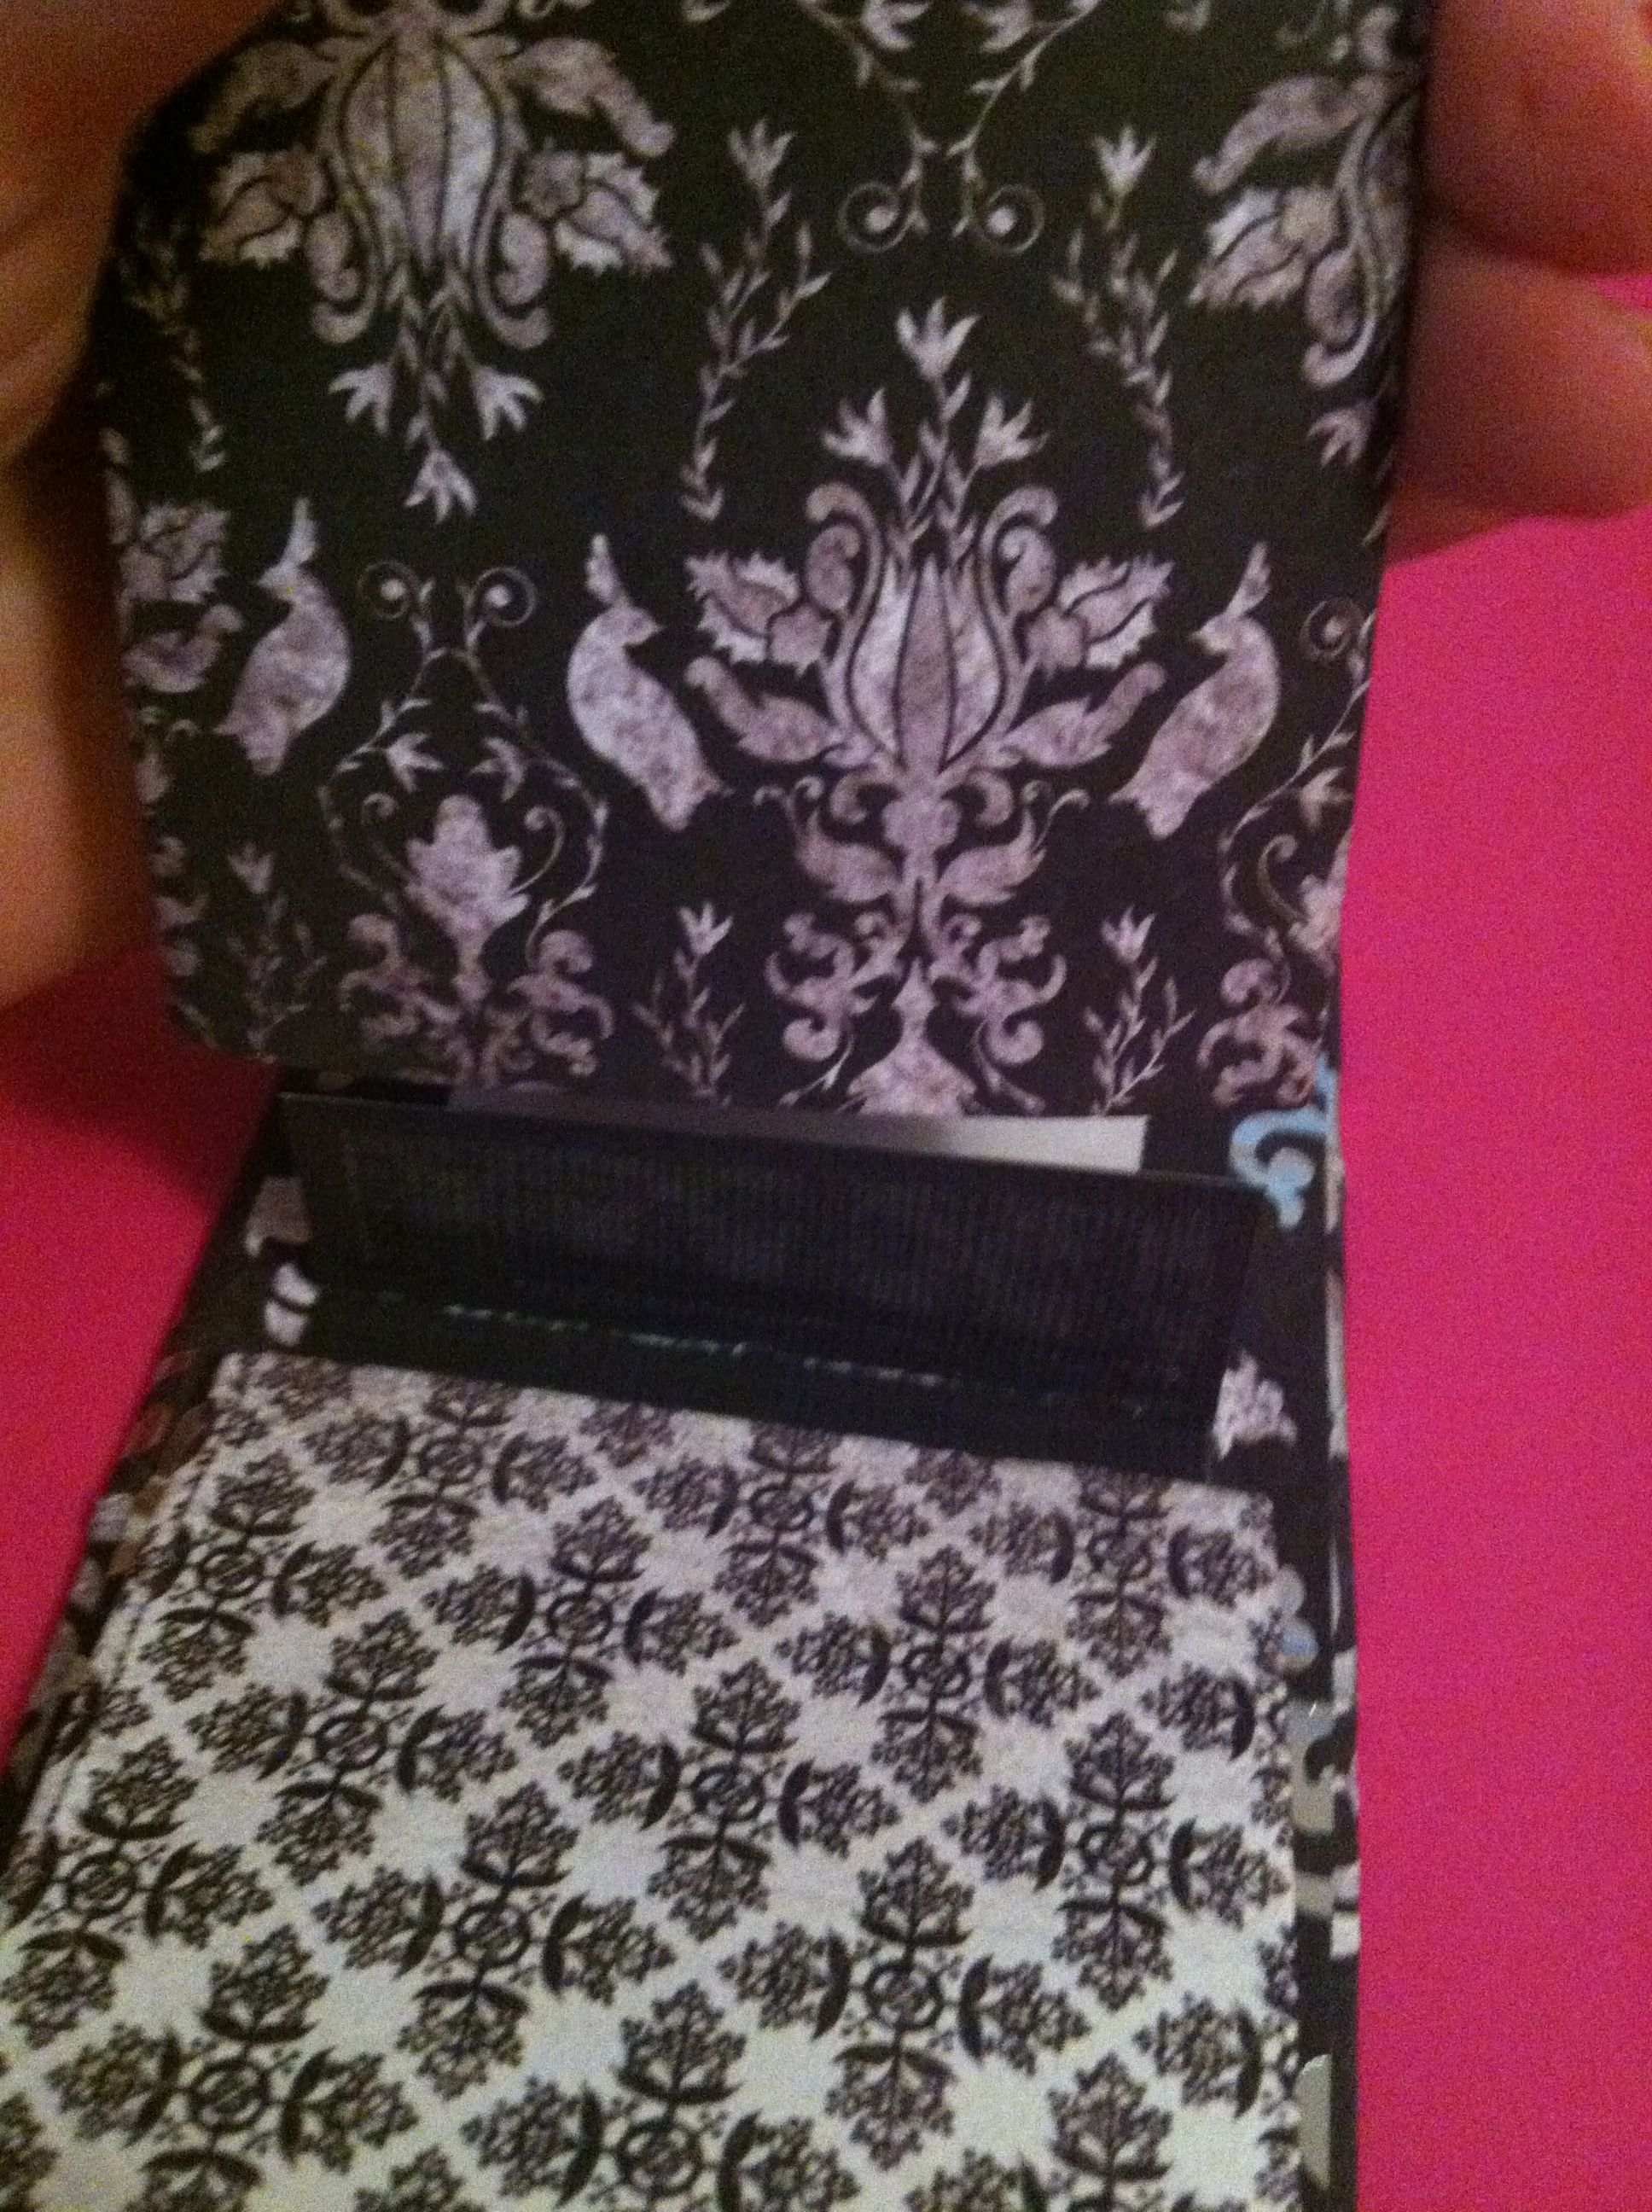 Step #6 – Attach pockets to hinges. One by one remove backing from Scor-Tape and put TP roll over it–encasing the hinge. Tip! Take care to hold the tp roll open as you lower it over the hinge. Once it sticks, it is stuck. You can do one side at a time if that helps. I also like to fold the hinge over a bit, so it isn’t pressed against the bottom of the hinge. It helps the pages turn more smoothly. You can alternatively use Scotch Quick Dry (wet glue) to attach pockets.
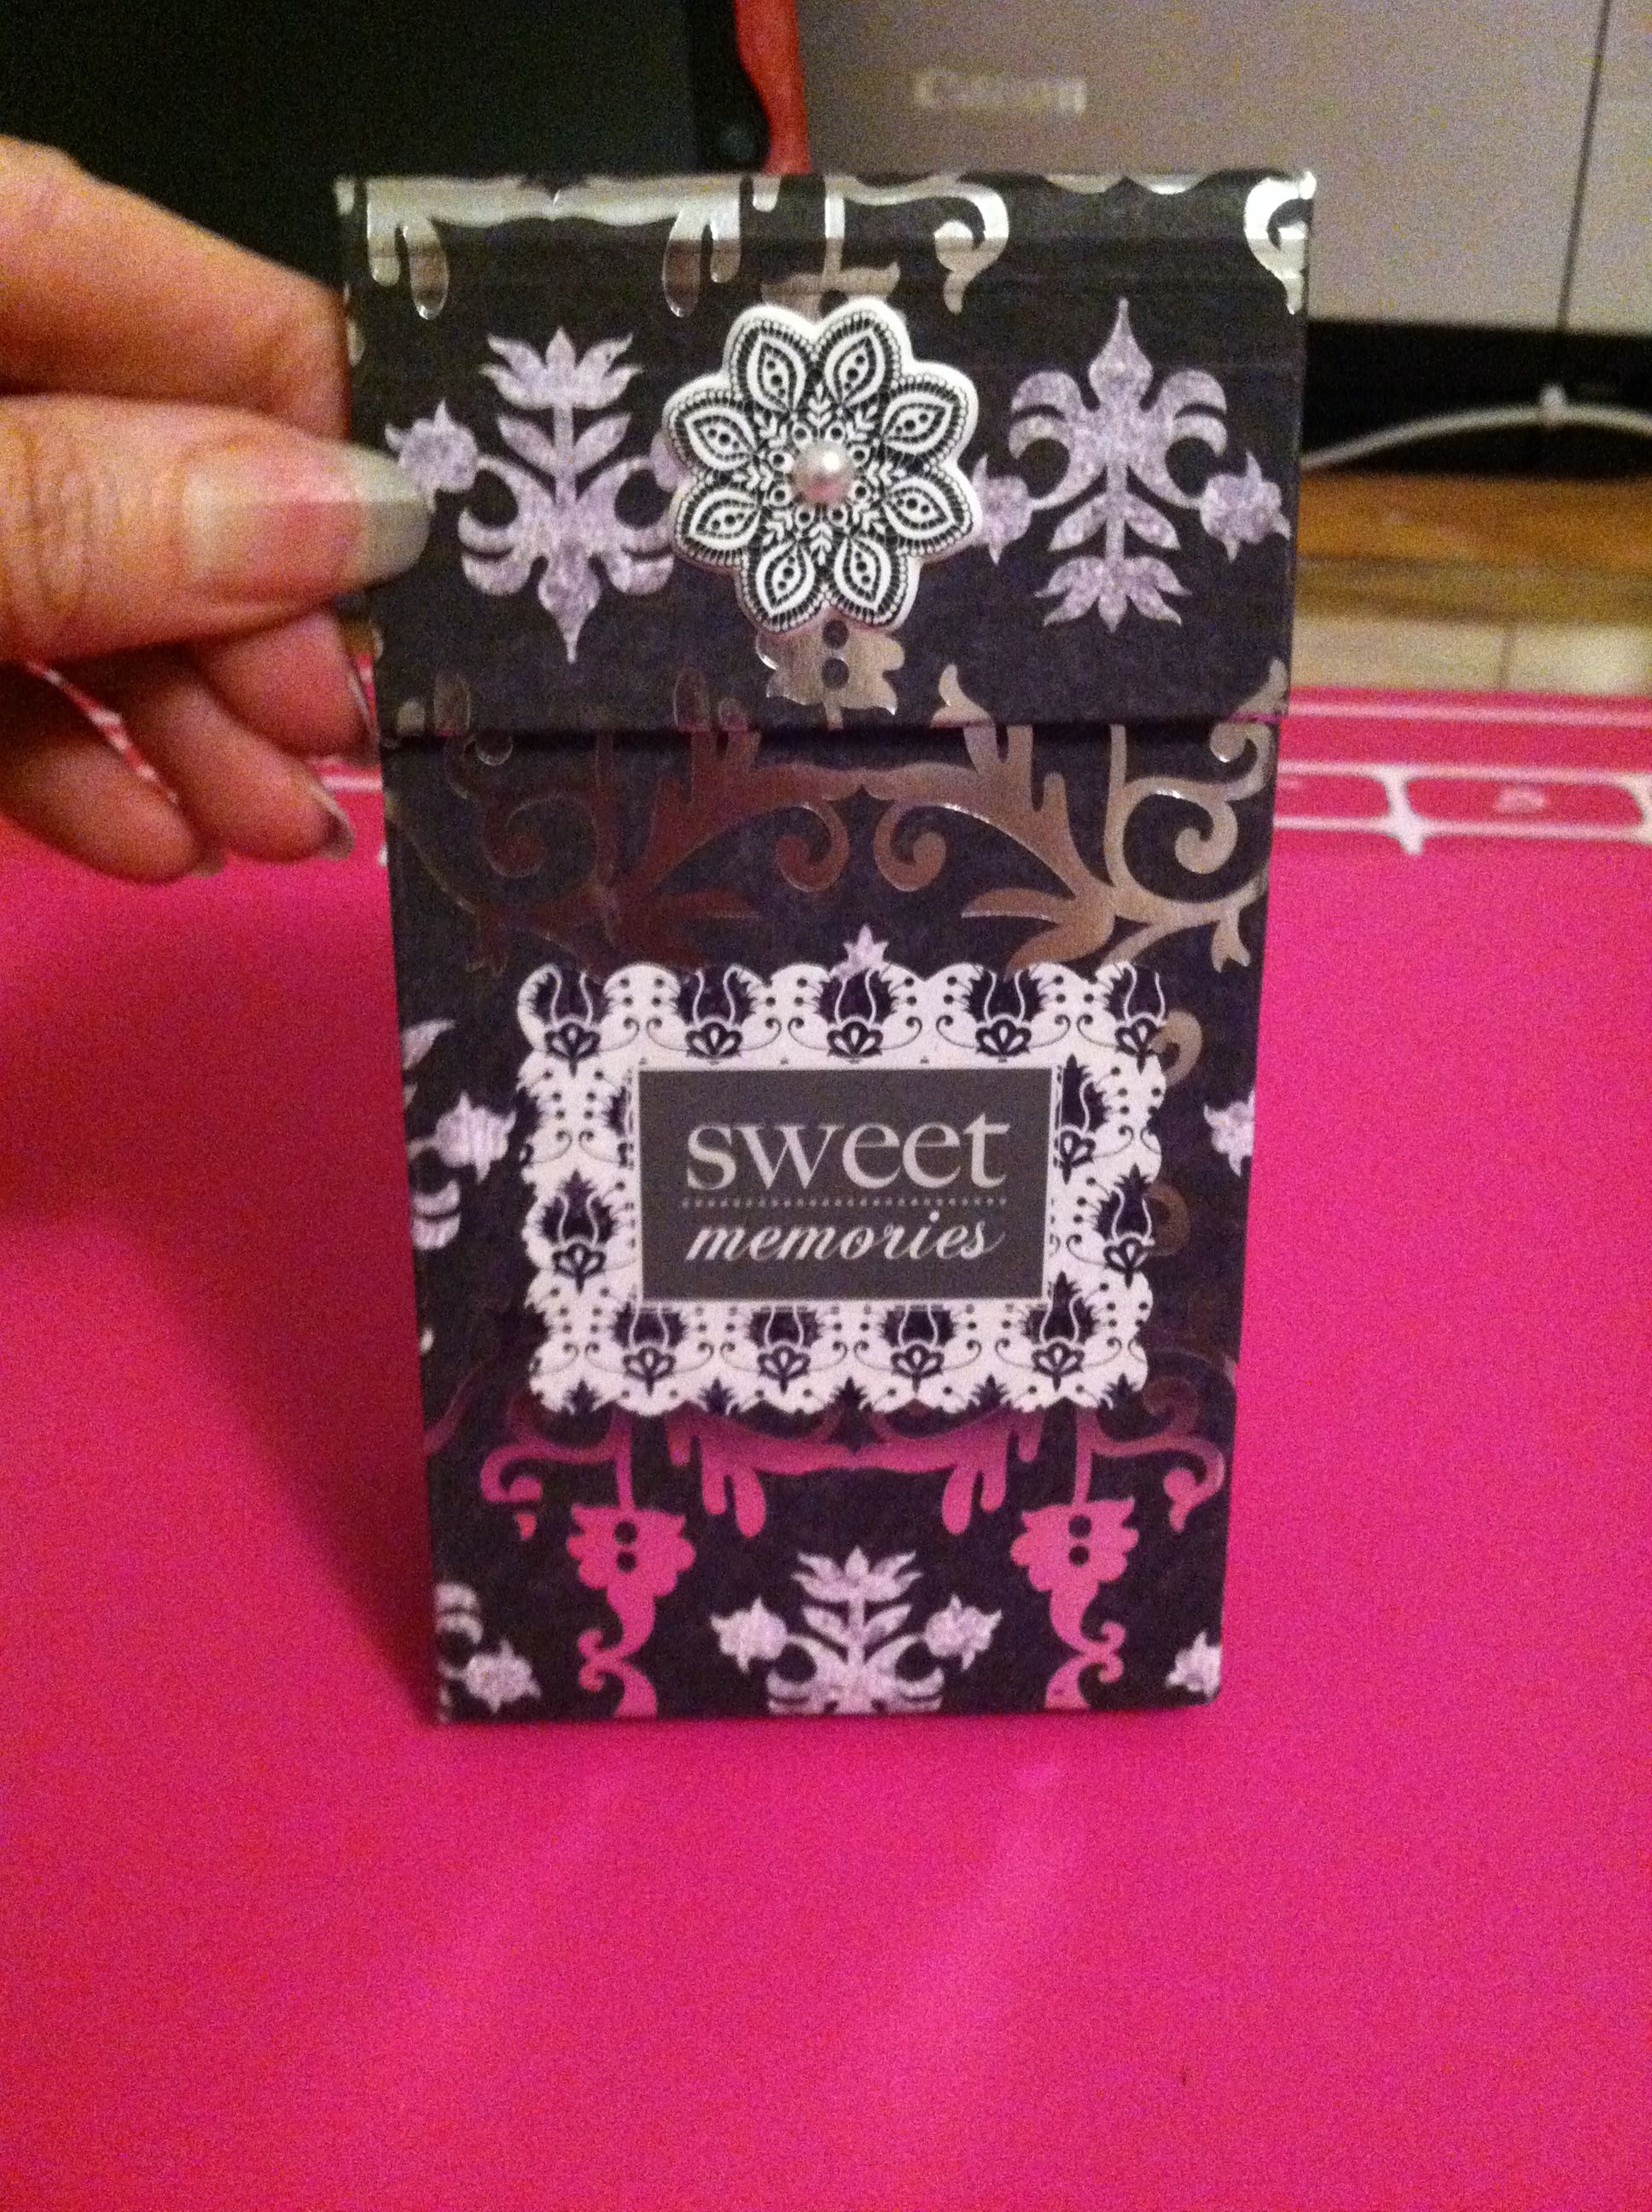
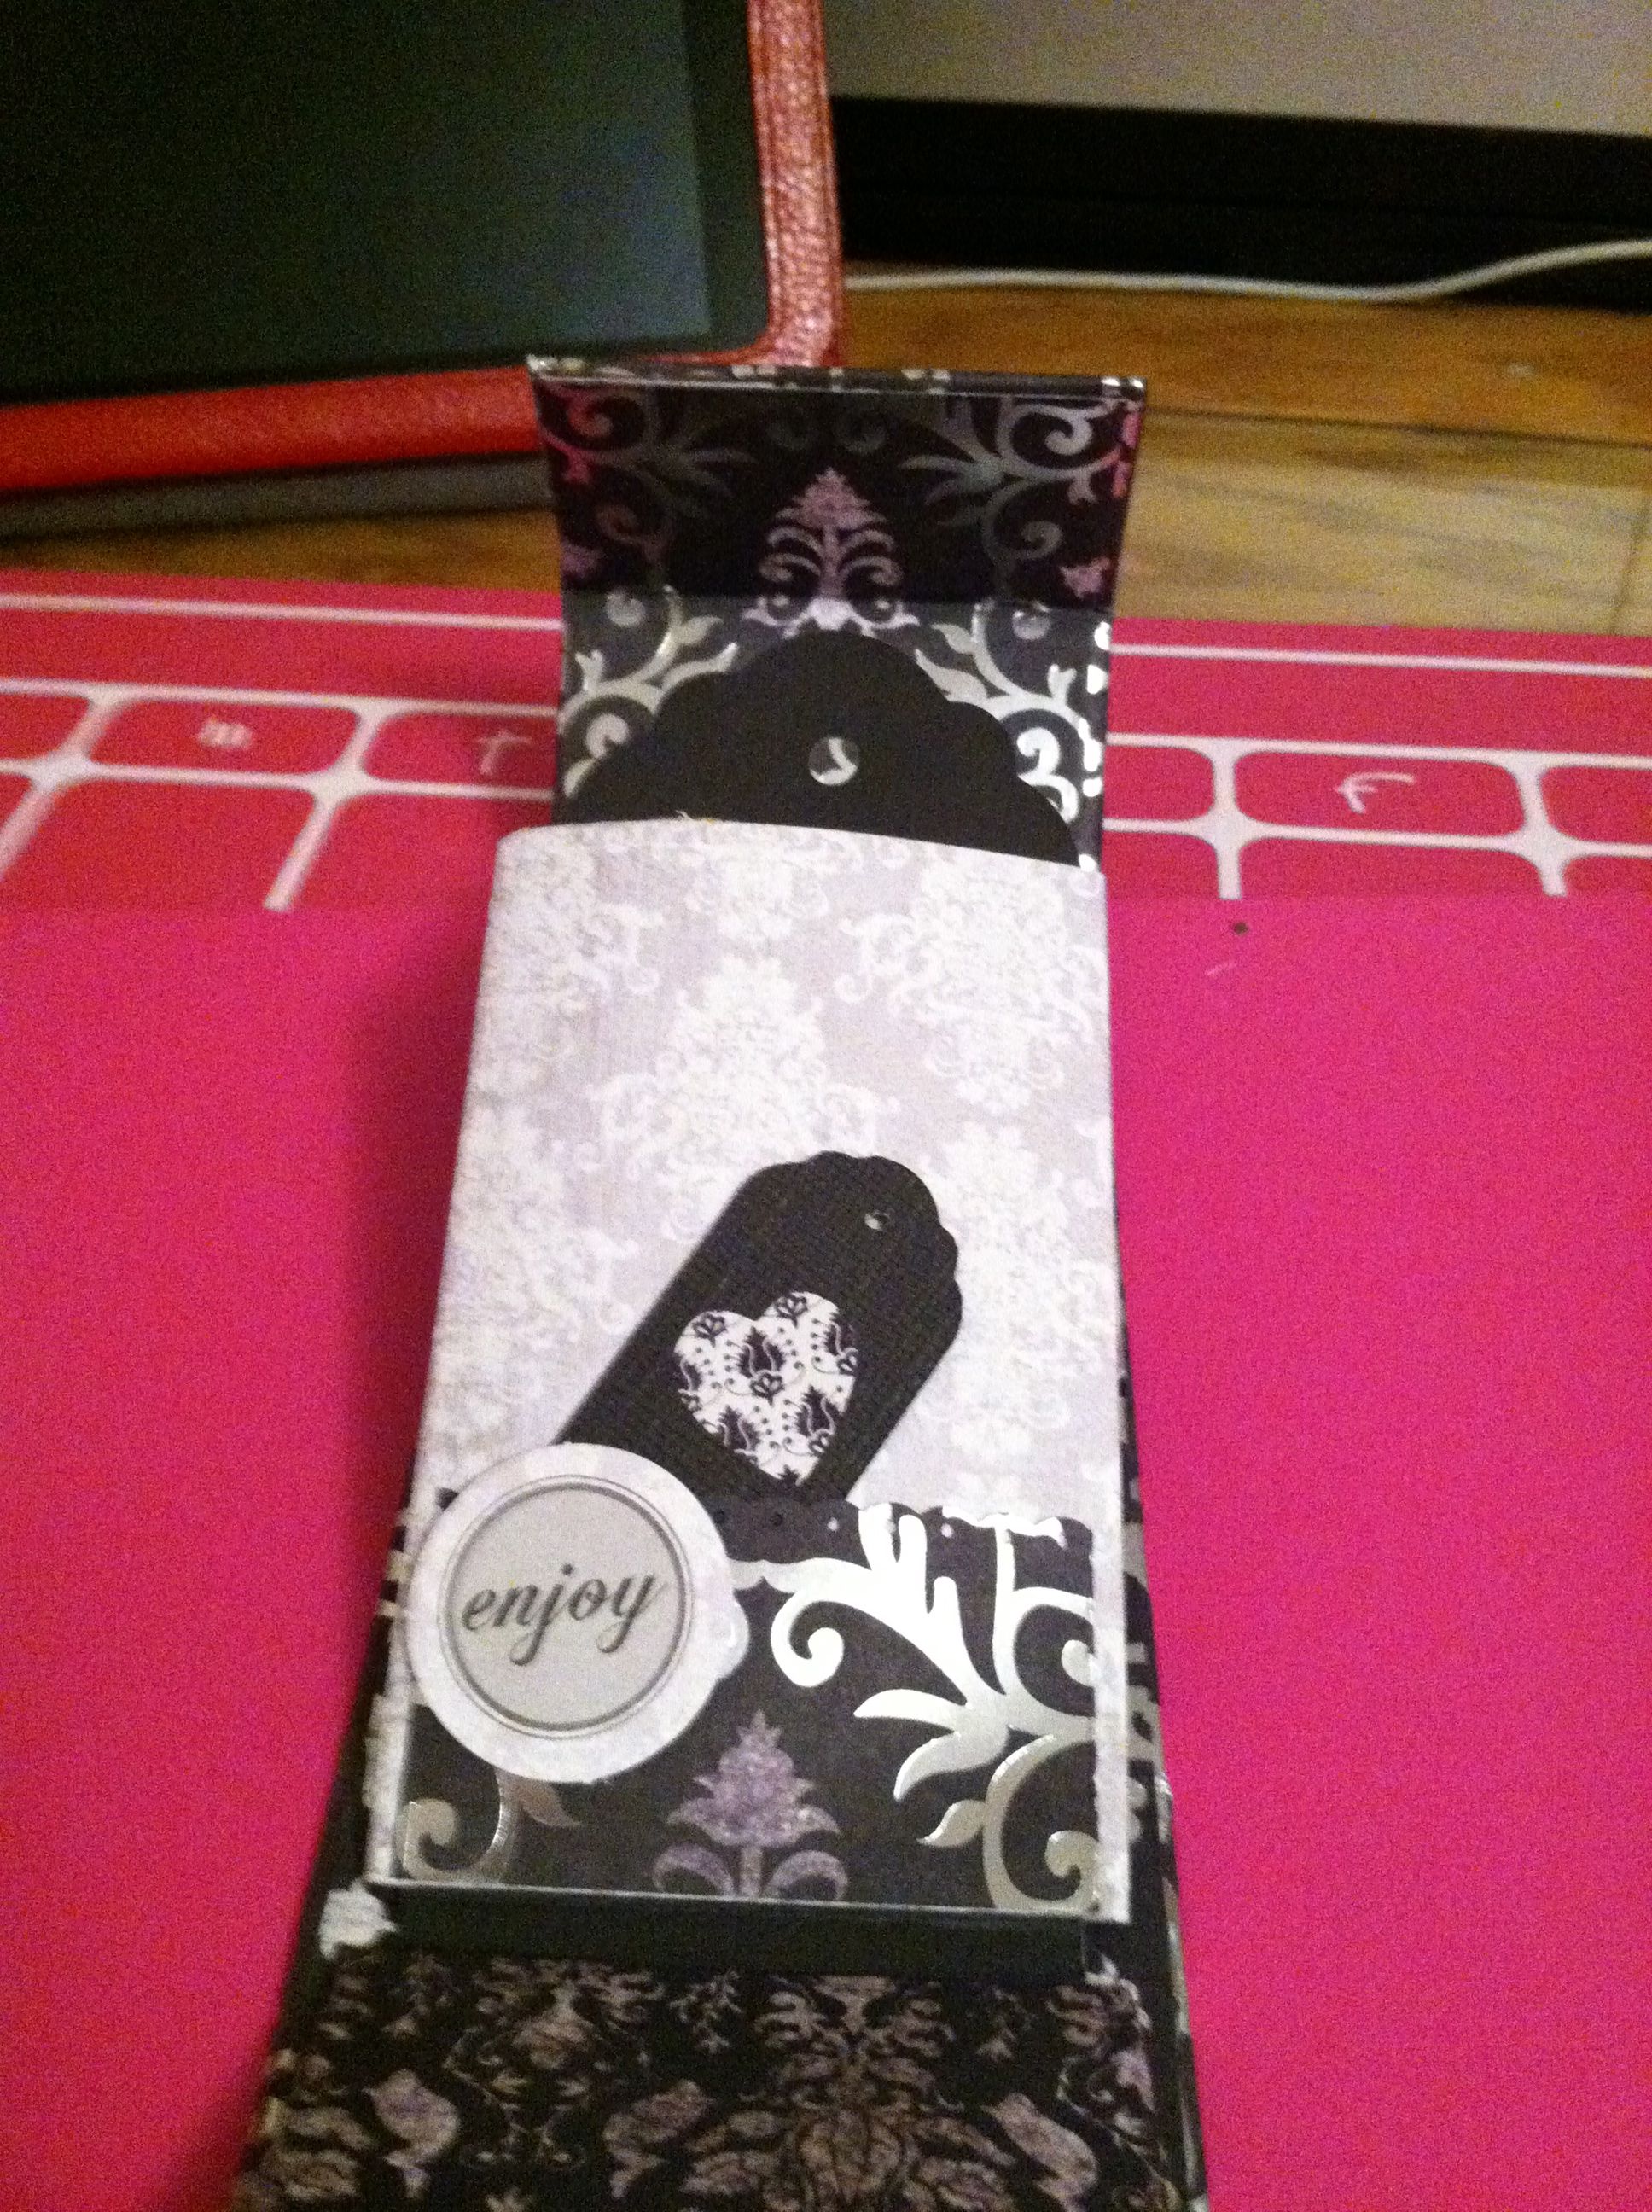 Step #7 – Add tags and decorate/ embellish pockets and cover. Cut 6 tags from card stock, at approx. 1/8″ smaller than the width of your tp rolls, and the proper height to fit down your pockets (this will vary depending on how you attached your pockets to your hinges, and what kind, if any, tabs your tags have.) Mine were 2.5″ x 4.5″ with a self scalloped tab. You want your tab to stick out of your pocket. Decorate the fronts of your pockets and outside of cover however you desire.
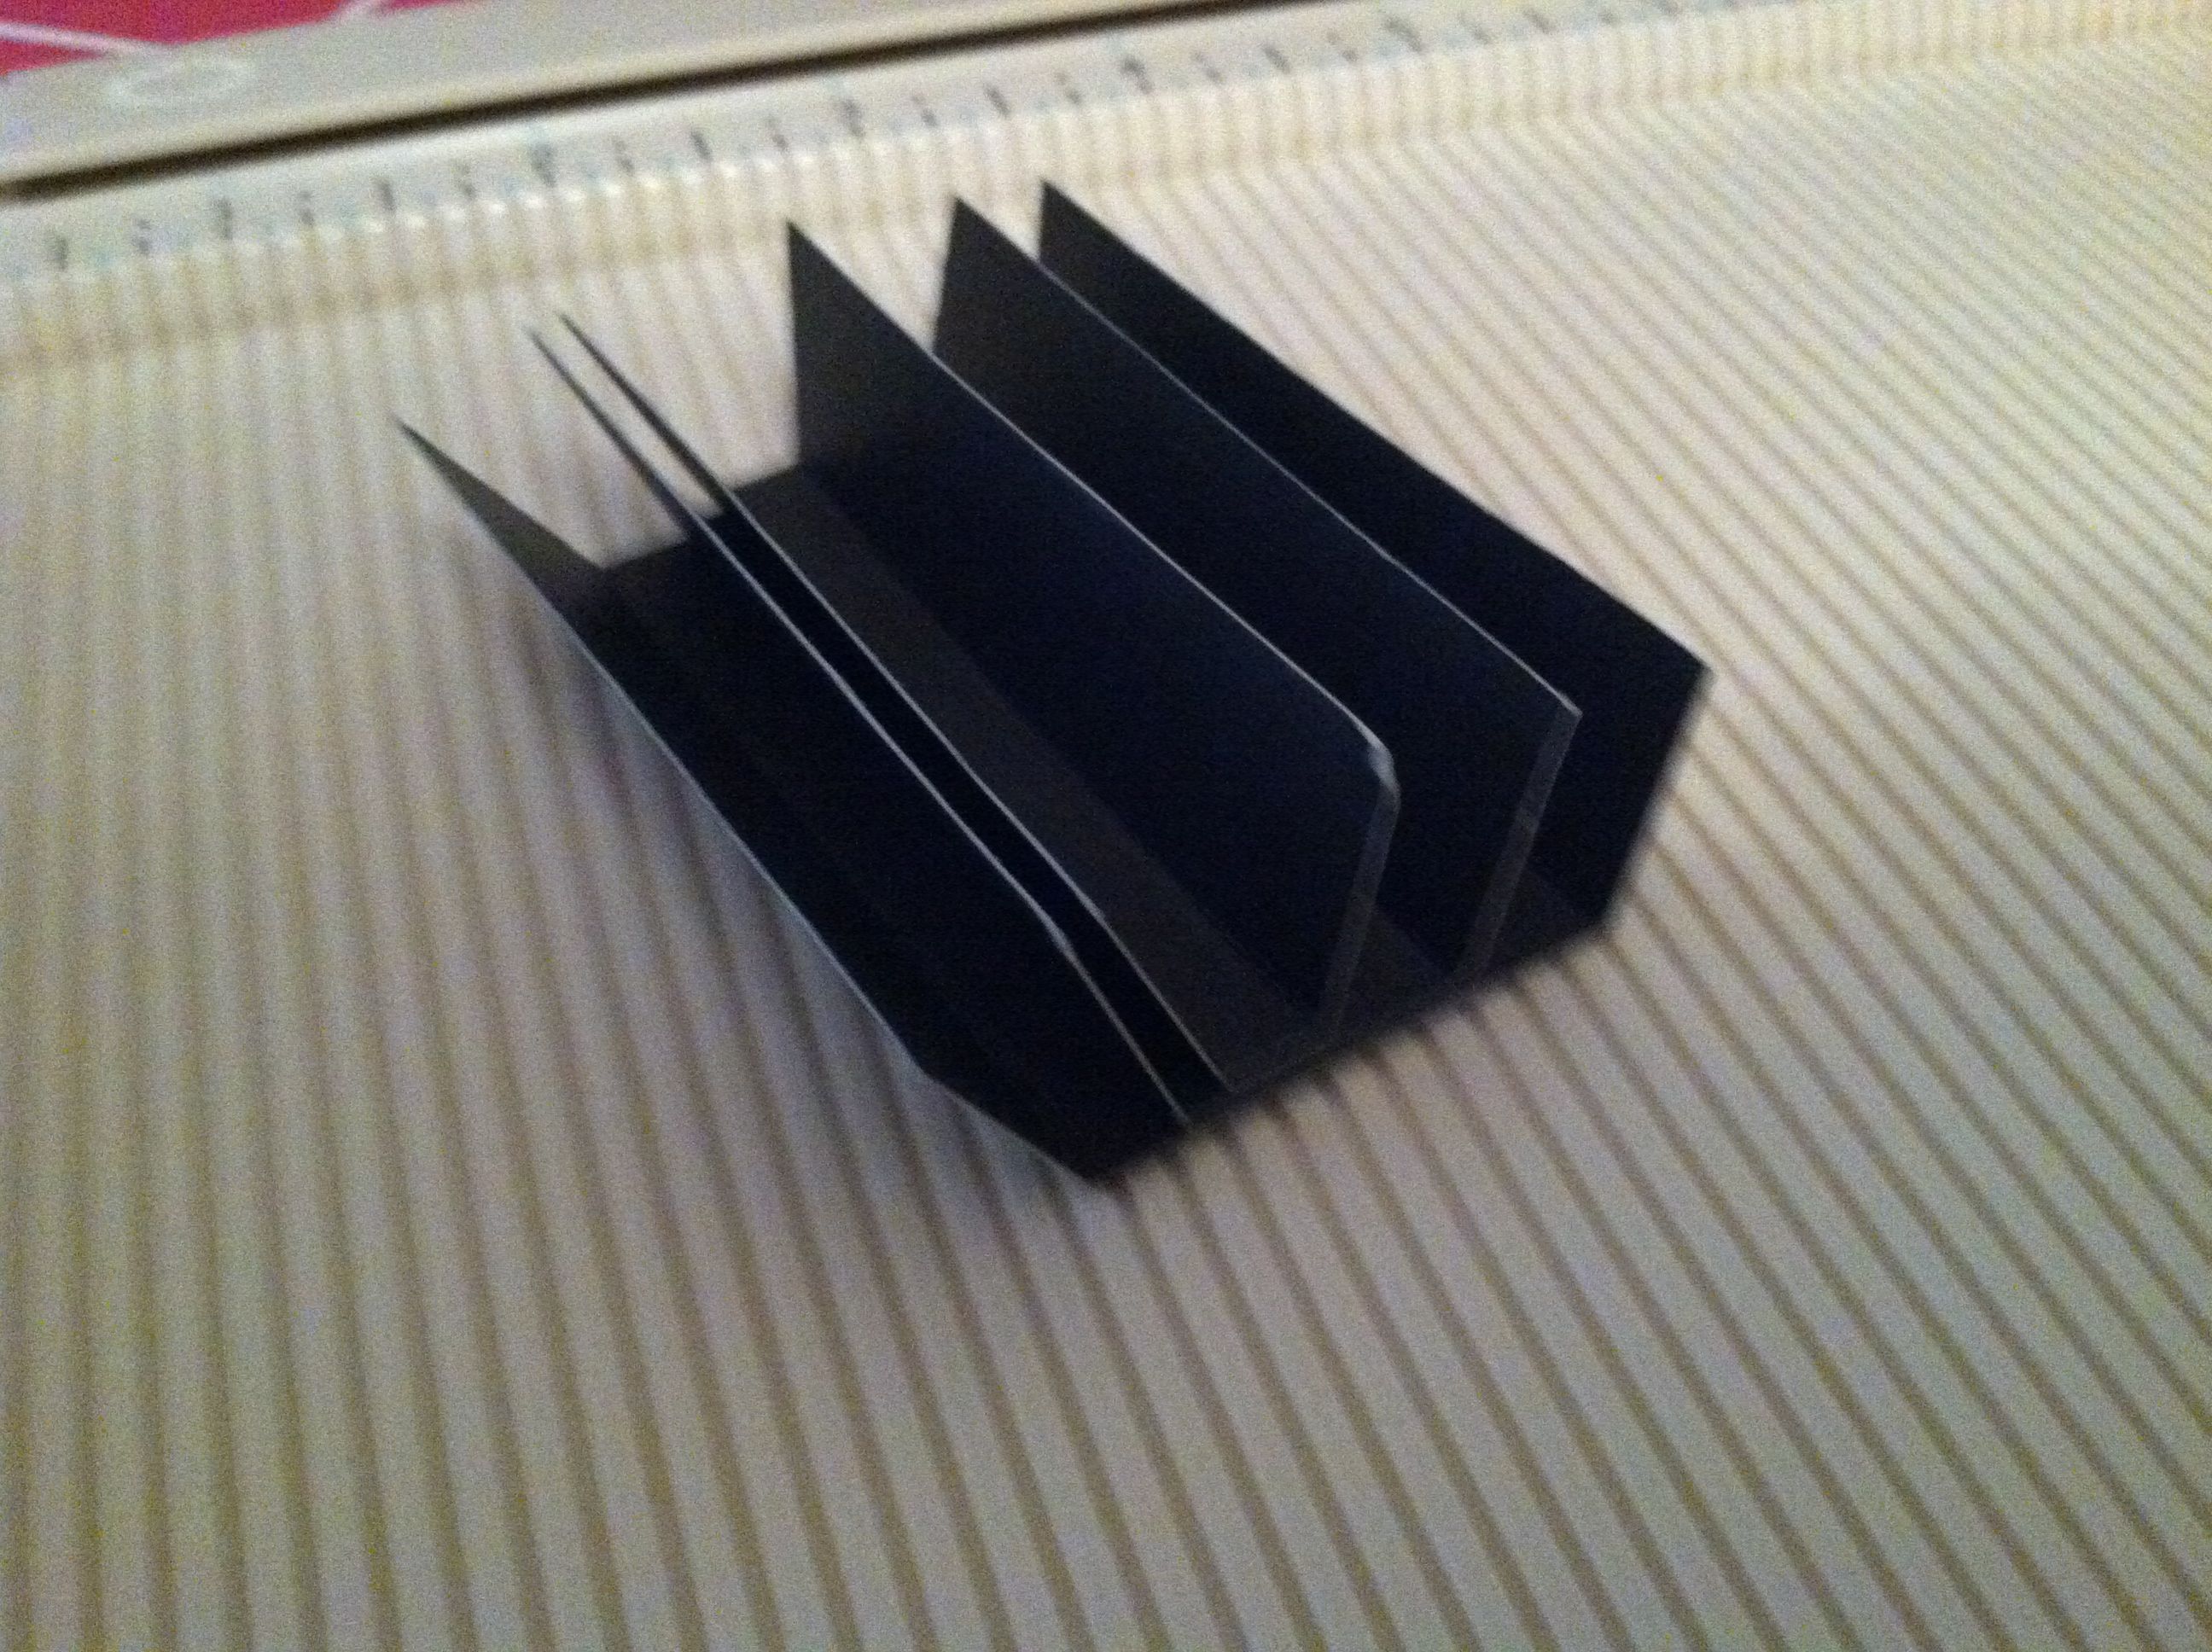
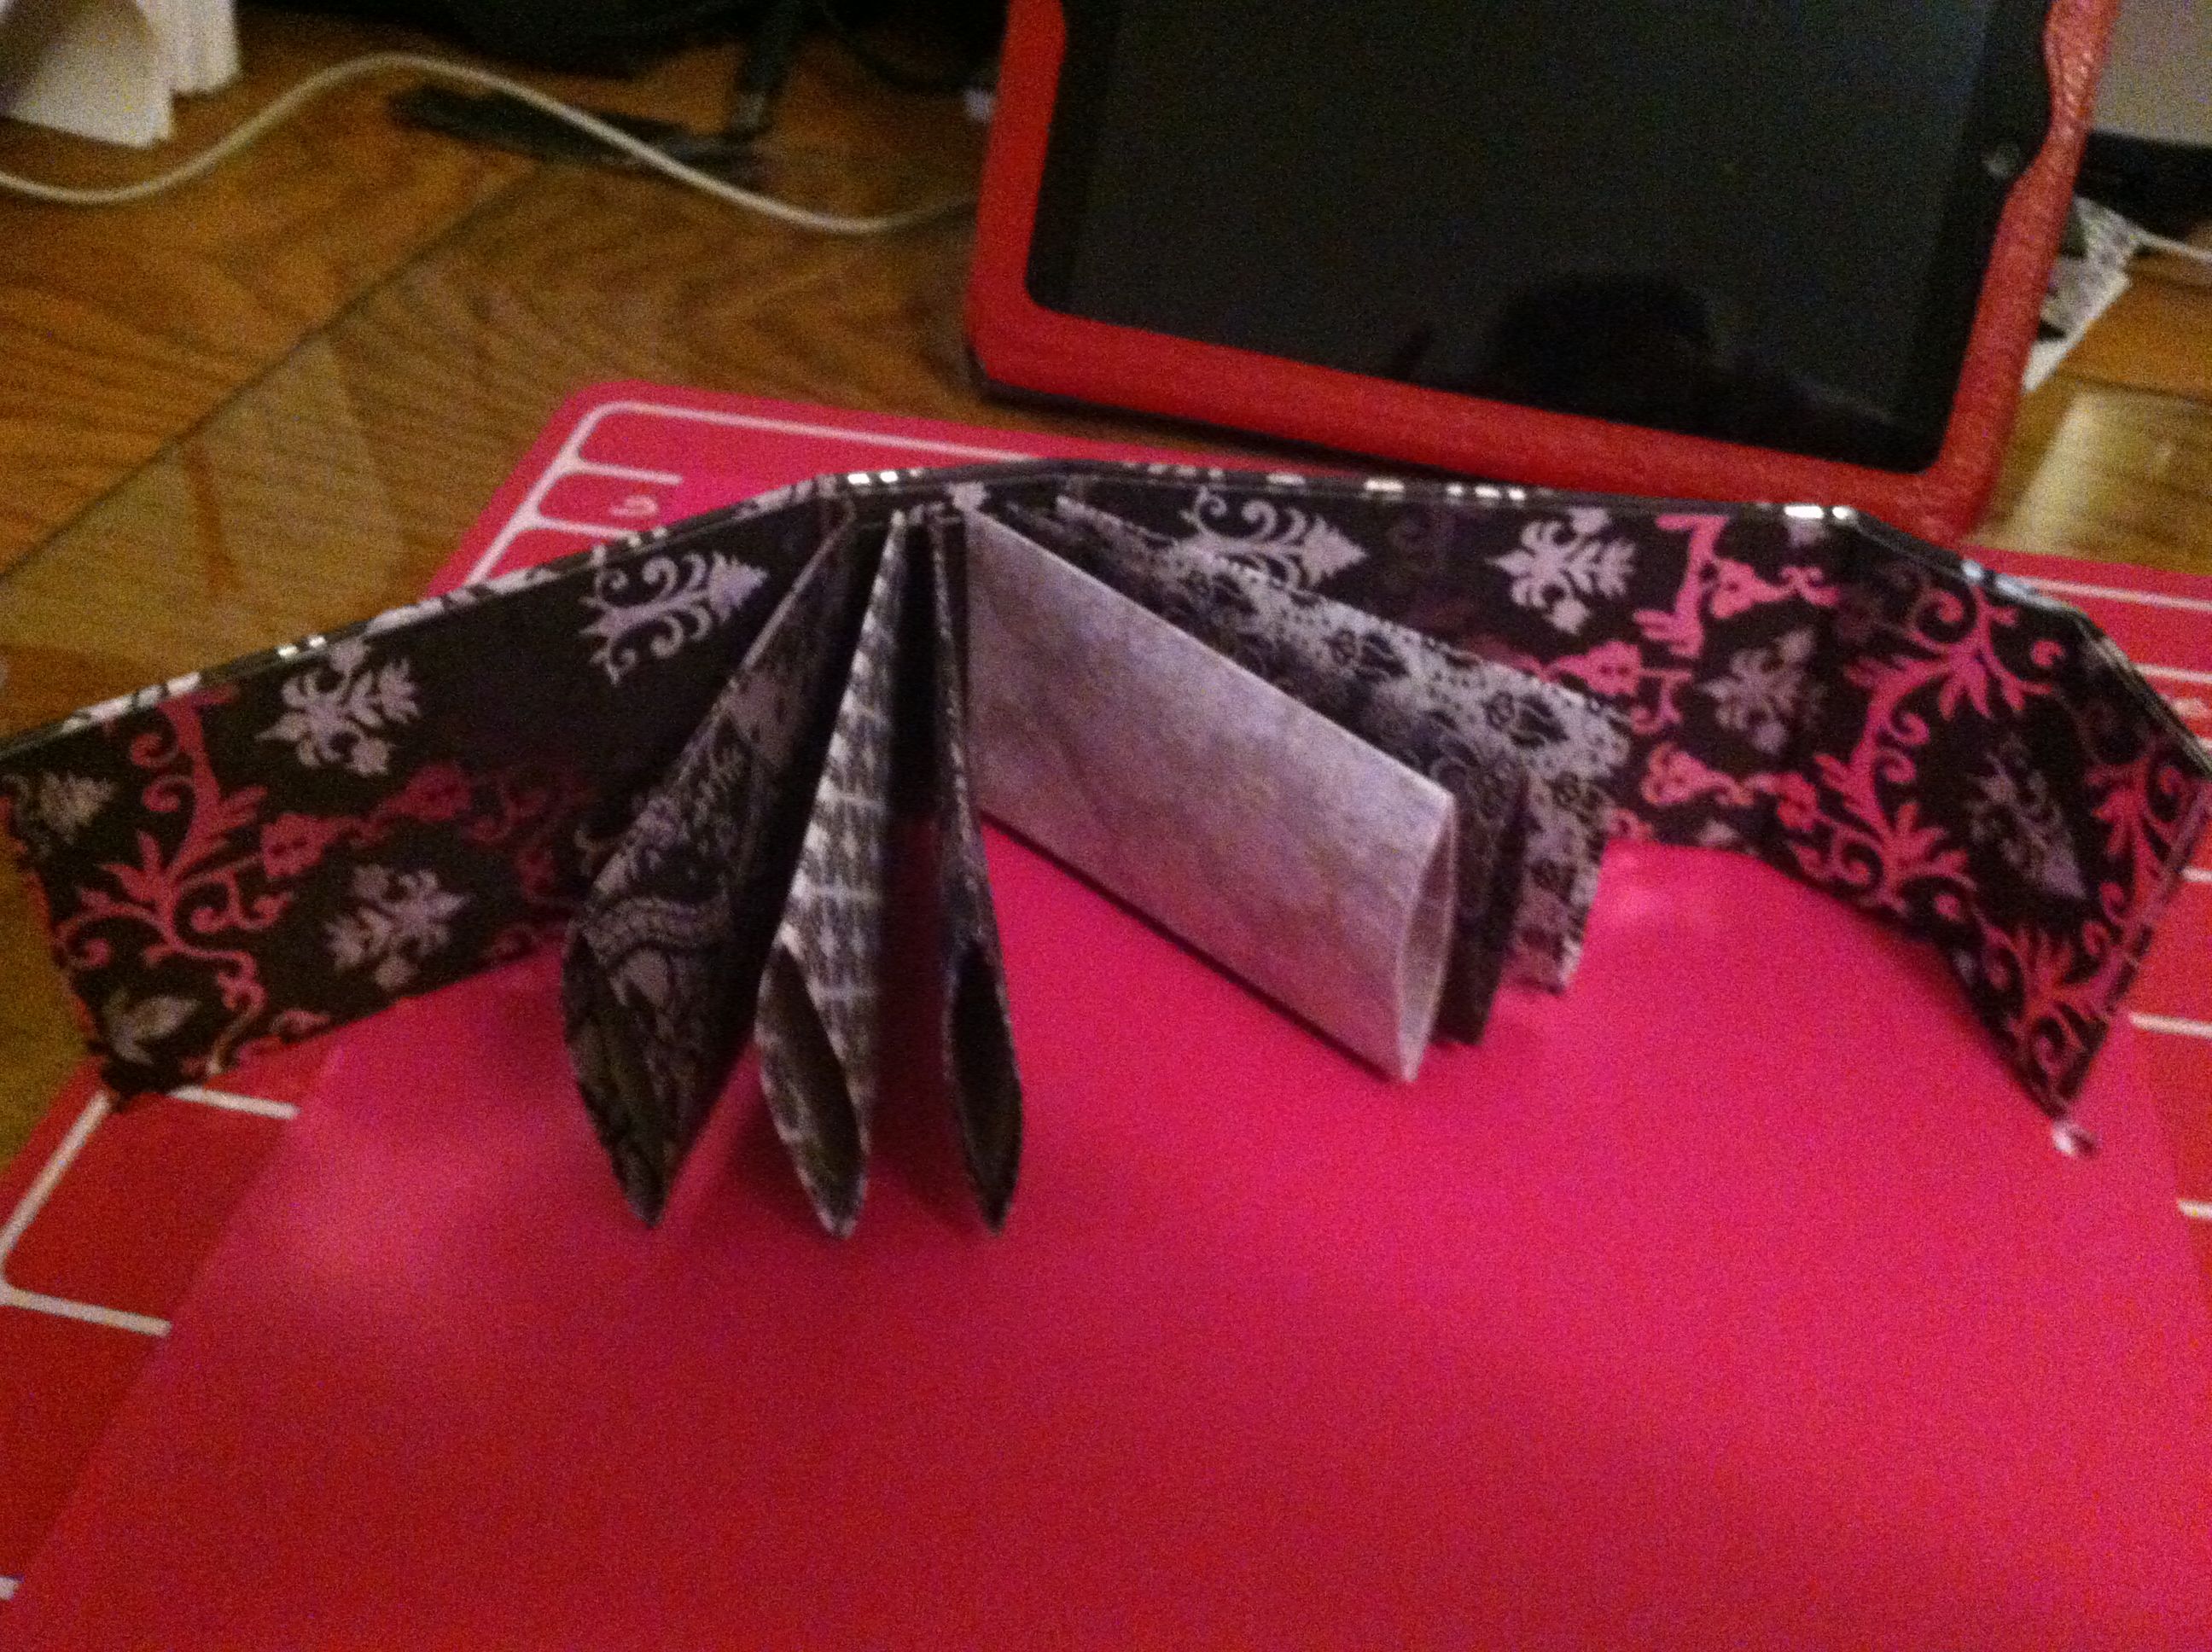 I hope this all made sense to you. Someday I may venture into video tutorials–or at least remember to get good pictures of each step that is not readily explanatory in words. But for now, this is what I’m able to do, so I hope you find it helpful. Feel free to ask questions, if there’s something you don’t quite get from my explanations. And a final pic of the inside (before decorating.)
And–Enjoy making a TP Mini Album.
[subscribe2]