 My babes aren’t the only ones that can snuggle in a soft and cuddly, homemade with love blanket. Even if you’ve never quilted before, you can make a baby rag quilt, like the ones I pictured in my last post–easily and quickly. No intricate cutting. No tricky piecing. No fancy sewing. Just straight cuts and seams.
You’ll need:
- Flannel fabric
- Rotary Cutter (preferably 60 or 45 mm)
, Self-healing cutting mat
and Quilter’s ruler
(or T-square ruler and “dressmaker’s” (8″) sewing scissors)
- Sharp tipped scissors (preferably spring loaded scissors
)
- Pins (preferably quilter’s pins – long and thin)
- Sewing machine with Thread to co-ordinate with fabric (preferably cotton quilting thread 50wt
)
- Paper to sketch your layout
(See note at end.)
Planning:
For a baby sized quilt either a 6×6 or 7×7 pattern works well. With finished squares of either 6″ (for the 7×7 pattern) or 7″ (for either), your blanket turns out at 42″ or 49″ square. 42″ is a good “normal” size for a baby blanket, and 49″ is a nice large baby blanket. (Smaller blankets can be made, but babe will outgrow them soon. I prefer these larger sizes, to wrap babe in, not just throw over.)
A 7×7 pattern requires 49 front squares, 49 back squares, and 49 “batting” (middle layer) squares. A 6×6 pattern requires 36 for each of the 3 layers. I use flannel for all 3 layers. (For a regular quilt, you could use actual batting for your middle layer.) The squares are each cut 1″ larger than the finished square size for the front and back, and at the finished size each for the middle layer.
For a 42″ finished 6×6 pattern, you need to cut a total of 36 8″ squares for the front, 36 8″ squares for the back, 36 7″ squares for the middle/ batting layer.
For a 42″ finished 7×7 pattern, you need to cut 49 7″ squares for the front, 49 7″ squares for the back, 49 6″ squares for the middle/ batting layer.
For a 49″ finished 7×7 size, you need to cut a total of 49 8″ squares for the front, 49 8″ squares for the back, 49 7″ squares for the middle/ batting layer.
You could also make a larger 6×6 pattern with 9″ top and bottom squares that finish at 8″, (and 8″ middle layer squares,) for a 48″ square quilt.
For a smaller, 6×6 36″, cut a total of 36 7″ squares for the front, 36 7″ squares for the back, 36 6″ squares for the middle/ batting layer.
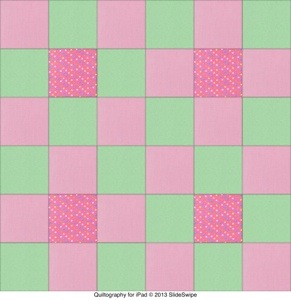
9 Patch
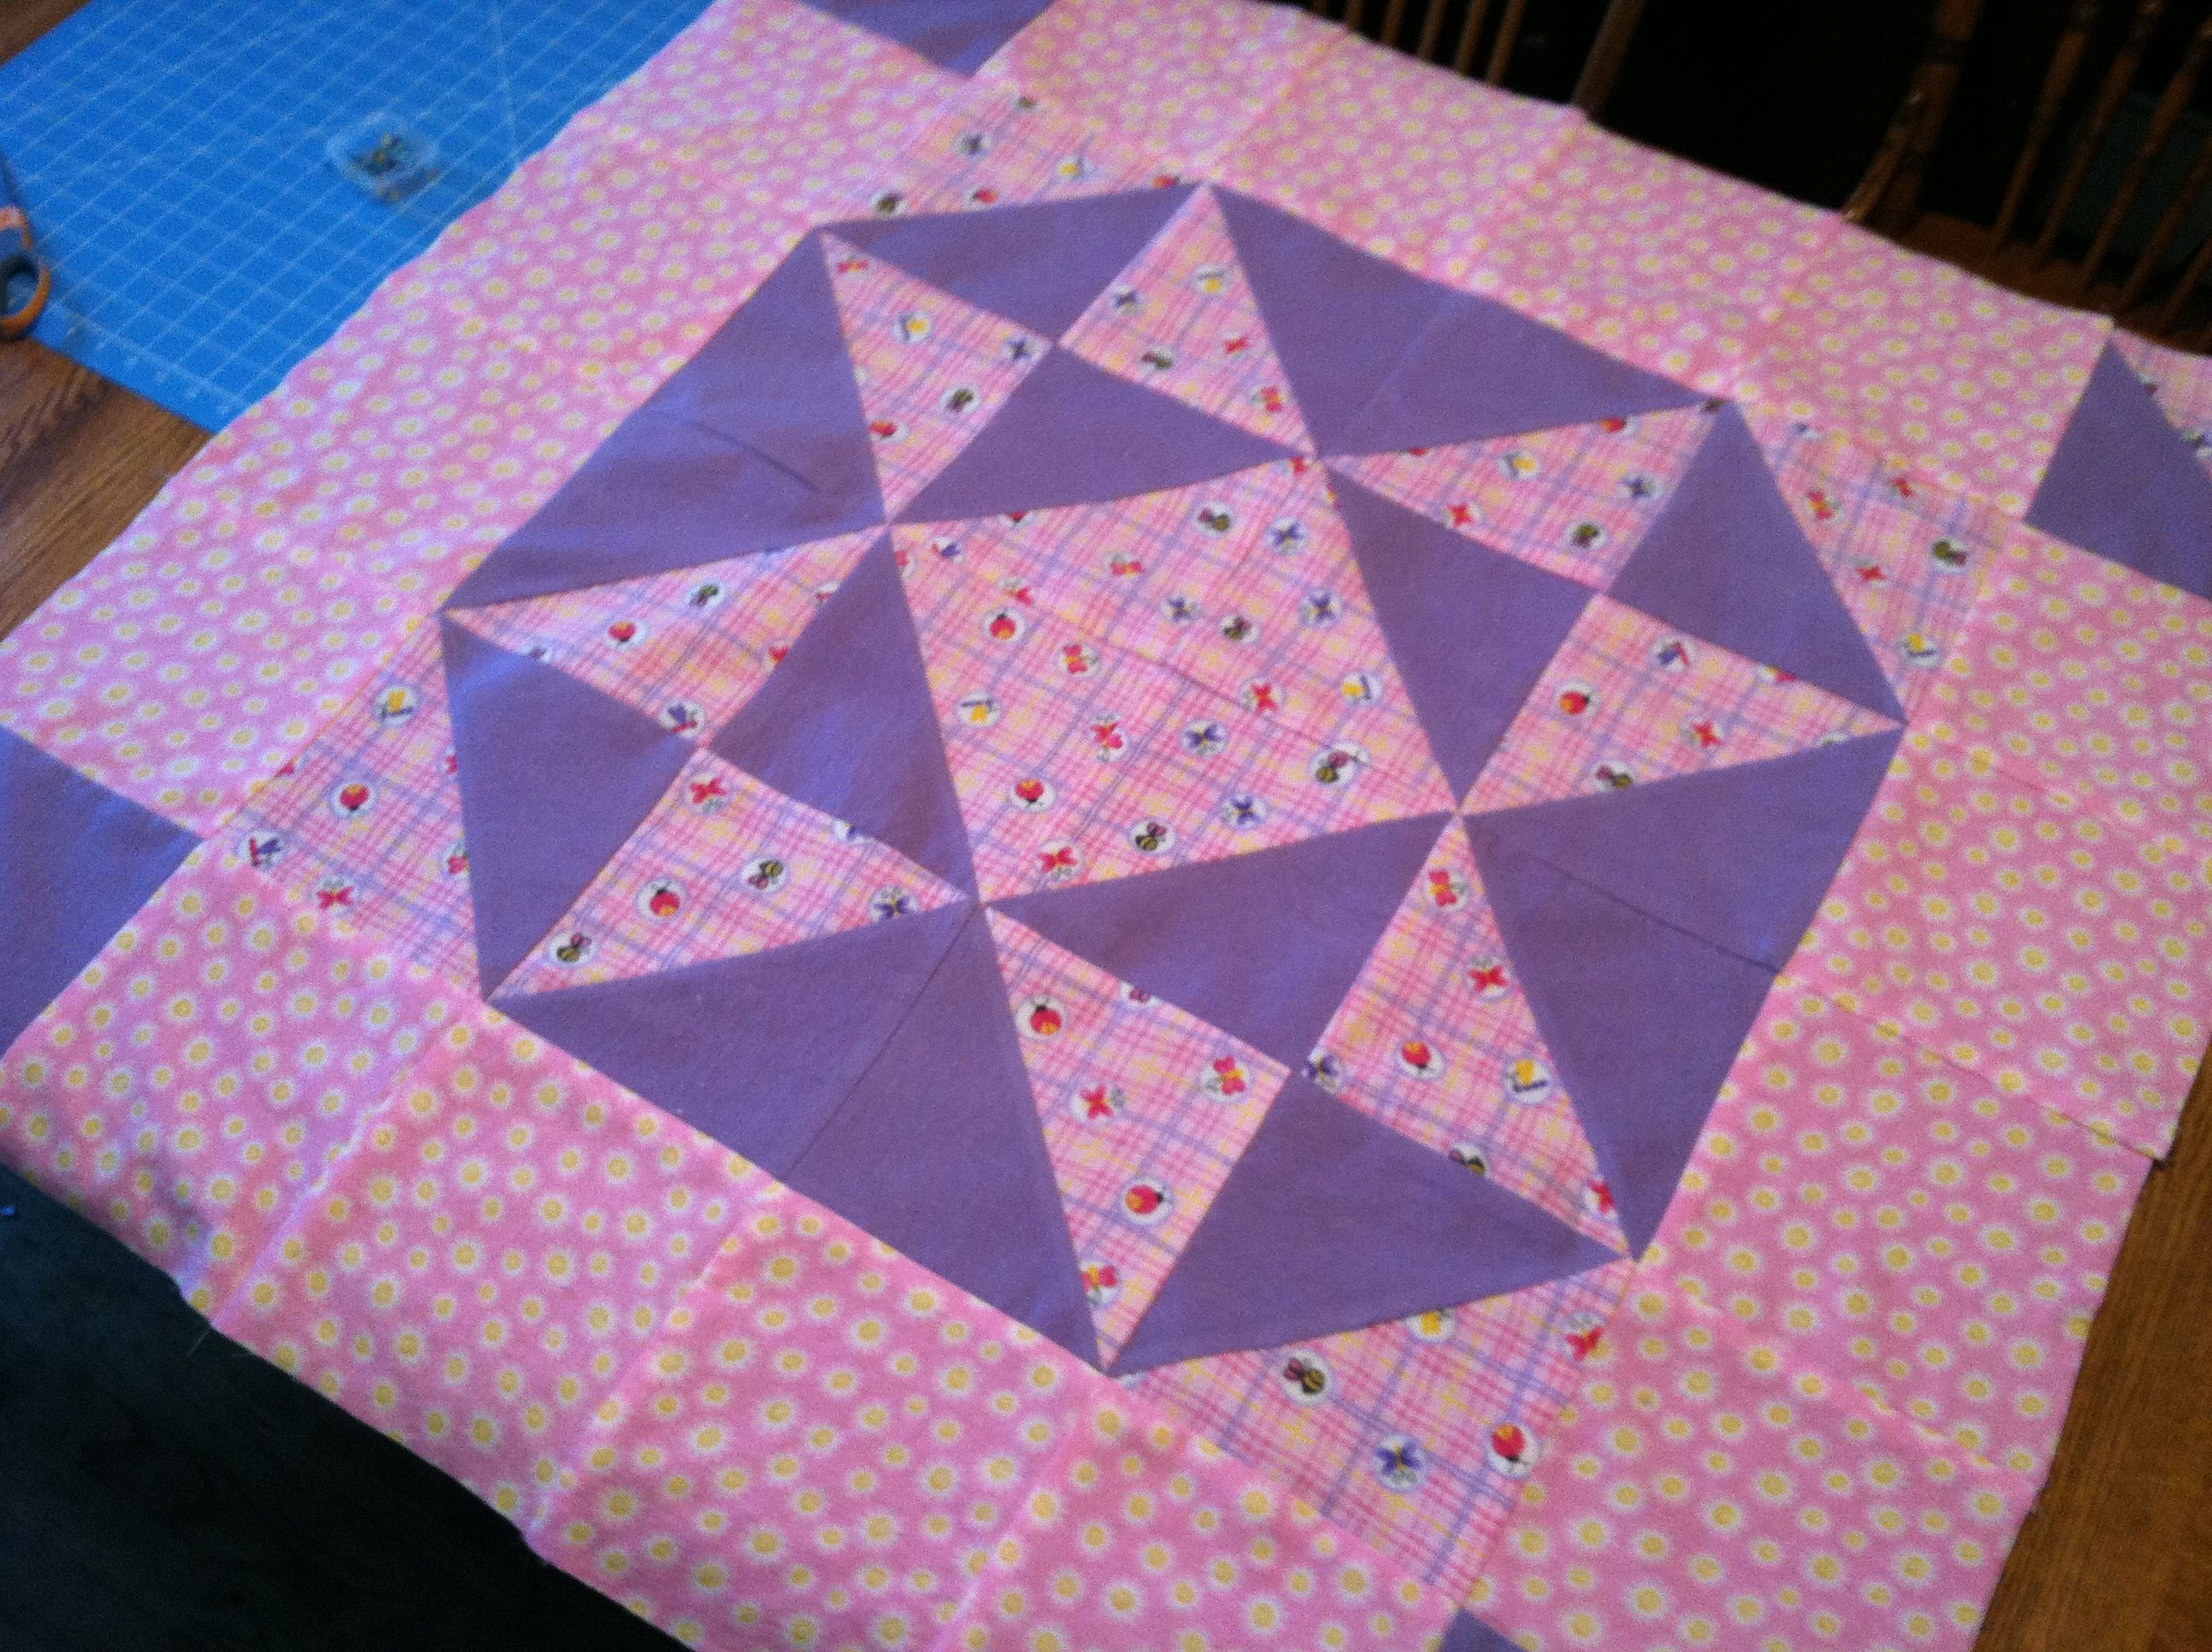
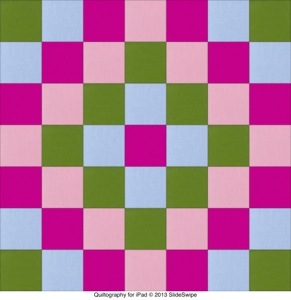
To determine how many squares you’ll need of each for different colors/patterns, you will need to either find a 6×6 or 7×7 pattern, or draw one out. (Some are included here. The patterns of my finished quilts pictured here are not exact, due to the amounts of fabric I had. i.e. the inclusion of the purple squares in the first pic.)
If your fabric is wider than 42″ (not counting selvages, and less than 48″) after pre-shrinking, you will get seven 6″ squares, or six 7″ squares, or five 8″ squares across the width.
Use this to determine how many rows of squares you need to cut from each fabric for your pattern. (Remember you need 1 more whole row, even if you only have one more square than the previous row. So depending on how many colors you are using, it may end up more than the base amount listed.) Then multiply the number of rows needed by the size of your squares to get the length you need. Remember that this amount will be needed after your fabric is pre-shrunk, so add a bit extra. Flannel usually shrinks a few inches.
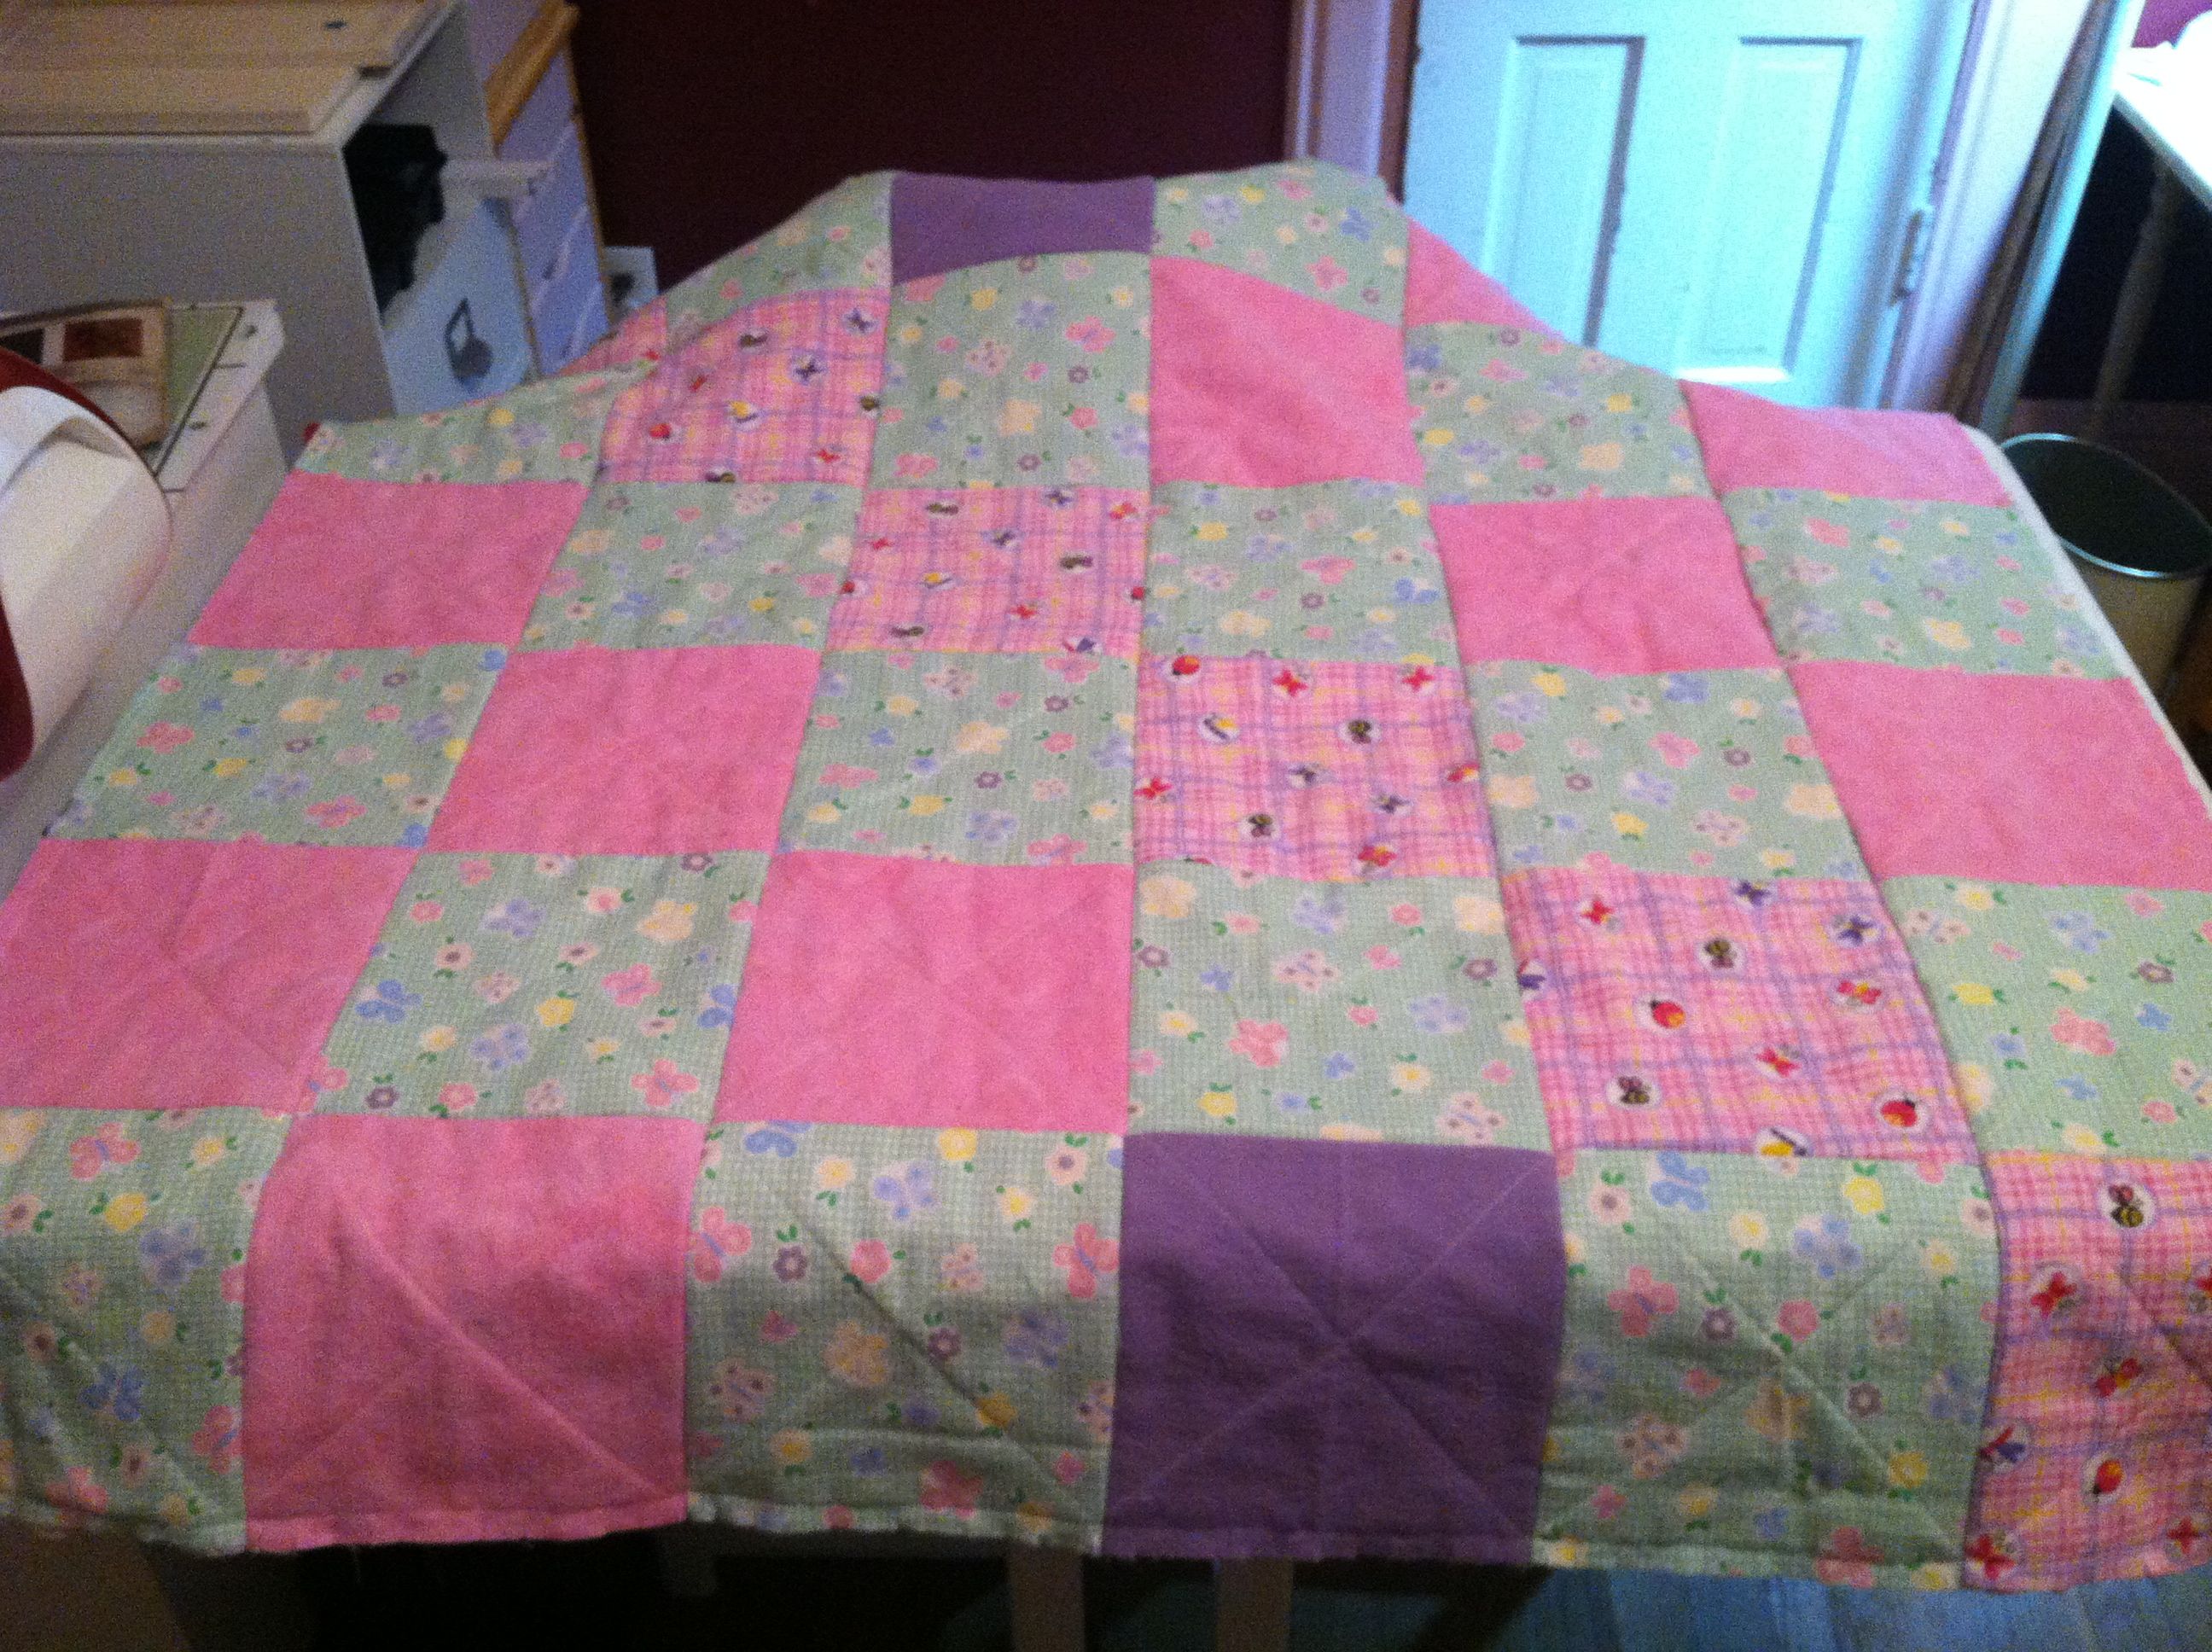
The back of the quilt can either be all one color/pattern, or varied as my baby girl’s quilt is. If you are using all 1 fabric, you will need about 1 7/8 yards for a 42″ quilt, and 2 1/4 yards for a 49″ quilt. (This is after pre-shrinking, and if the fabric is 43+” wide.)
The middle/batting layer can be any color that doesn’t show through your top or bottom layers. You will need about 1 1/4 yards for a 42″ quilt, and 1 7/8 yards for a 49″ quilt.
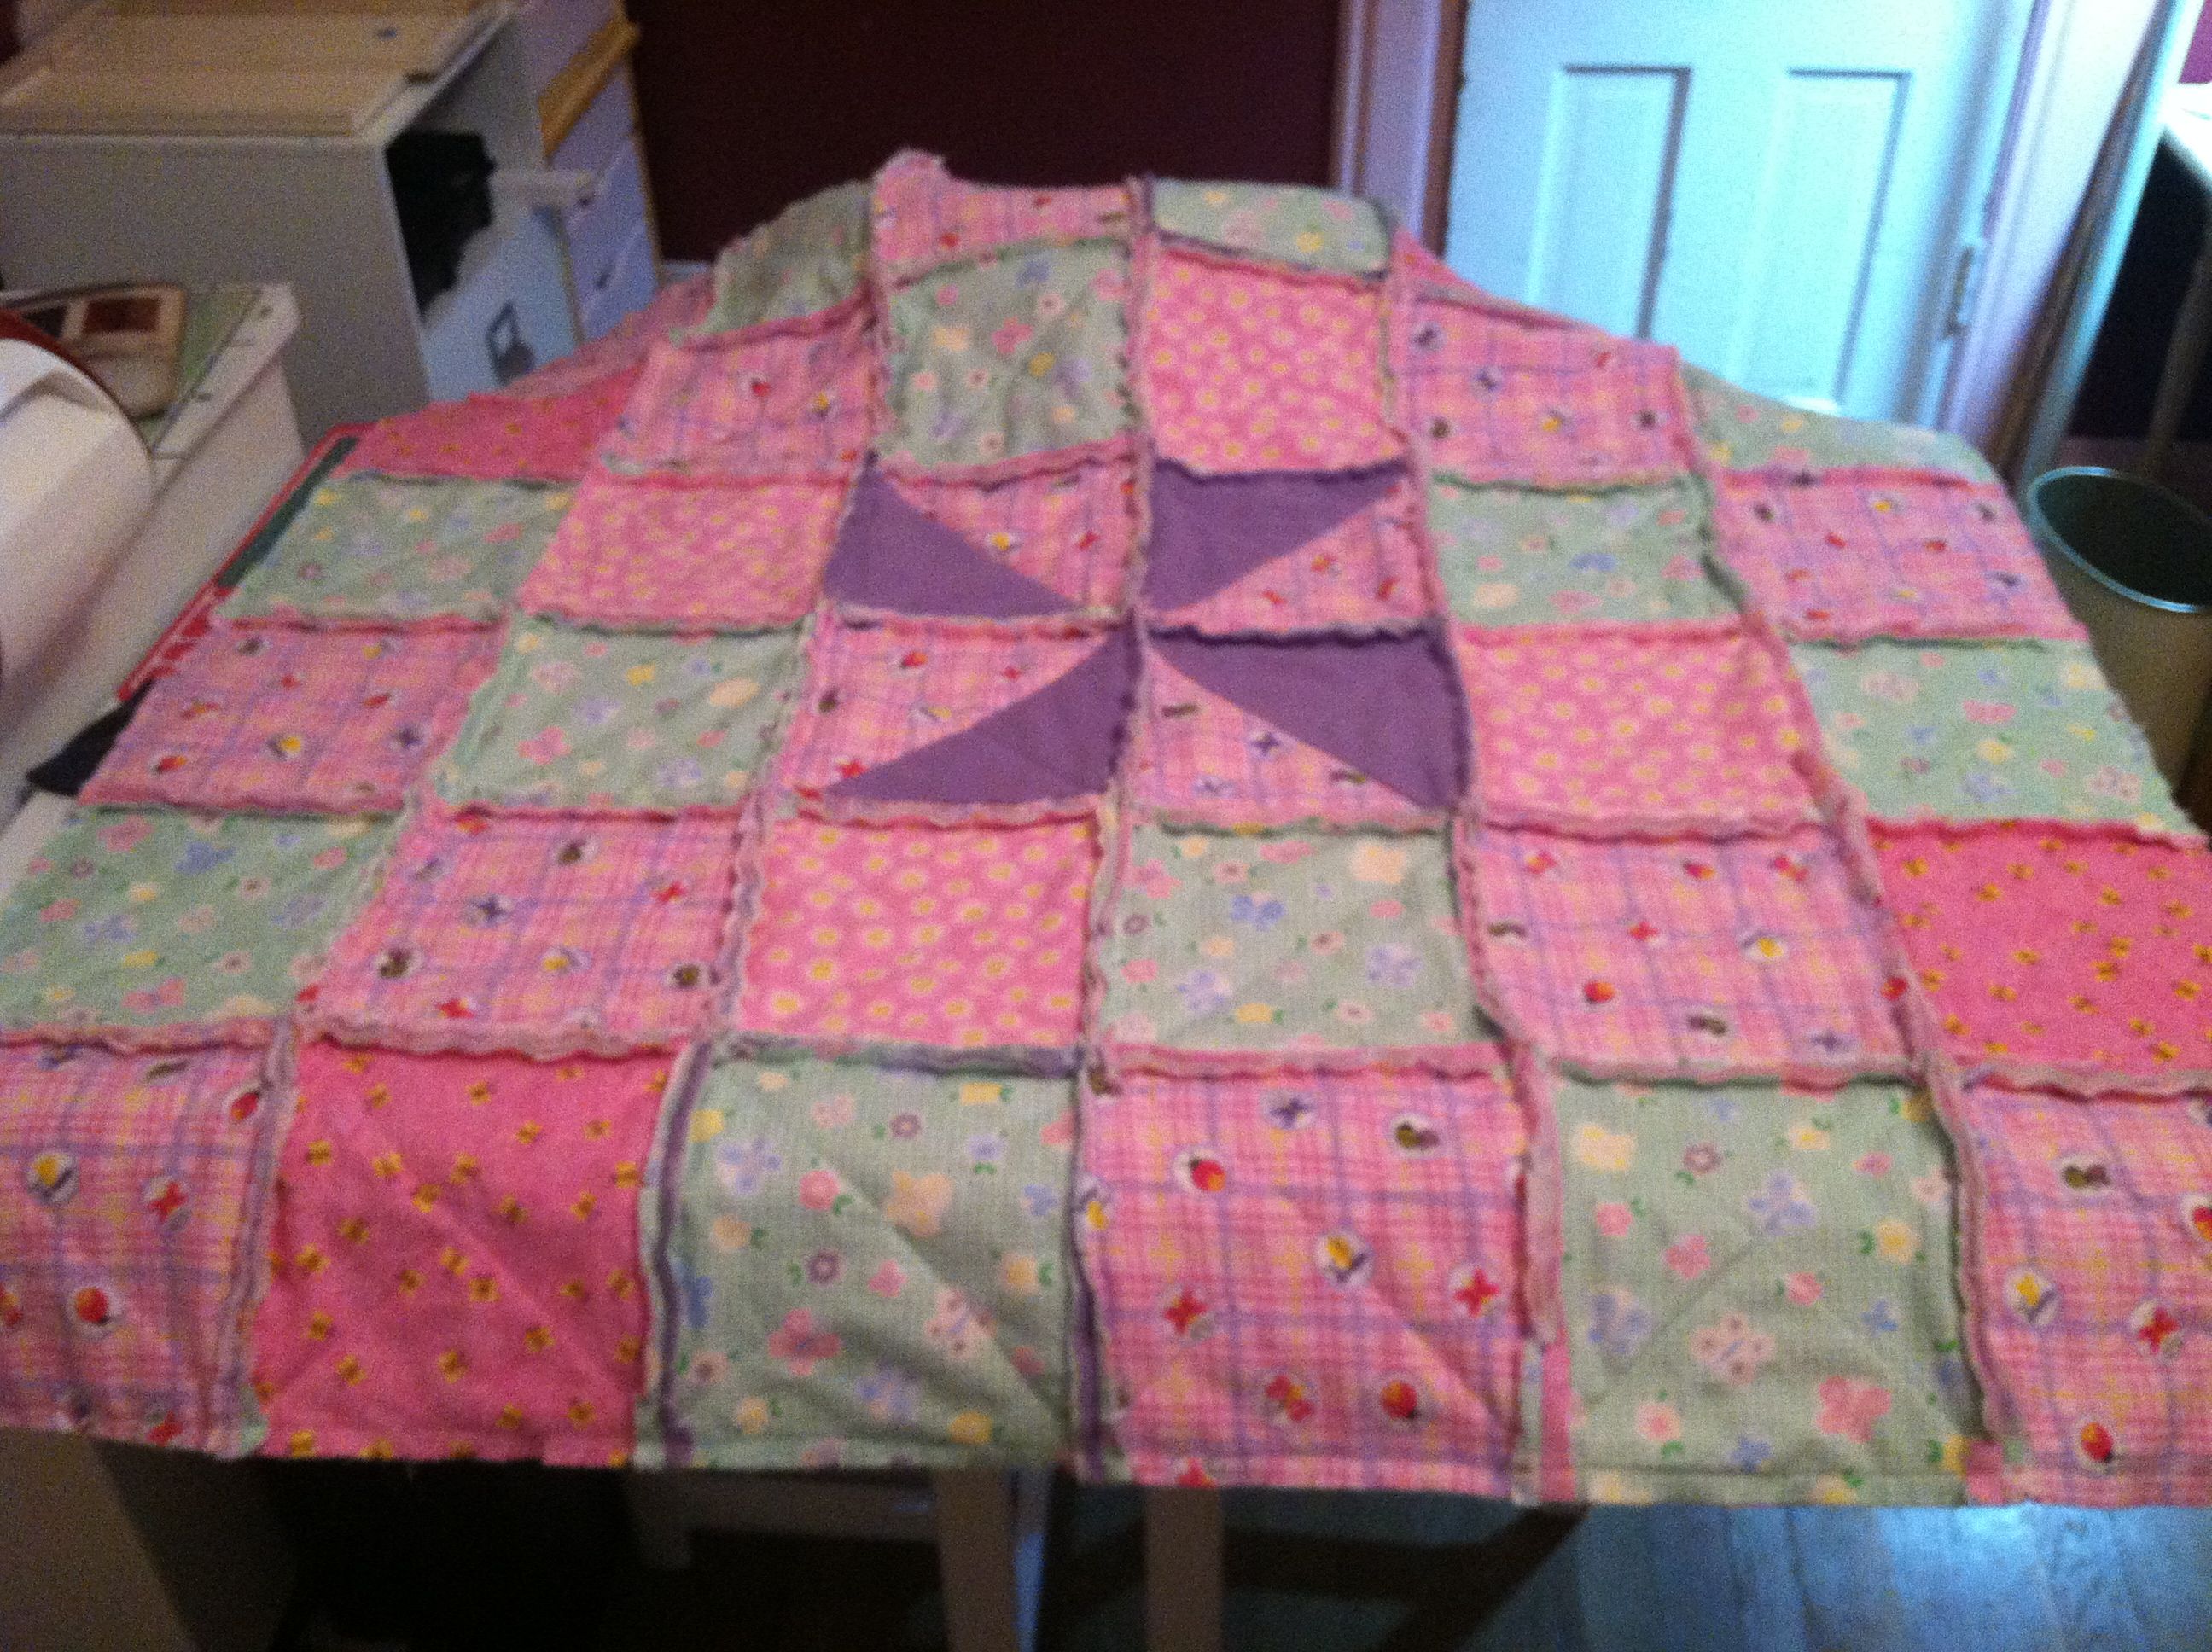
Need ideas for layout? You can use a “scrappy” pattern, just randomly placing blocks, usually making sure that none that are the same are touching. Diagonal stripes is an easy one, that can be done with any number of rows – first picture this post. Or a 9 Patch (4 times for a 6×6 – repeat, or vary as above). Or a Trip Around the World pattern (shown in 7×7).
If you know how or learn to make Half Square Triangles, you will be able to do many other designs. (It will take just a bit longer.) I’ll show you how to do that with an easy technique in a future post – and many other designs. You can also take a peek on my Pinterest page. Many of the patterns there are just squares and HSTs.
Cutting:
When cutting from new fabric yardage, these quilts can be cut very quickly with a rotary cutter, ruler and mat. When using leftover/scrap fabric, that is not even strips, it takes a little longer, but the rotary cutter makes it much faster than cutting each square with scissors.
So, lay that fabric out, and start cutting squares. Be sure to cut on the grain of your fabric, and be sure your squares are squared up.
If you’ve not cut with a rotary cutter, mat and ruler before. Lay your fabric, folded in half with selvedges meeting (as it comes off the bolt,) making sure it hangs straight. Fold the fold up toward the selvedge making sure to keep this fold straight – use the lines on your mat. Lay your ruler across, perpendicular to your selvedges, near the end, and cut to line your end up straight. Then move your ruler over the number of inches required, again lining up at top and bottom for a straight cut. Continue cutting these strips until you have as many as you need. Then take each strip and turn it sideways and cut at the same measurements to get your squares. Keep your cuts on your mat (or you’ll ruin your table) and keep your fingers out of the way.
Trip Around the World
Stack ’em up:
If your back is all one color, you can just make a big stack of your back squares, and a big stack of your middle/batting squares. Your top squares will need to be stacked in the order they will be on the quilt. I turn each row catty-wompous in the stack, just to help me keep track. If your back will also have a pattern, you will need to lay it out with the fronts, to make sure you get the right ones together. (i.e. Make your 3 layer sandwiches ahead of time, and lay them on top of each other according to order in row.)
Sewing the Squares:
You will begin by sewing the layers of the individual squares together. This forms the “quilting”. You will make a sandwich of 1 back square face down, 1 middle/batting square centered on it, 1 top square face up. You will stitch each “sandwich” diagonally, from one corner, through the center, to the opposite corner. And then stitch again, with the other 2 corners, forming an X across the square.
Tip: I sew all the squares of a row, in a string, with the first diagonal. Then, I go back and sew the second diagonal, all in a string again. I think this is faster than sewing an X on each square individually. I don’t worry about backstitching since these stitches will be sewn over.
Also, I just eyeball my diagonal seams. If you don’t trust yourself to get accurate diagonals, press the top square of each sandwich along the diagonal, then open back up. This press mark will create a line for you to sew along to get straight seams.
Sewing the Rows:
After sewing X’s through each square sandwich, grab a row of squares and stitch the sides together with 1/2″ seams, with backs facing, according to your pattern. (Since I sew mine in a string, I already have them in the order of the pattern for the row.)
Take the top right square of the pattern, put it face down, (making sure the top is at the top, if it has a pattern). Lay the next square for the top row on top of it, with backs together, lining up edges, (making sure its top is at the top.) Stitch the two squares together on the right edge with a 1/2″ seam.
Open these up and lay face down. Put the next square for the row on top of the previous one (at the right), lining up right edges (and tops and bottoms), stitch with 1/2″ seam. Repeat till you get to the end of the row.

Sewing the Columns:
After stitching the squares together for each row, lay out your rows in the proper order for your quilt. Grab the top row and the next row, and put their backs together, lining up long edges. I open the seams between squares, and pin through each intersection of the squares, before sewing, sew my intersections line up nicely. Sew with 1/2″ seams. Add the rest of the rows the same way.
If my seams are off a bit, I line up the center ones, then work my way out with pins, then sew.
After all the rows are sewn together, stitch around all 4 sides of the quilt with 1/2″ seam.
Cutting the Fringe:
Now comes the most time consuming step of the whole thing. Put on some music, an audiobook, or a movie. 🙂 Snip (with good, sharp, pointed scissors – spring loaded ergonomic ones are best) about every 1/4 – 1/2″ along each and every seam, being careful to not cut through the stitching. (Like you are cutting fringe.) This creates the “ragged” look, after the blanket is washed a couple of times.
In fact, after snipping, run it through the washer and dryer a time or two, by itself, to begin this fraying.
Done!
There you have it. All done. Quick. Easy. Soft. Cuddly.
Note: Links are affiliate links to what I have/like. I’ve found these to be better quality that last, don’t have to be replaced, work well, prevent strain better than other brands I’ve tried.) Use what you have available.
[subscribe2]