


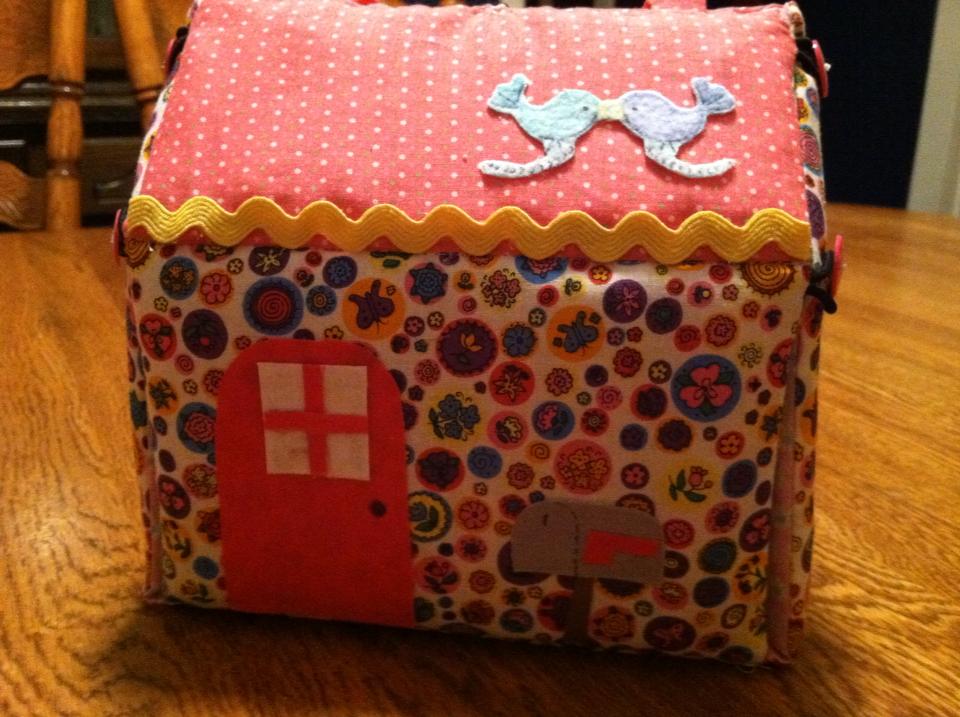
Today we are revisiting a post from a couple of weeks ago, as a reader has asked for instructions. So here’s the Dollhouse Carry Along Tutorial.
Supplies:
- Plastic Canvas – 2 sheets 10.5 x 13.5″
- Fabric Pieces (4 fat quarters will work, with leftovers. Choose colors for Roof, Outside, Inside, and Garden)
- Poly Batting – small pieces
- Small Hair Elastics – 5
- Buttons – 5
- Various Fabric Scraps (small pieces, various colors for decor)
- Rick Rack and/or Trim Scraps (for decor, if desired)
- Various Small Felt Scraps (small pieces for decor)
- Glue gun and glue, scissors, sewing machine, thread and needle
Cut –
Plastic Canvas:
- 3 pieces @ 4 x 6″ for front, back and floor
- 2 pieces @ 2.75 x 6″ for roof
- 2 pieces @ 4 x 6.25″ for sides
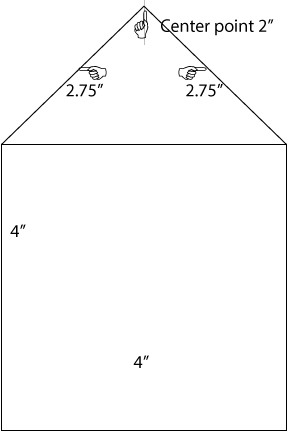
- Cut Side pieces Roof angle as follows. Mark the center point on 1 short edge (2″). Beginning at 4″ up the sides (on both sides) measure 2.75″ up and in to that halfway point. It will be not quite up to the full 6.25″. (Hopefully this illustration will help this make sense.)
*Note: I used my rotary cutter and mat to cut the pieces, and cut the plastic along the outside edge of the lines, so no little nobbies were sticking out.
Batting:
- 2 pieces for each plastic canvas pieces – cut 1/4″ larger –
(6@ 4.25 x 6.25″, Roof 4@ 3 x 6.25″, Sides 4@ 4.25 x 6.5″) - Cut angle for Side roof pieces just outside the plastic piece edges
Fabric:
- Fabric #1 for Outside of house –
- 1@ 13.75 x 7.5″ for front, back, and floor
- 2@ 5.25 x 7.5″ for sides (cut angle as for batting above, PLUS leaving your 1/2″ seam allowance)
- Fabric #2 for Roof and Handles
- 2@ 4 x7.5″ for roof
- 2@ 10.5 x 2.5″ for handles
- Fabric #3 for Inside of house –
- 1@ 12.5 x 7.5″ for back roof, back wall and floor
- 2@ 5.5 x 7.5″ for side walls
- Fabric #4 for “Garden” flap – 1@ 8.25 x 7.5″
- These fabric measurements are approximates. You may need to add an extra .25-.5″ depending on how thick your batting is. These measurements will allow you between .25″ and .5″ seams. My batting was not the real thick kind.

Step 1
Hot glue batting to both sides of each piece of plastic canvas, centering plastic on batting. Be careful pushing the batting and canvas together, the glue is HOT!
Step 2
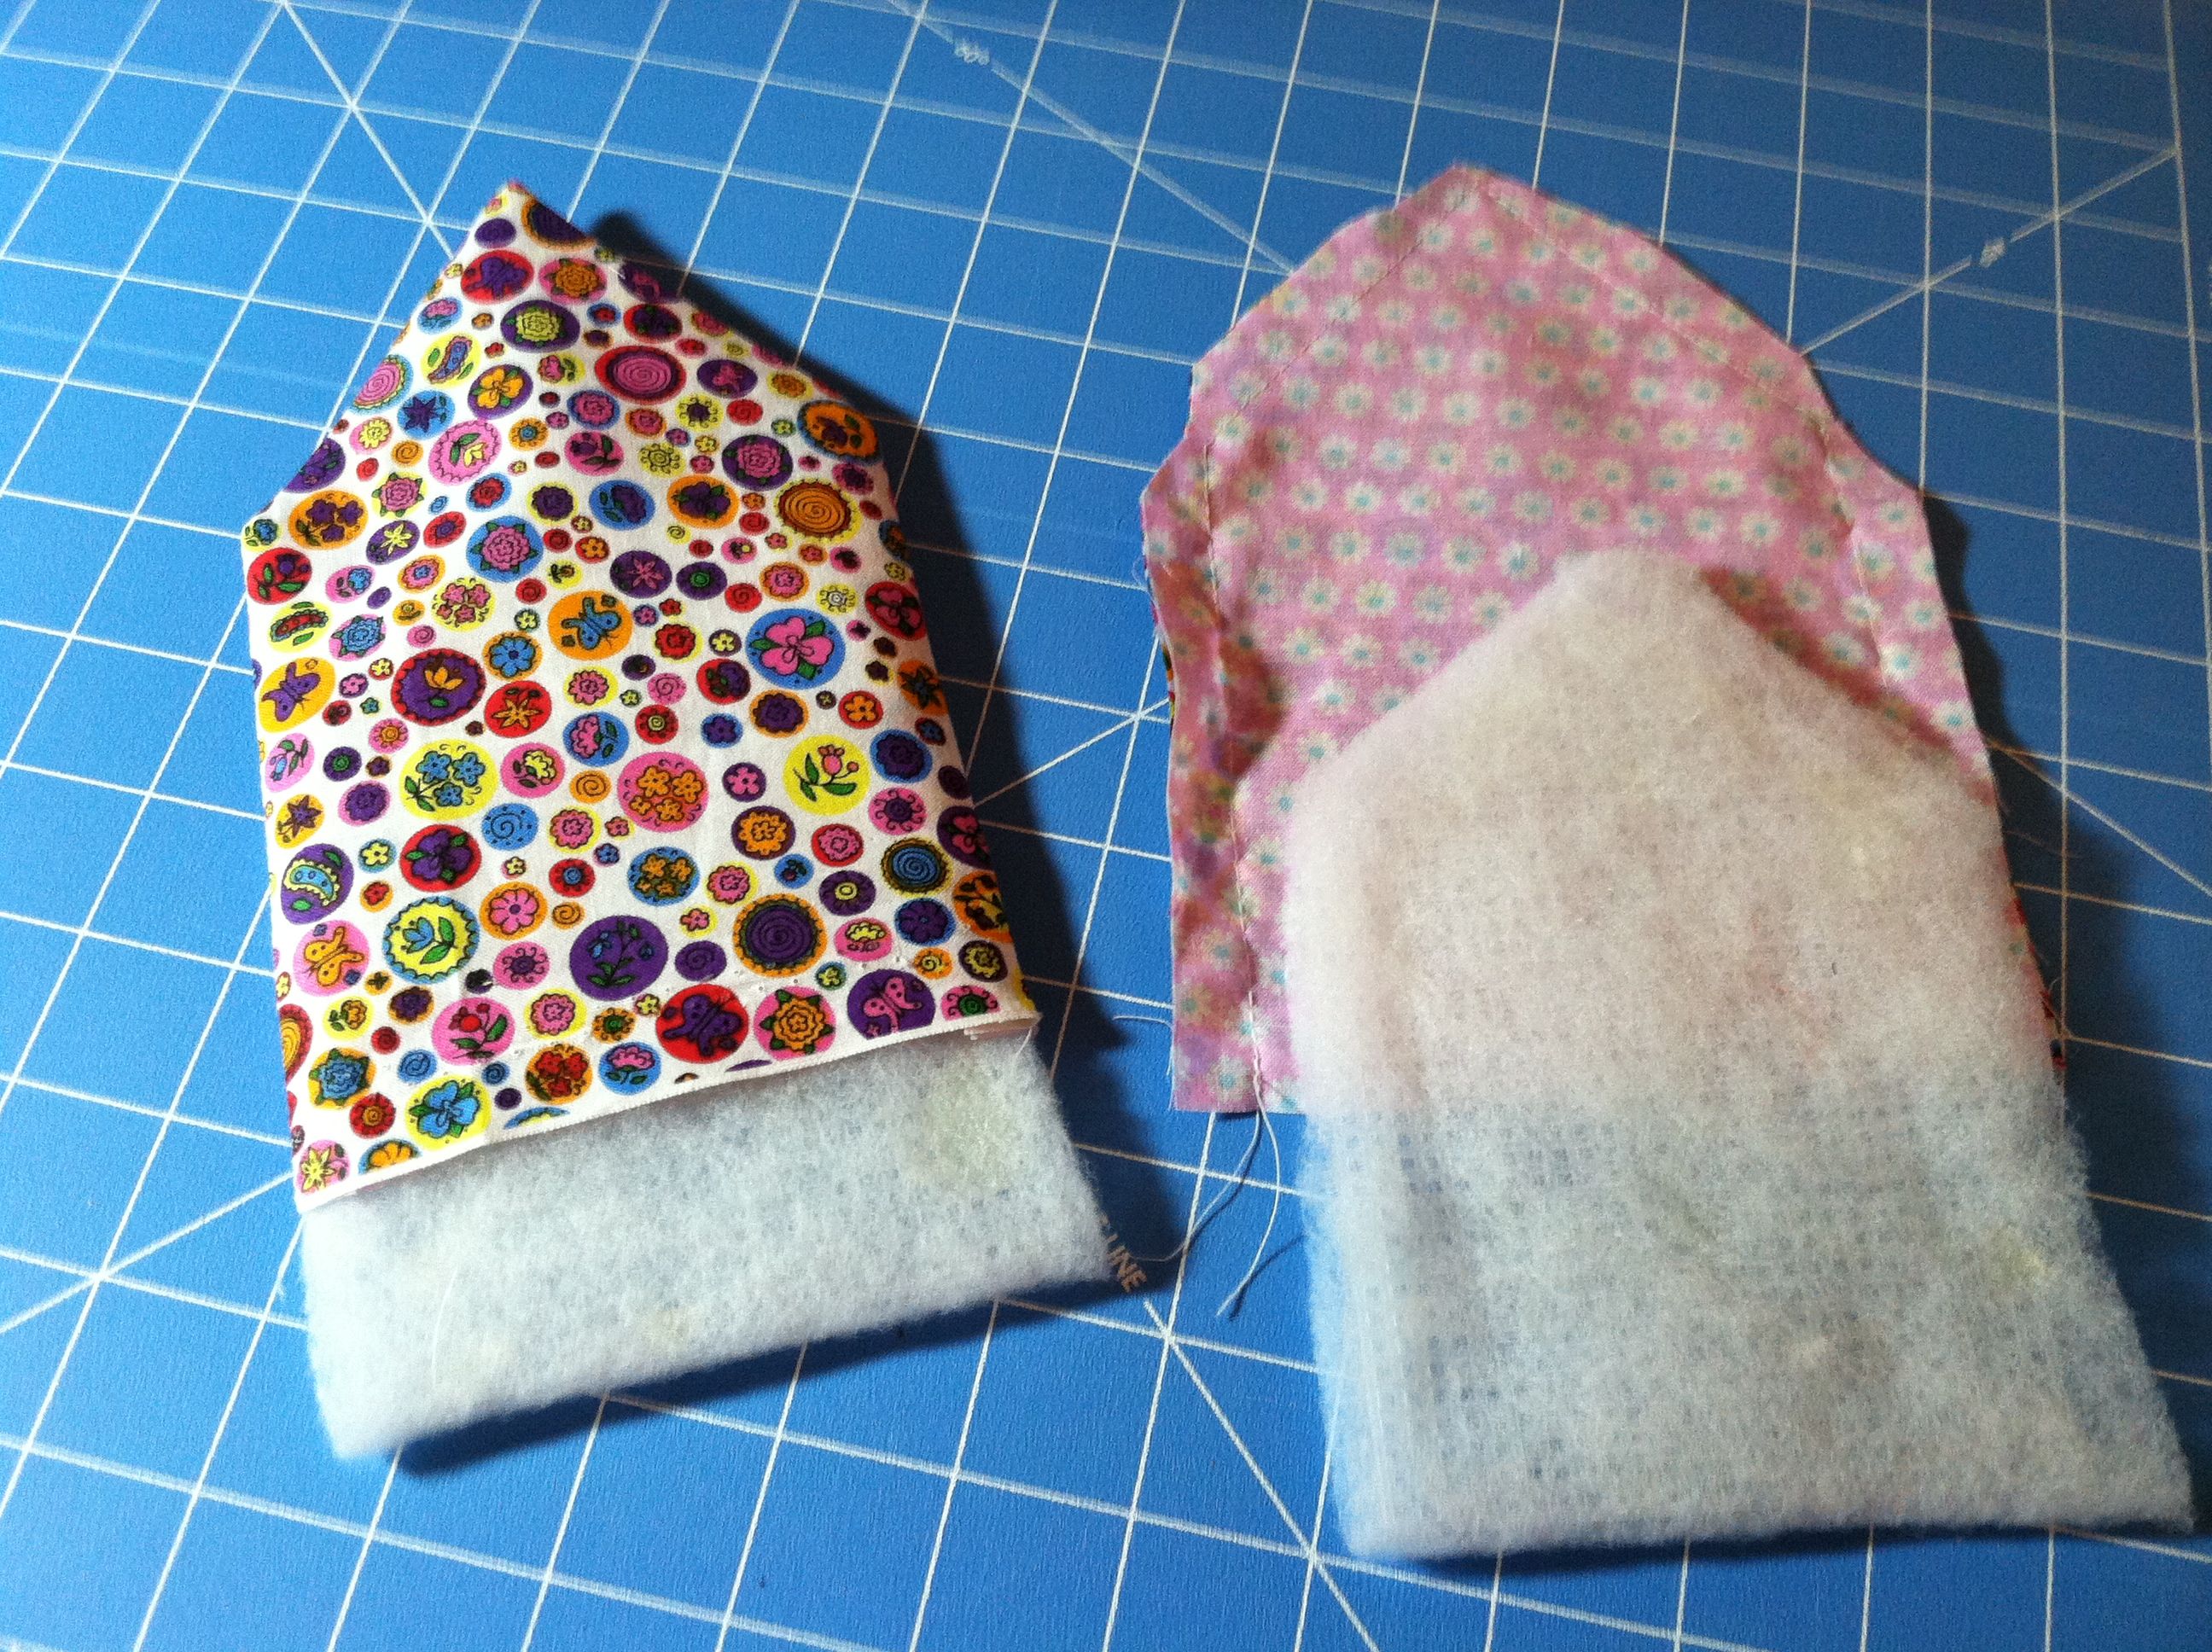
Lay Outside Side pieces face up. Lay 1 Inside Side piece on top of each, face down. Stitch each together around sides and roof (leave bottom open.) Turn right side out, push corners out, press. Put batting covered plastic piece in each Side.
Step 3
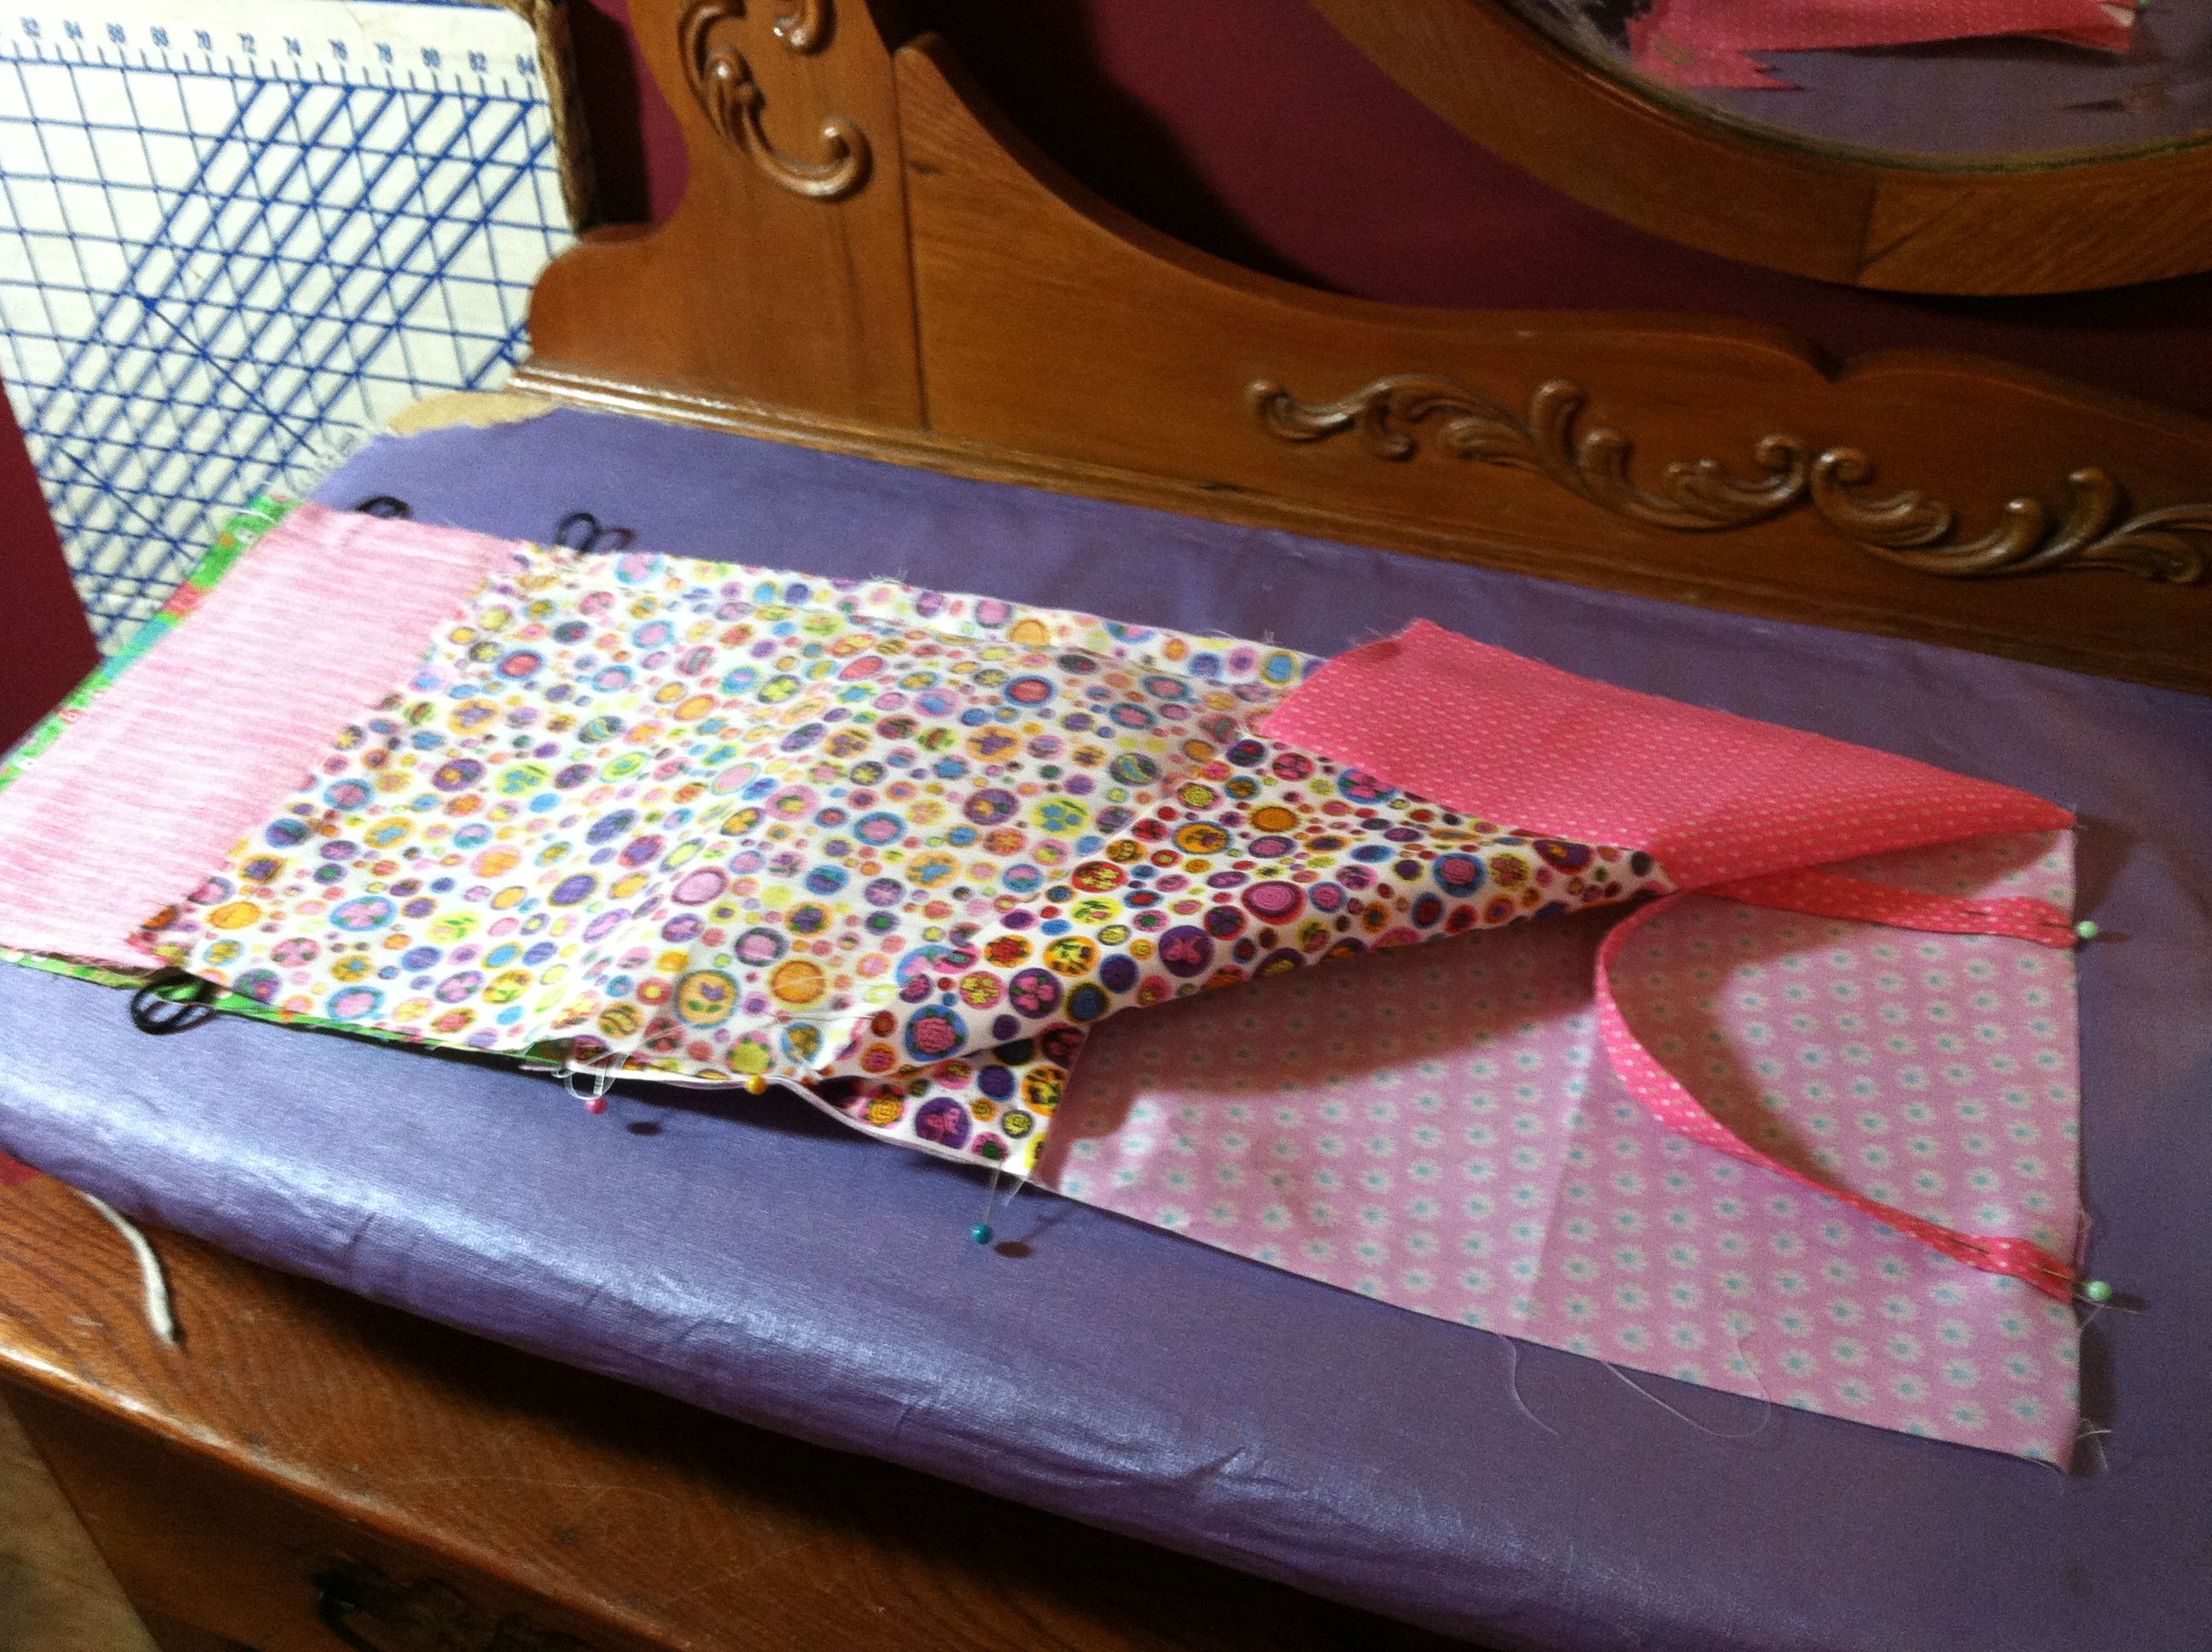
With right sides together: Sew Garden piece to one end of Inside piece. Sew Roof pieces to Outside piece, 1 to each end. Sew each handle piece into a tube, and turn right side out. Press each of these pieces/seams.
Step 4
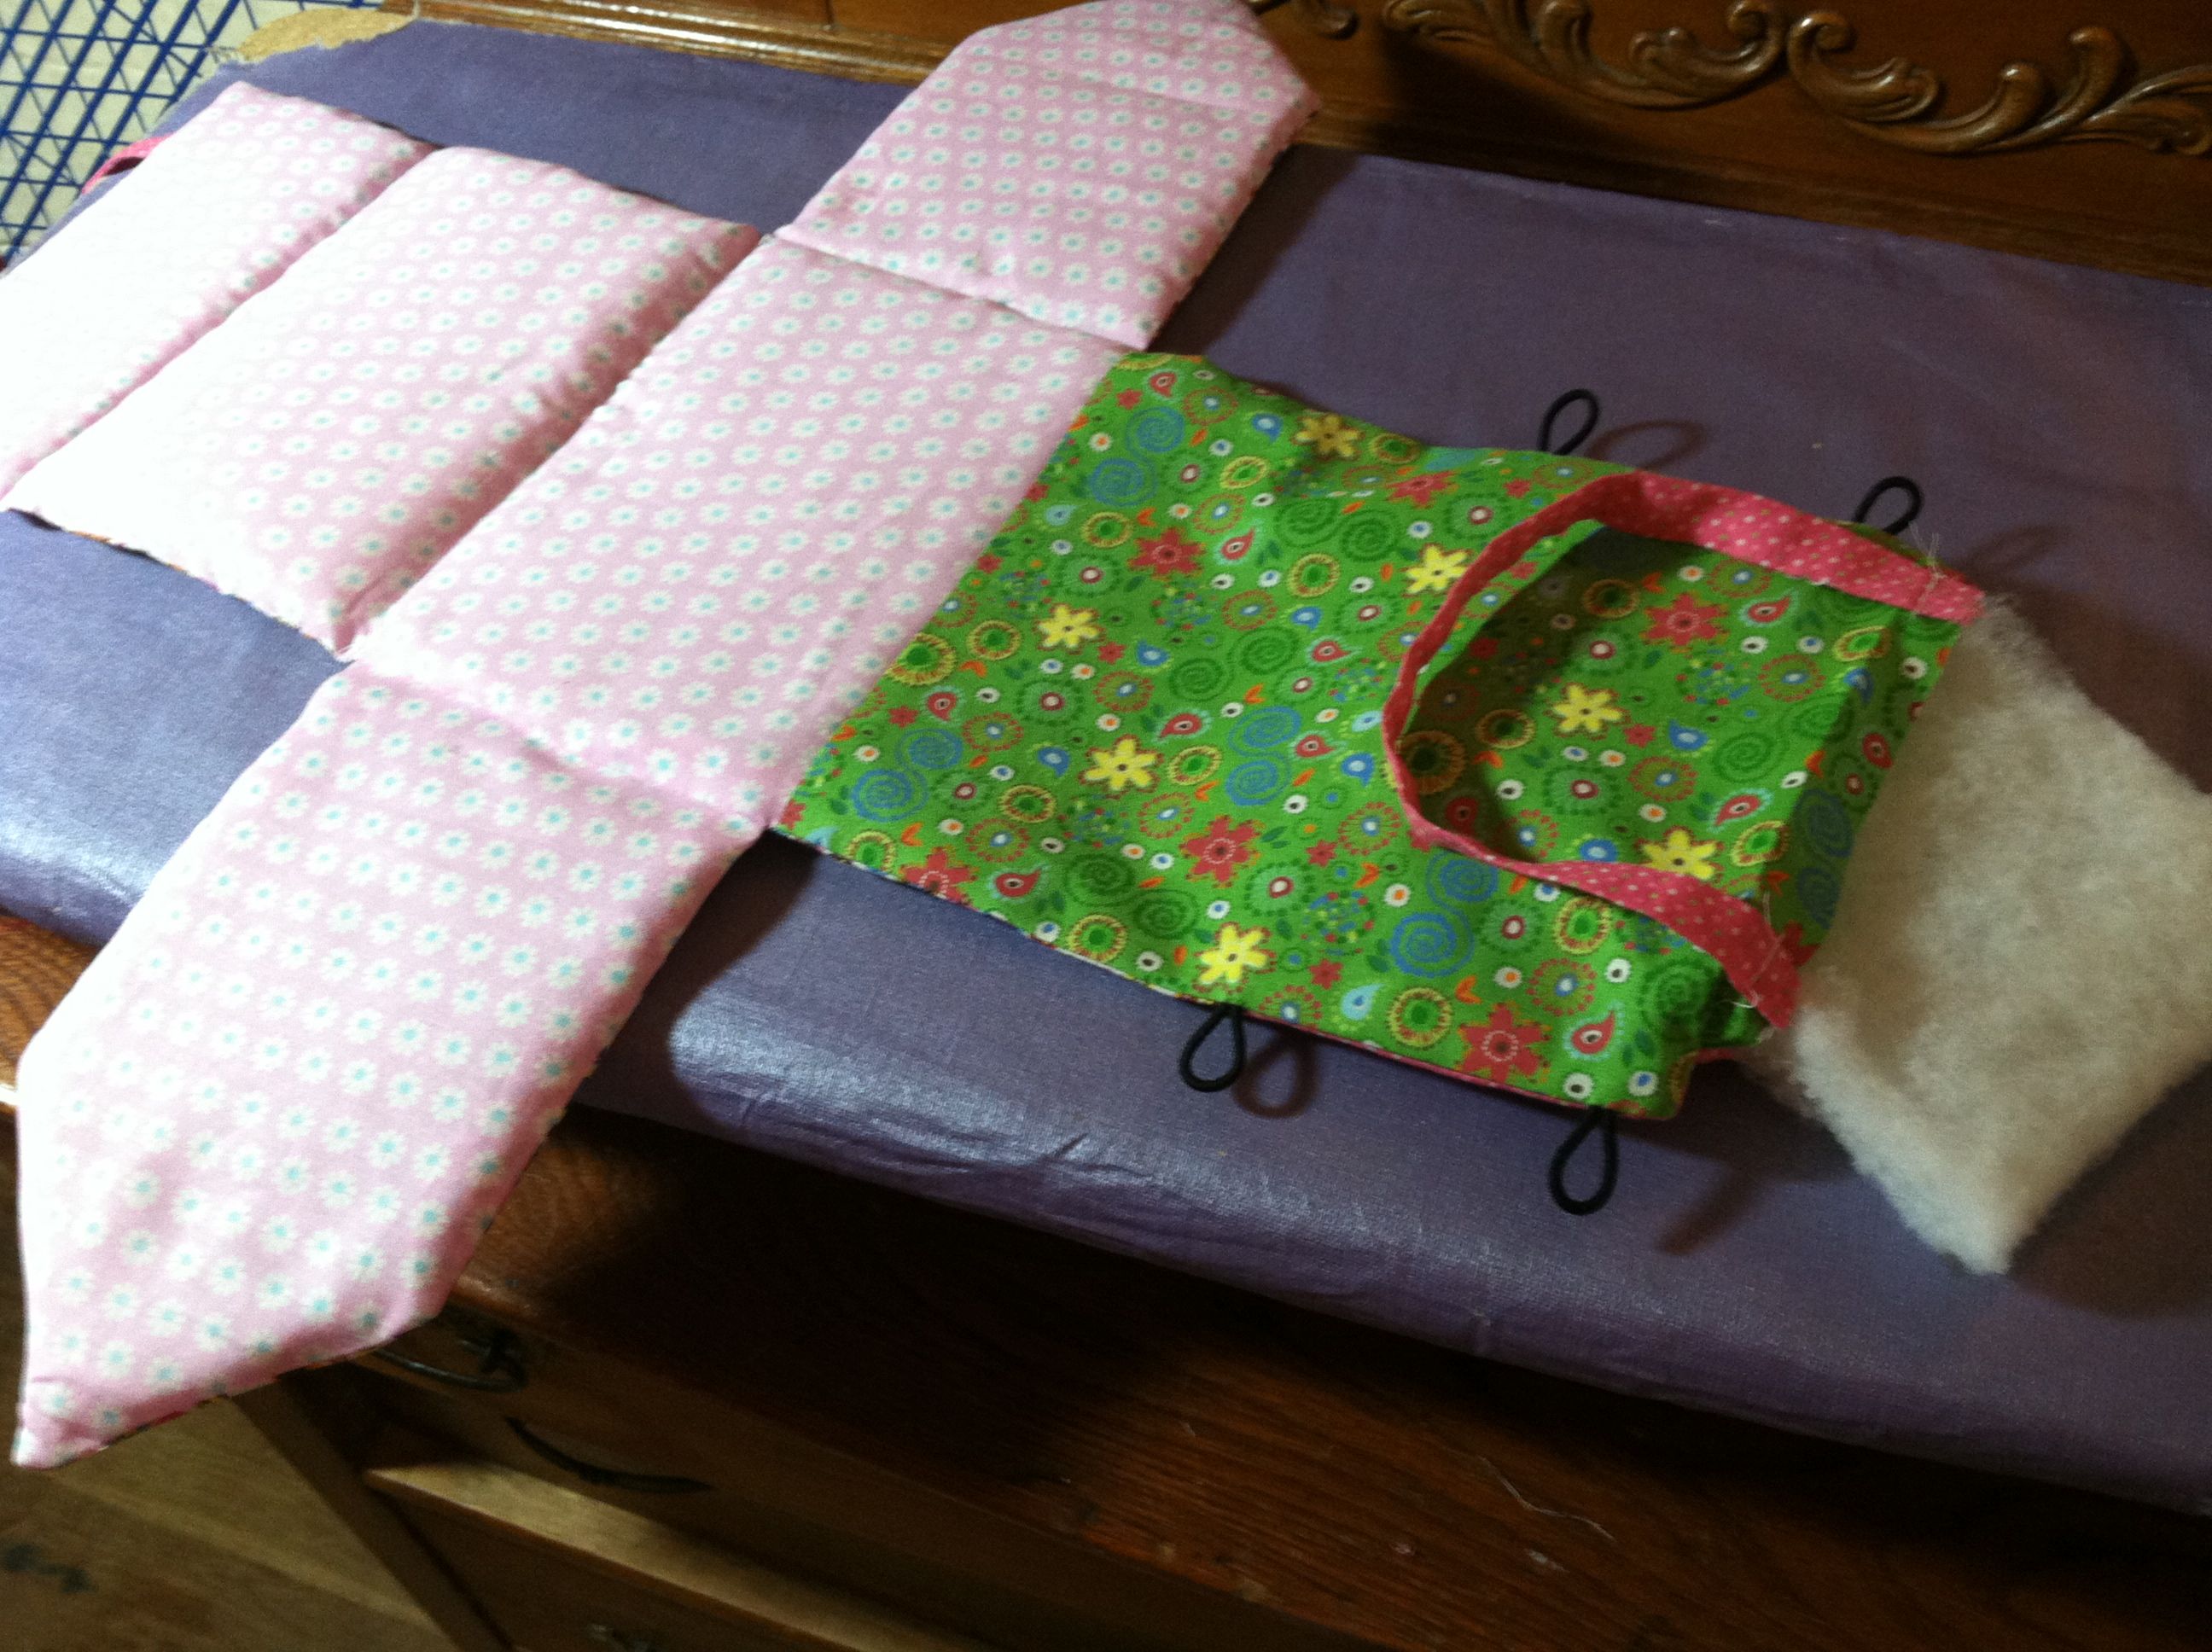
Lay Inside face up. Pin handles (facing in) at each end, approx. 1.5″ in from each side. Pin Side pieces to Inside piece (Inside prints facing), just above the Garden piece, (roof point facing in,) lining up raw edges. Pin elastics on each side of the Garden piece, at about .75″ and 4″ down the side (near the top of the roof, and just under the roof, of Outside piece – after seam allowances.) Your last elastic goes at the center of the end of the Garden piece (or other end). You should have just enough elastic on the inside of your seam allowance to loop around your button.
Step 5
Stitch around all sides, leaving an opening in the center of one short edge large enough to turn right side out. Be careful to not catch the points of your Side roof in your stitching. Turn right side out and press (not over the Side pieces, or the hot glue will melt and get on your fabric).
*Note: I backstitched over the elastics a couple of times, to make sure they were quite secure.
If I were to do it again, I’d leave the opening in the Back instead of front as my picture shows. I’d also probably put the last elastic loop on the Back of the Roof (instead of the Garden end), so the button would be on the front – but that’s purely aesthetic preference.
Step 6
Insert covered plastic pieces in this order, Roof, Wall, Floor, Wall, Roof. Topstitch between each of these pieces. (I did this piece by piece. Put 1 piece in , stitched close to it, added the next, stitched close to it, etc. making sure my stitches lined up with my seams for the roof and garden.)
 Step 7
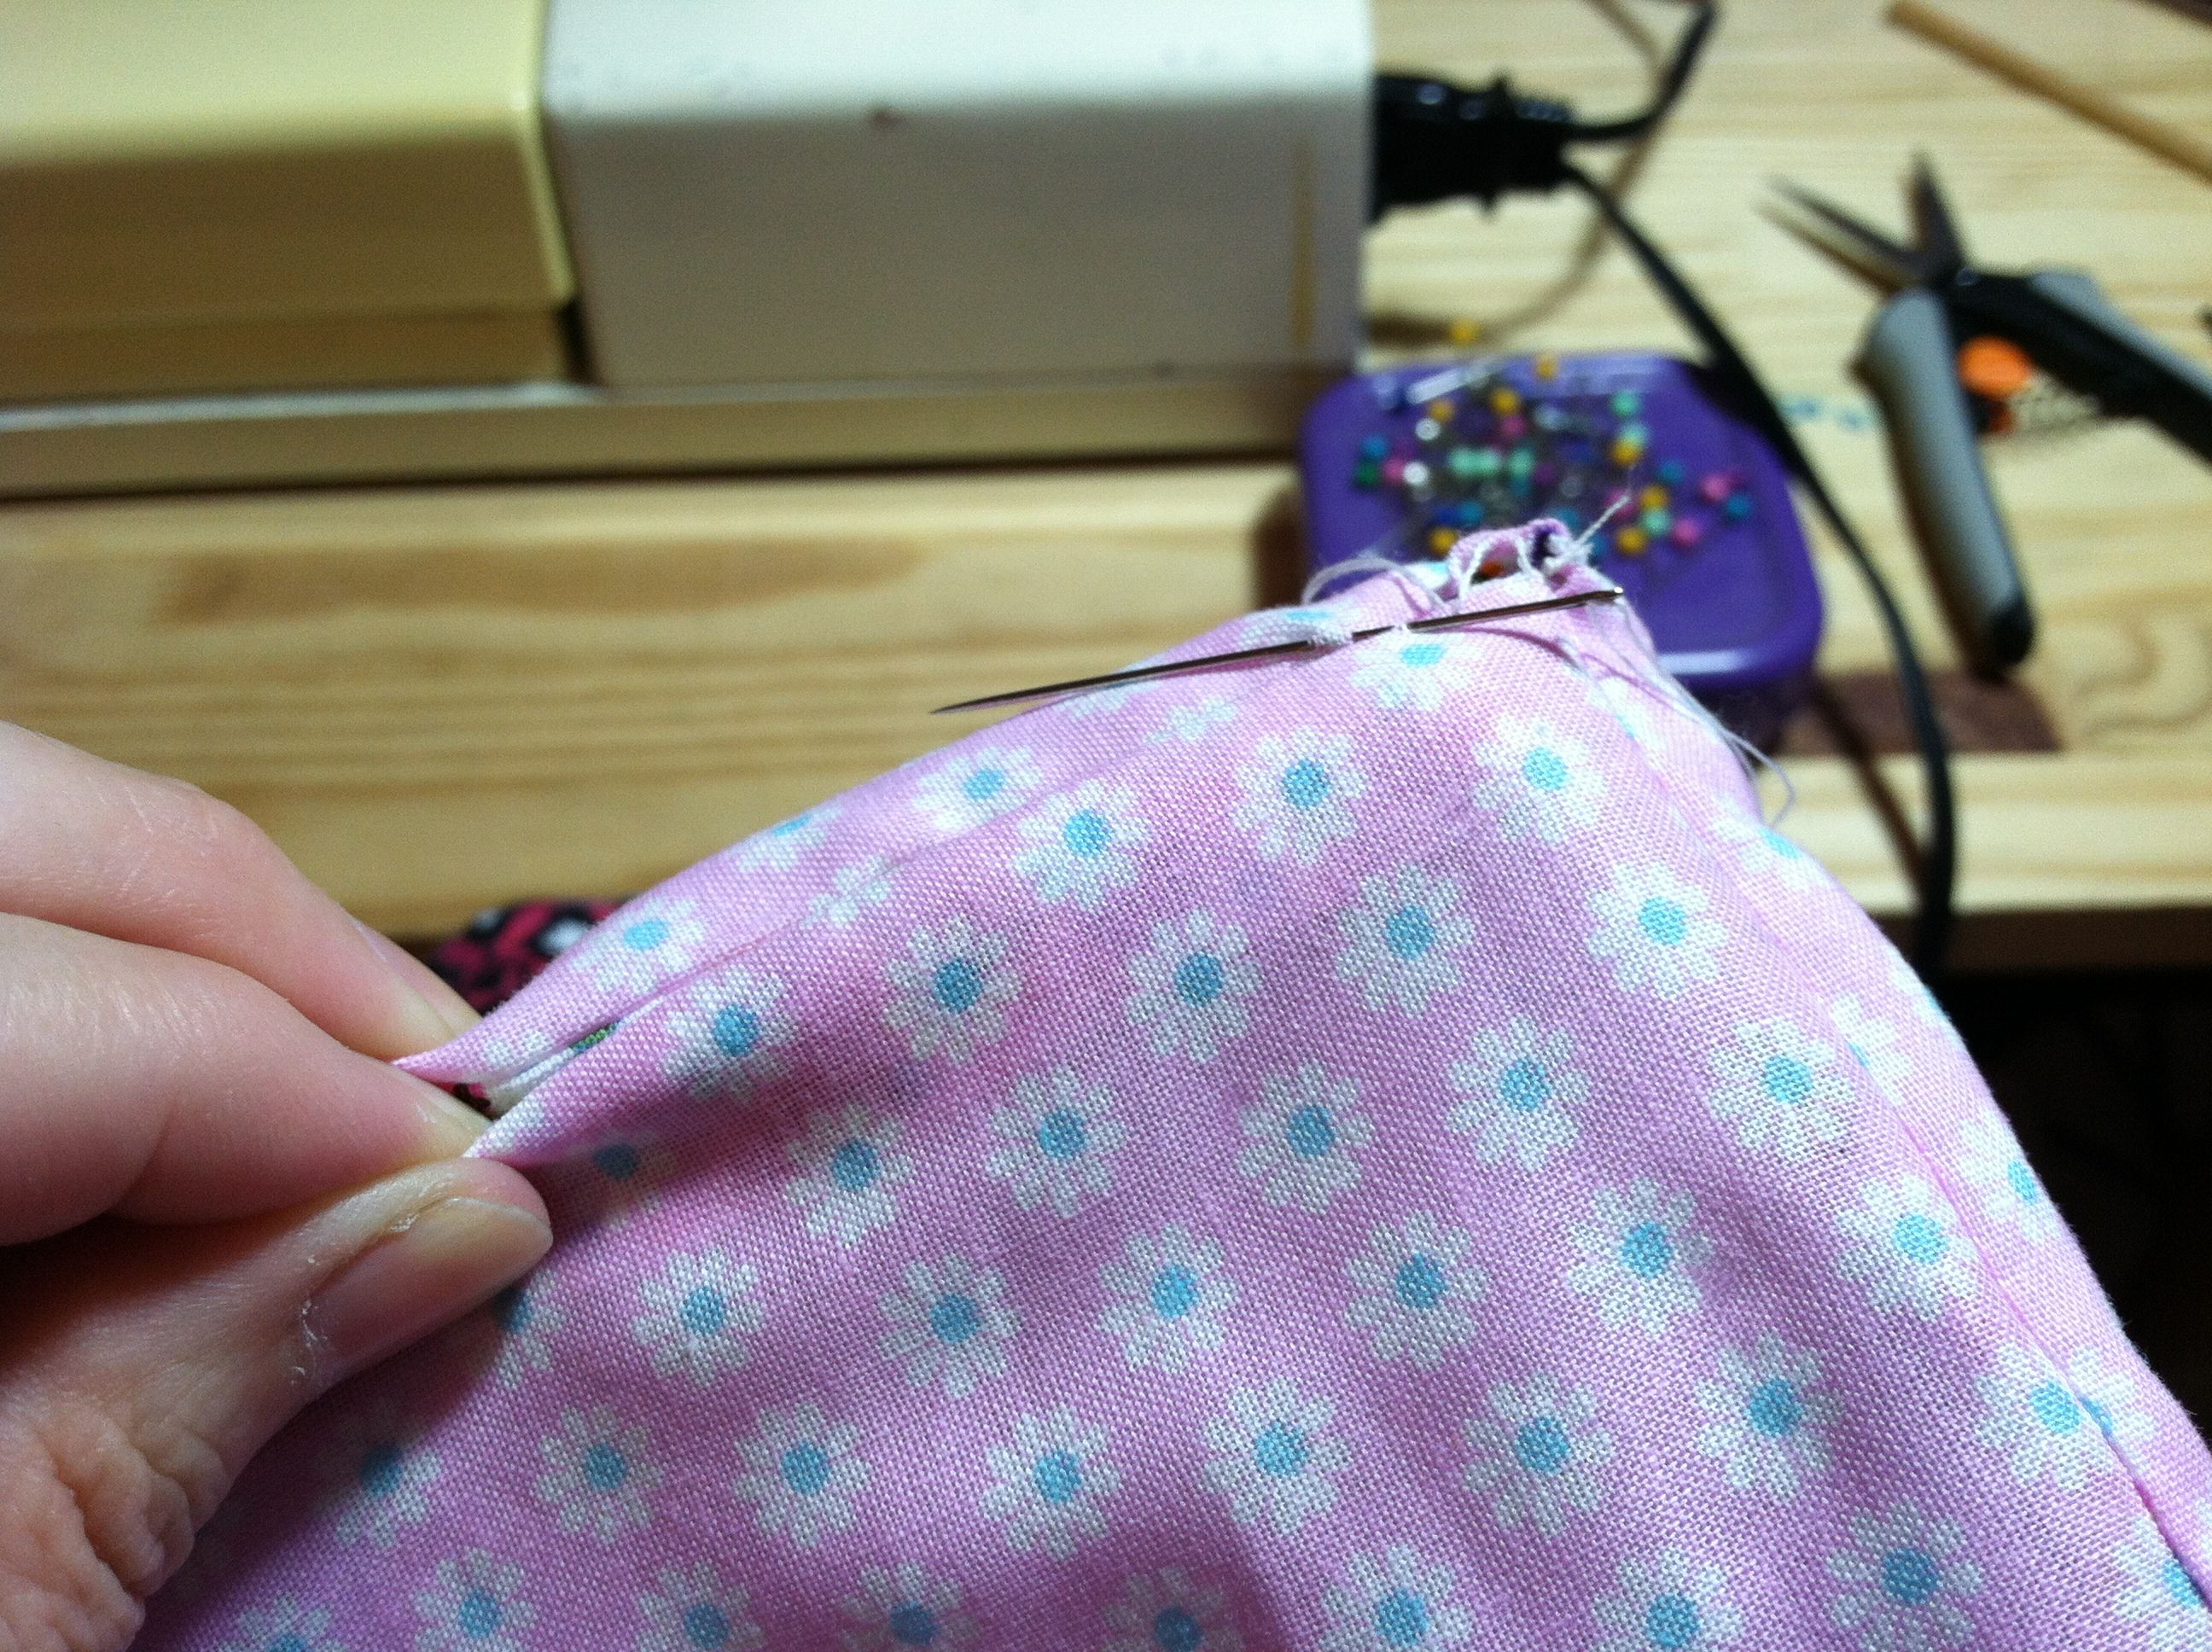
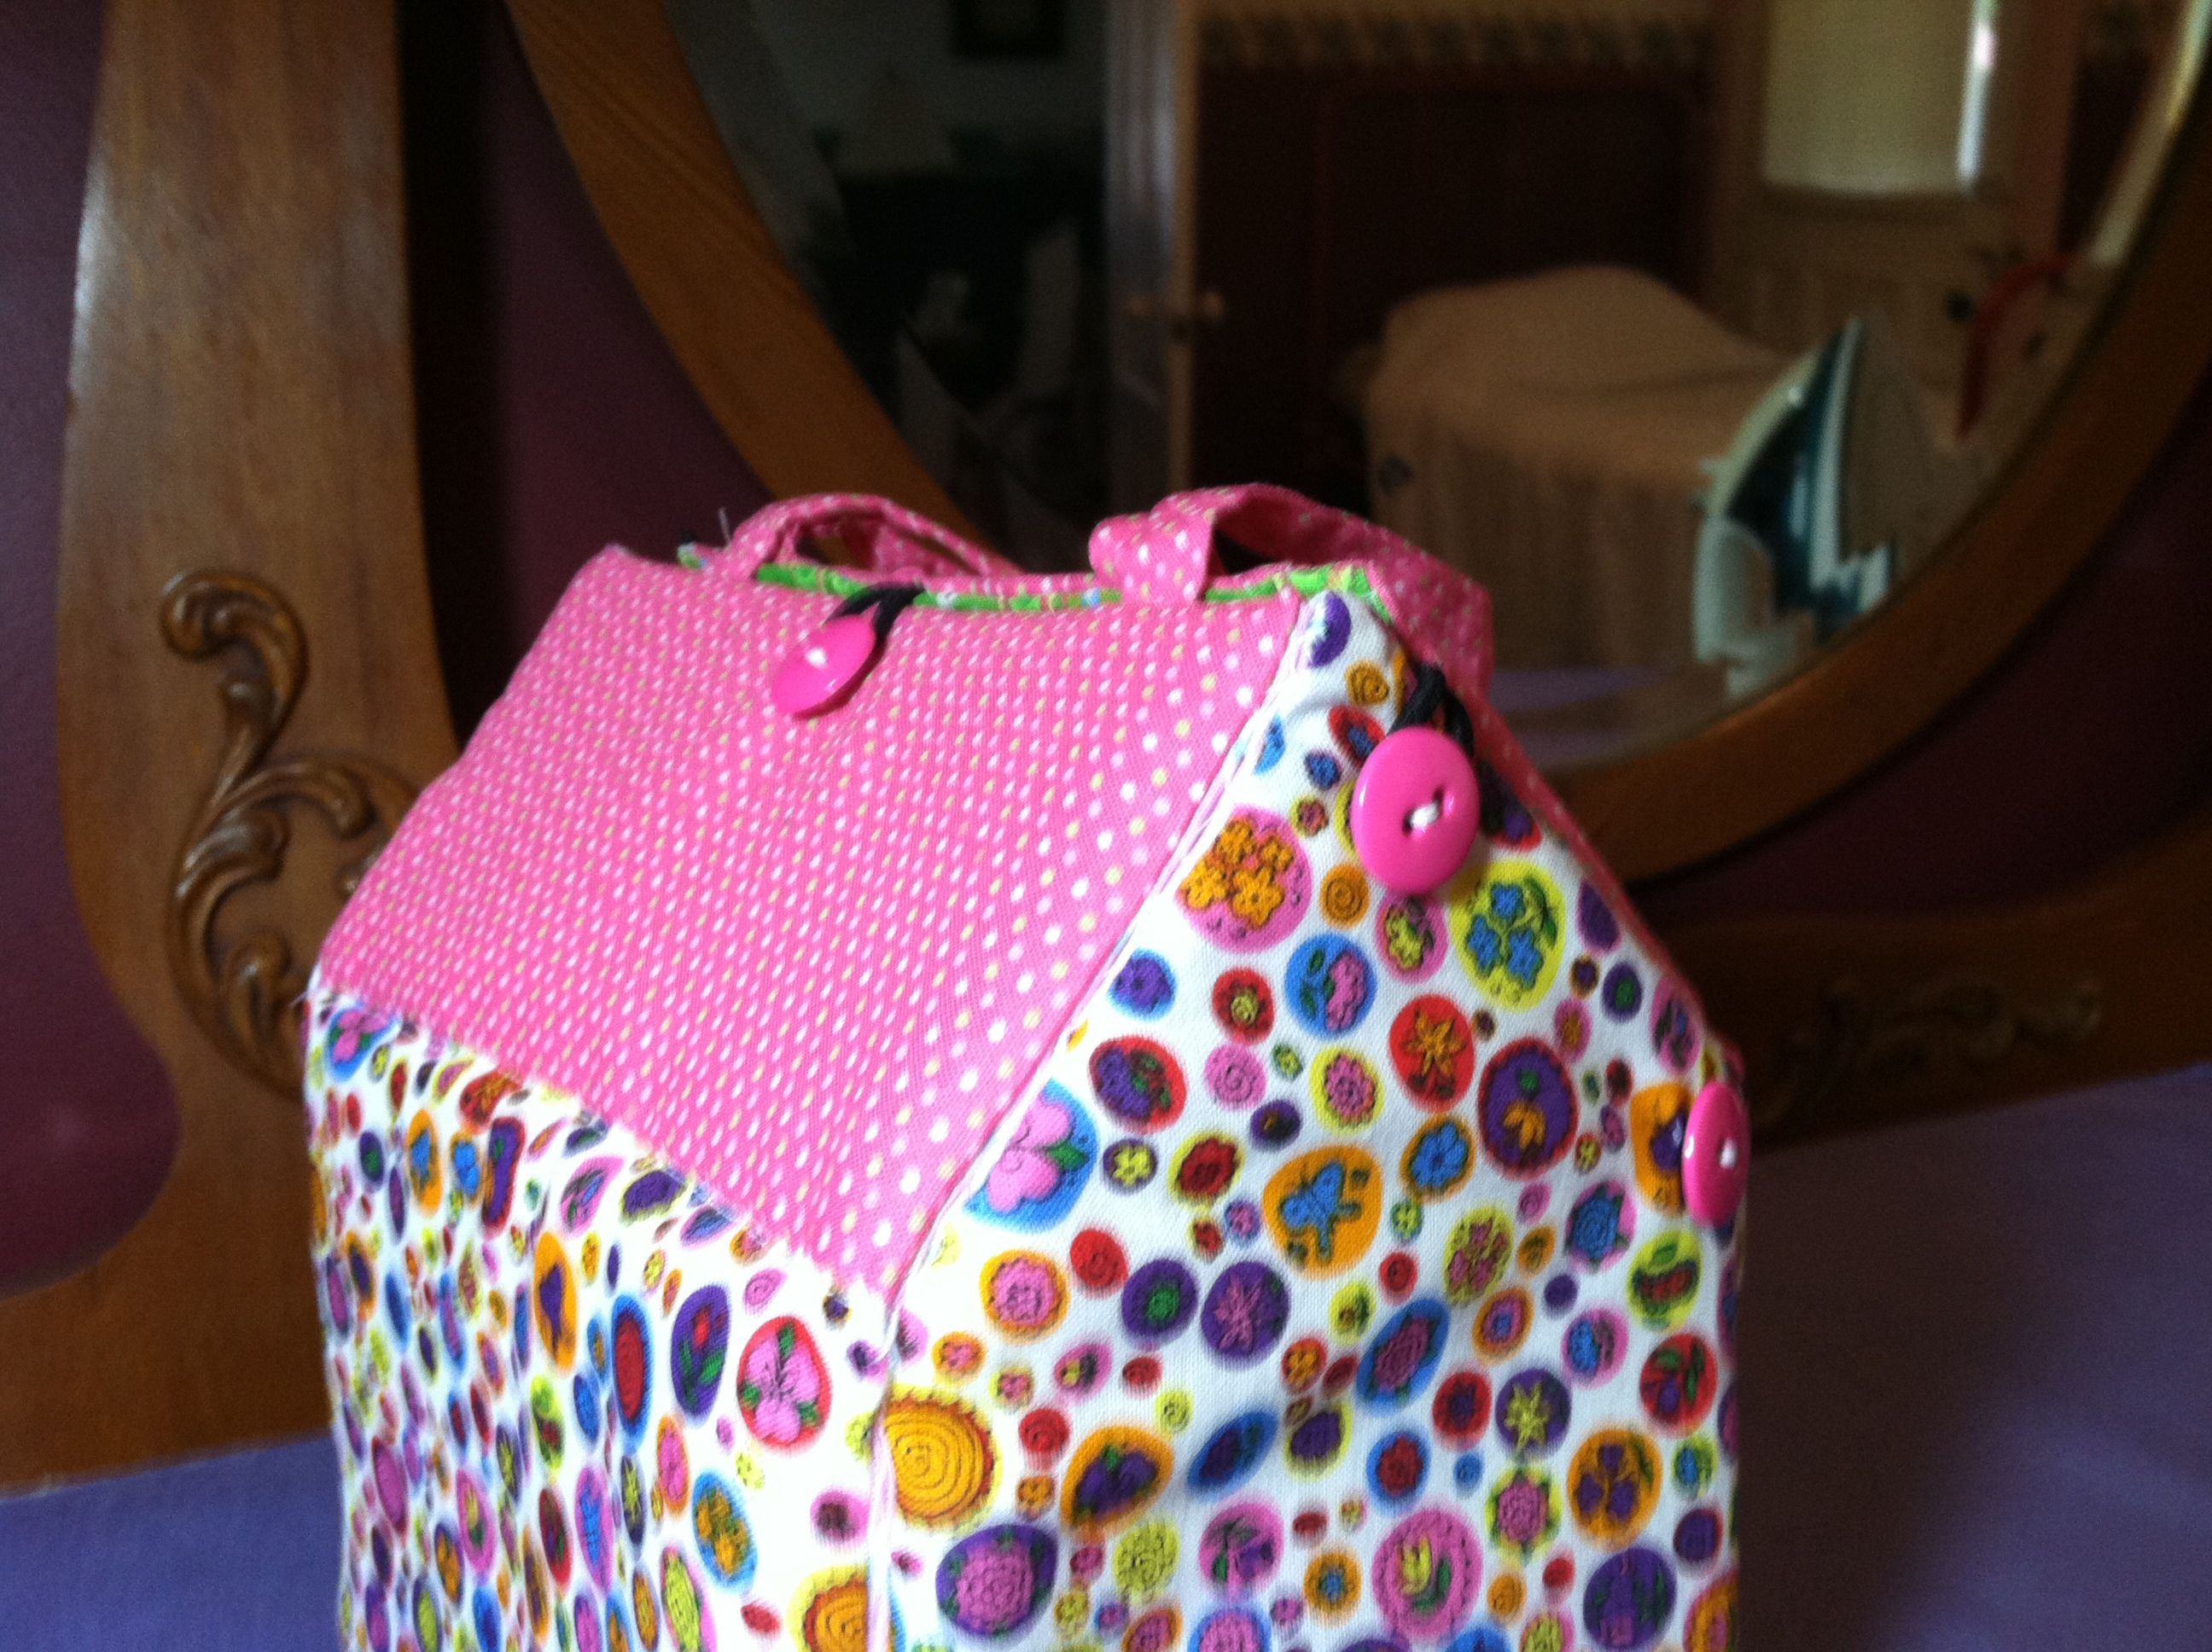
Handstitch your opening closed, and your Back walls to Side walls, and back Roof to Side roof angles. (I did mine from the inside, then turned it out.) Position your buttons on Sides and Back of roof and stitch them on.

 Step 8
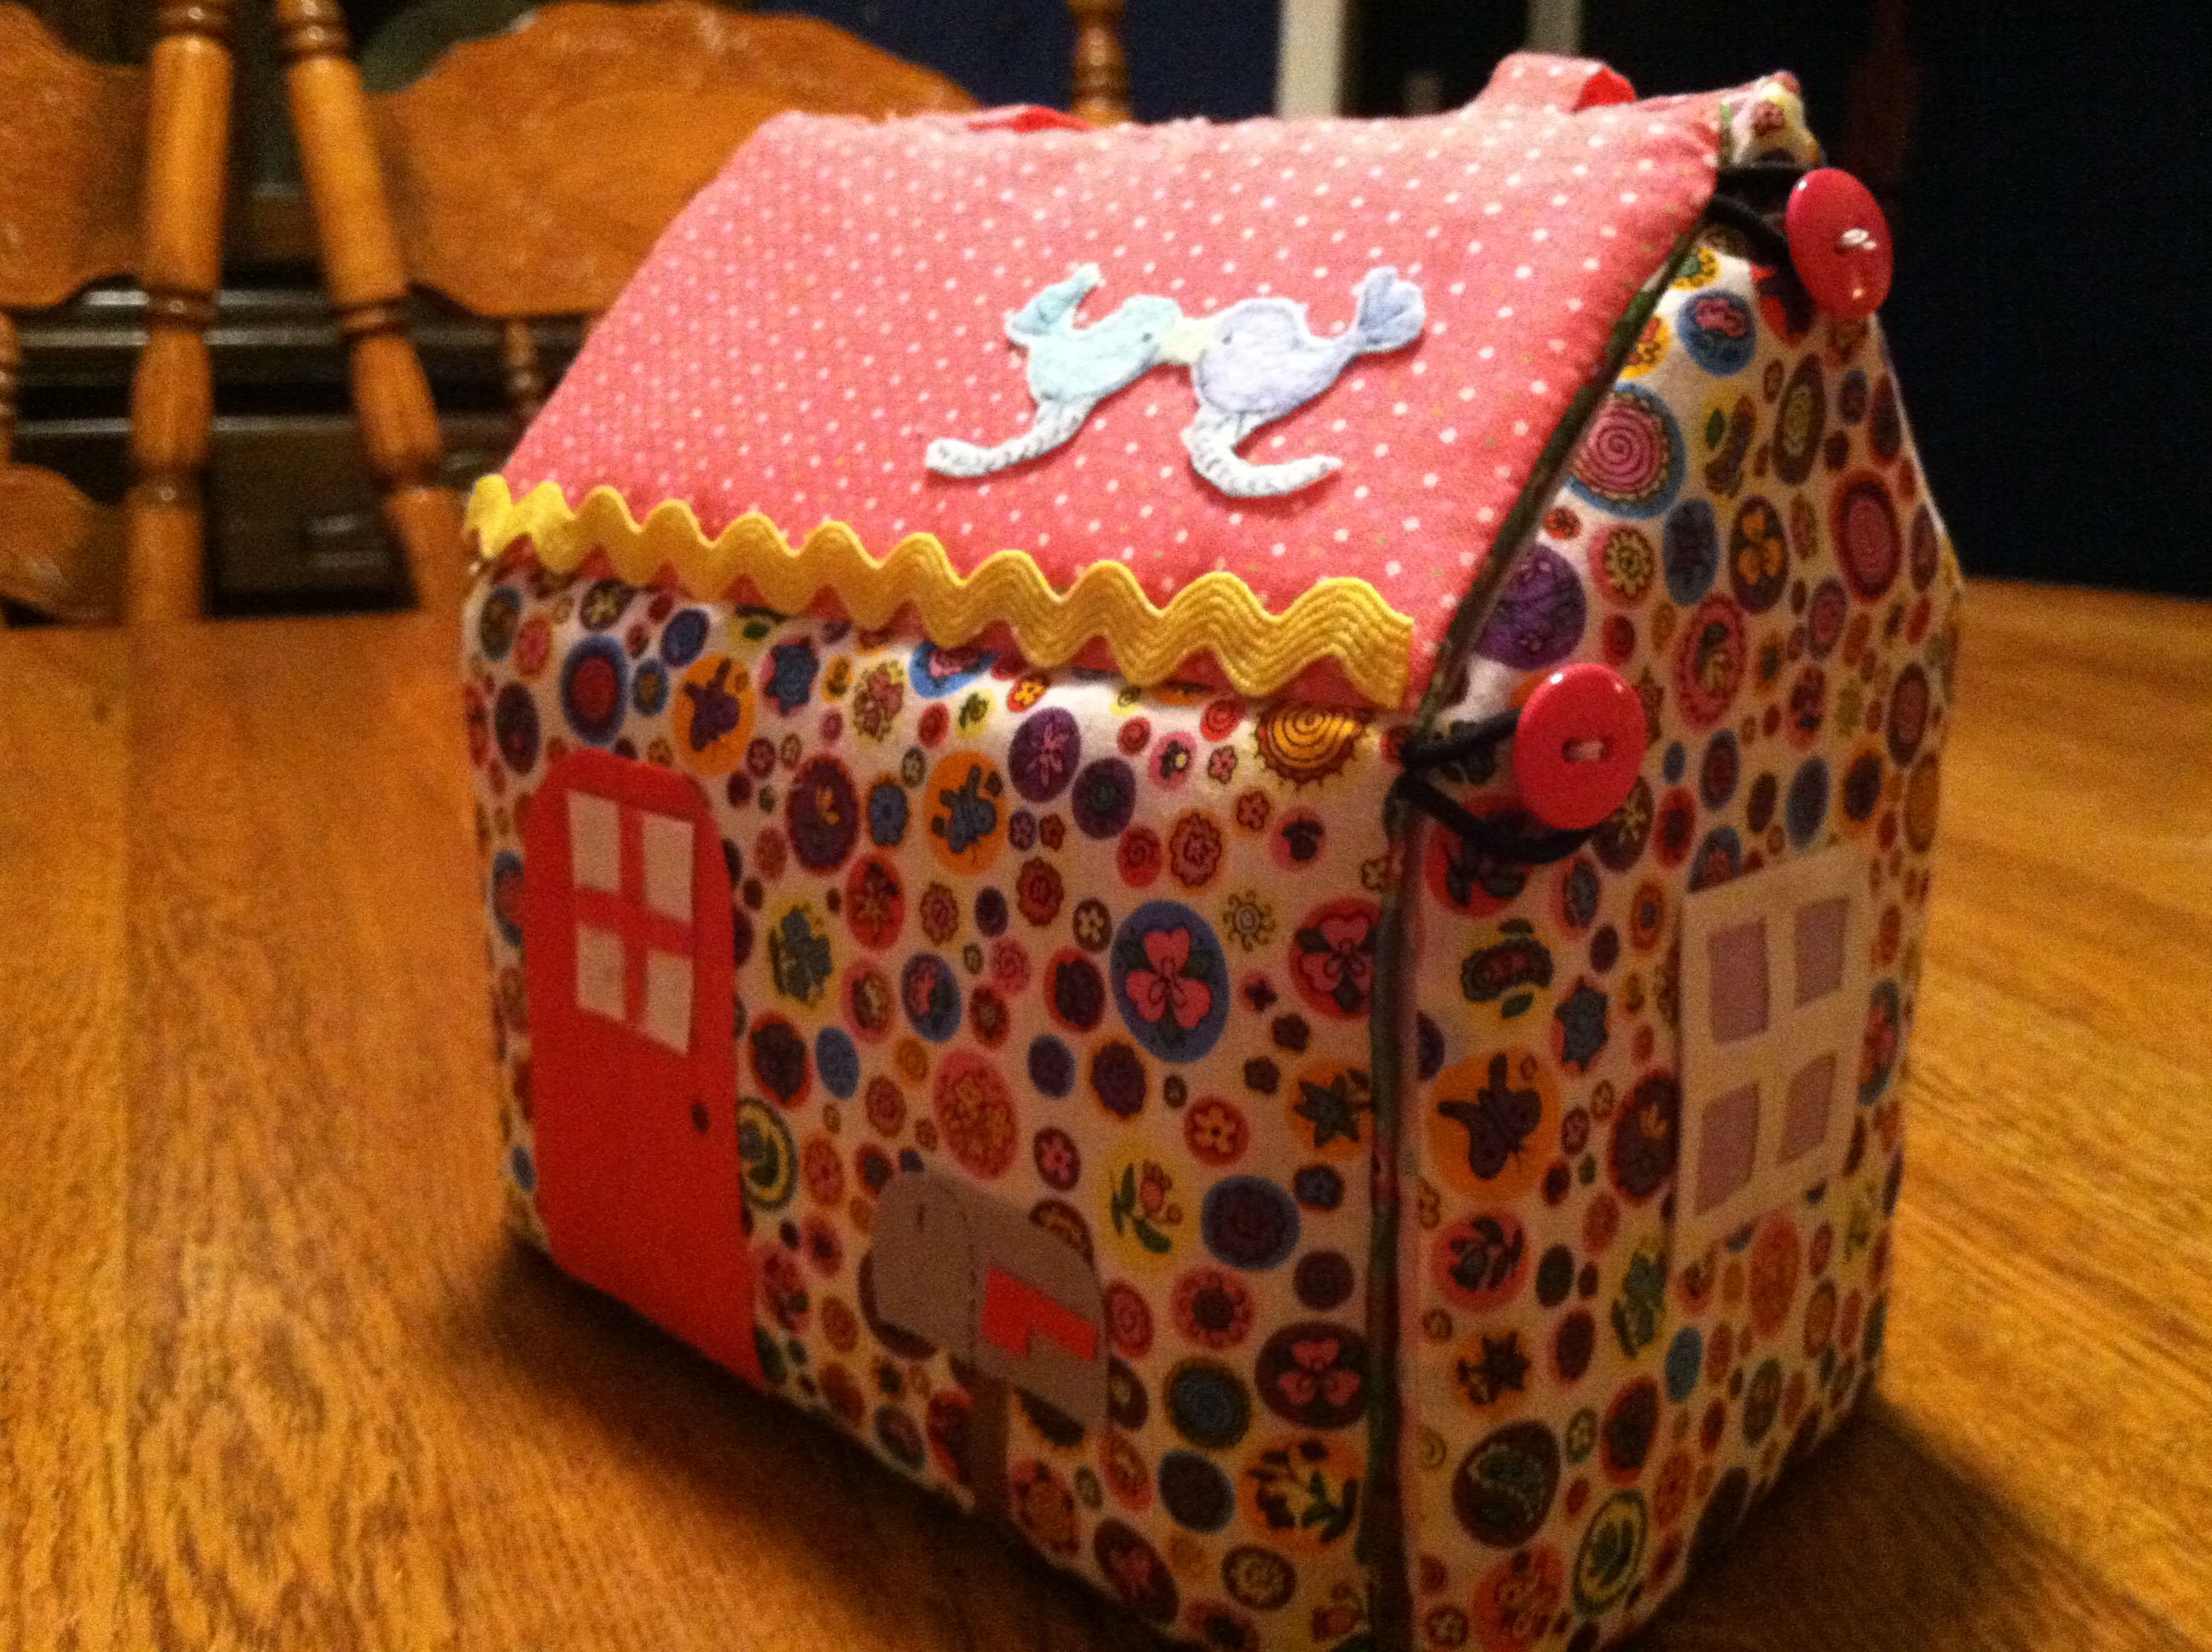
Decorate your house – however you’d like. I used both felt pieces, and fabric pieces that I’d ironed interfacing to. And a permanent marker. I hot glued the pieces on – except the bed is loose. My shapes were just cut freehand – and I am NO artist. (If I’d had more time, I may have used my Cricut.) The bed is made from card stock, as a box form, then covered with fabric. The “pillow” is raised by some batting under it. The mirror is made by heat embossing with silver embossing powder.
 I hope these instructions are clear enough to follow. I didn’t write down what I did as I did it, so I’m trying to remember step-by-step. Thankfully I did take several pictures along the way.
Enjoy!
I’d love to see yours after you make one.
[subscribe2]

Thank you for putting the tutorial together so quickly! I can’t wait to get started on at least 2 of them!
You’re welcome Elizabeth. I look forward to seeing them when you get them finished.