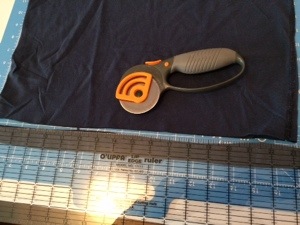
Years ago I crocheted many baskets, rugs, and other accessories from fabric strips. The rotary cutter, mat and acrylic rulers made it sew easy to create yarn from fabric. That trend ended and I haven’t cut fabric yarn since.
 But it’s back! especially in the form of the new trendy T-shirt yarn. Same idea. New twist. With a stretchier yarn. And an even newer tool that can help (even though I don’t have one yet.)
T-shirts. They seem to multiply in the drawers. Our children (hopefully not we) outgrow them. The images start to fade or flake off. They stretch out into weird shapes. So what to do with them? You hate to throw them away, unless they have holes or huge stains.
You could throw them in the rag bag. But there are some better uses. We’ll look at one today, since we’ve kind of been on the yarn theme, and some others at another time.
Just like I strip cut those woven cottons, years ago, we can strip cut these cotton jerseys today, and not even have to buy new fabric yardage to do it.
Here’s how:
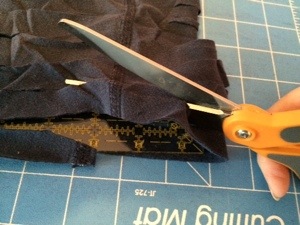
1. Line up the bottom of the hem and cut the hem off.
Tip: T-shirts without side seams are best, but ones with side seams work too.
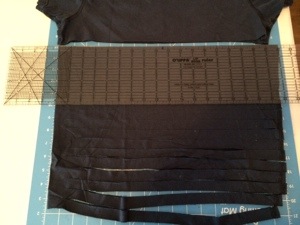
2. Cut evenly spaced strips (1/2″ – 2″ wide, but 1.5-2″ better for braiding than knit or crochet) across the width of the T-shirt. BUT! stop the cuts 1″ from the side furthest from you. IOW, do NOT cut clear across the T-shirt to produce individual rings of fabric.
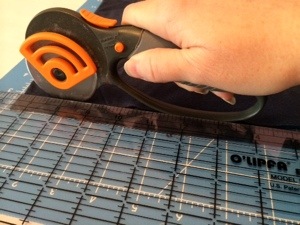
I’ve cut at 1″ and 3/4″. I measured the “Fettucini” jersey knit “yarn” by Lion that I purchased, and it is 3/4″. I think that is a good size. 1/2″ will give you even thinner yarn, and more yards of yarn per T-shirt.

Realize, the size of the T-shirt will determine the yardage you get from it. Using small children’s T-shirts will require quite a few to get enough yardage to make something. So if you don’t have a lot of T-shirts the same color, you will get a scrappy striped effect. From a men’s small T-shirt, I get about 25 yards of 1″ wide, and 36 yards of 3/4″ wide strips.
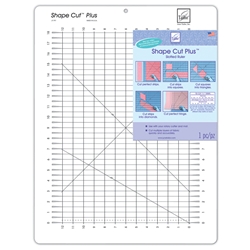
Oh, I about forgot to tell you about a great tool that can help make this go really fast and give great results. (Perhaps I about forgot because I don’t have one yet.) The Shape Cut Plus is a slotted rotary cutting guide with slits every 1/2″ to guide your rotary cutter. Make your strips 1/2″ wide or in any multiple of 1/2″ that you desire. If you plan on cutting a LOT of T-shirts into yarn, or if you do strip piece quilting, you’ll find this ruler (and others in this line) invaluable. The Quarter Cut Slotted Ruler
will cut at 1/4″ increments, but is smaller, for a smaller area.
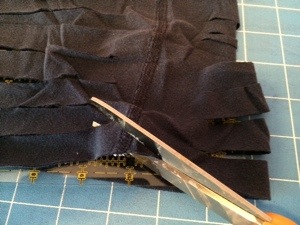
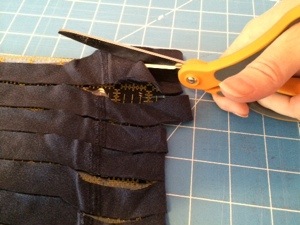
3. When you get about to the arm pit or where an image begins, cut your strip clear through to the end, cutting the top part of the T-shirt apart from your connected strips. The ink from the images will not create a good yarn. Don’t include them. This also goes for if their is any small logo at the bottom or such, cut it off before beginning your strips. And one more note, same goes for if there is a tag in the side seam. Cut it completely off, or you’ll have a hard lump there.
4. Now you have several fringe-y looking strips all connected on one side.
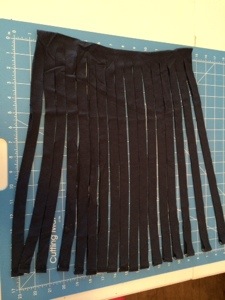
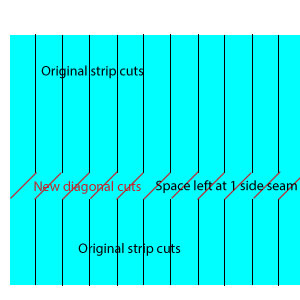
My poor illustration that may be clearer than the pics.
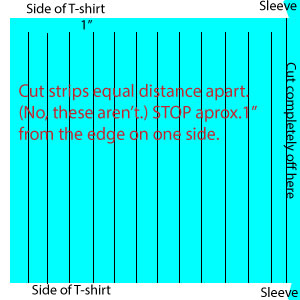
The magic happens with our next cuts to make one continuous long strip of yarn. Lay your cut piece out so you can see the whole part that is hooked together, (turn so side seams are in middle, not at top and bottom.) Begin at the left edge (where the hem was) and cut (beginning even with where the lower cuts start,) at a diagonal to the first cut where the upper cuts end.
Then diagonally lower cut #1 to upper cut #2, lower cut #2 to upper cut #3, and so on.
When you reach the last bottom cut, you will cut diagonally off the edge, and you will have 1 long continuous strip. (I also cut the seams off the ends, if the t-shirt has side seams like this one does.)
 My poor illustration that may be clearer than the pics. The shirt is turned here so the side seam (where connected), is in the middle, not along the top.
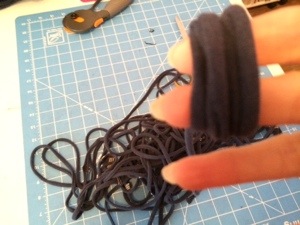
5. Stretch out your yarn, really stretch it out. The edges will curl. I grab from side seam to side seam and pull, just like taffy. Then move on to the next side seam, stretch, across the whole length of the yarn.
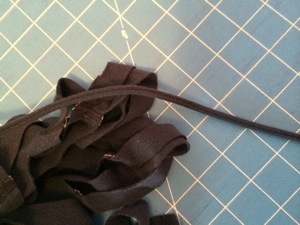

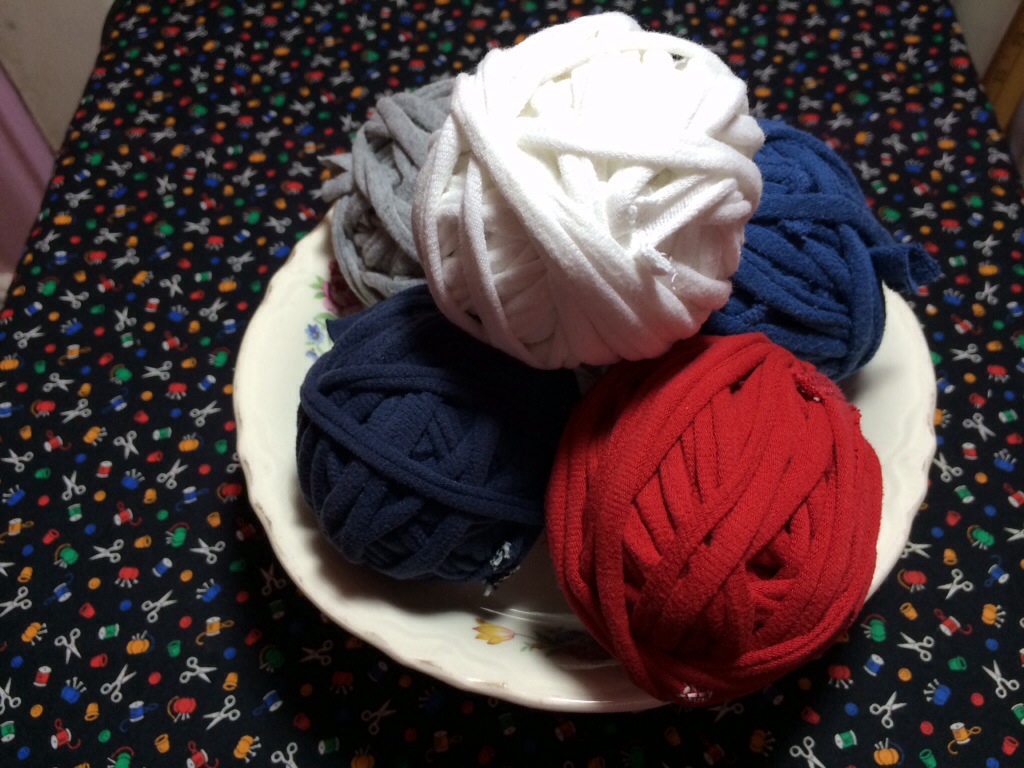
6. Then wind yarn into a ball. Start by wrapping around a couple fingers. Wind.
And wind.
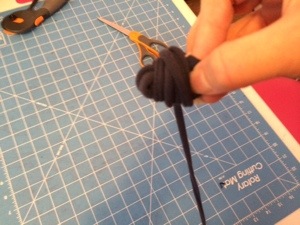
And wind.
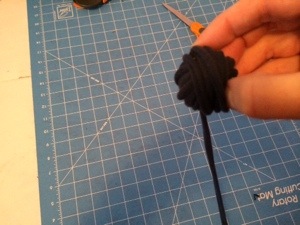
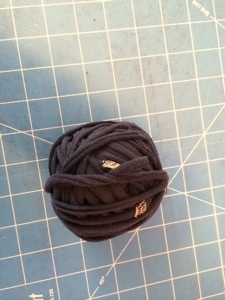
And wind. Now you have a ball of yarn to crochet or knit into all kinds of useful things.
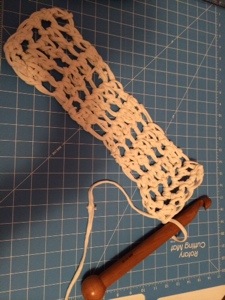
A scarf (or the beginnings of one pictured here.) Crocheted with a size 50 crochet hook! (6 stitches per row. First row single crochet, rest double crochet.)
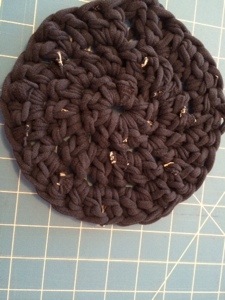
A trivet for a hot pan, or a mug rug, or the beginnings of a floor rug. (Chain 5, slip stitch into ring, ch 3 dc 9 (making 10 stitches), join, ch 3 dc in same stitch and 2 dc in each stitch around (making 20 stitches), join, ch 3, *2 dc in next, dc in next* around, 2 dc in last. Finish off or continue for larger circle.)
Or dish rags.
Or a purse or tote bag.
Or ….
Don’t throw the tops and sleeves of your shirts away yet. I’ll be back with more tips for repurposing those into useful things too.
Do you make T-shirt yarn? What have you knit or crocheted with it?