Sewing Saturday

Sewing Saturday is a new feature I’m adding to the musings and random ramblings ‘from me’. I’m planning on making it a monthly feature, and will try to get a graphic designed before the next one is posted.

This month I want to share with you one of the easiest sewing projects you can make. It is a good place to start with a young child wanting to learn to sew with the machine.

A baby blanket is a fun project, as it can be used as a gift to bless someone else. Therefore you can make MANY of them, and never be run over by them in your own home. If you have a serger this project is even simpler, but a regular machine is great and easy too.

You will need nice (not too flimsy) 100% cotton flannel fabric. You can make your blanket 30″ sq. (for a newborn) or 36″ sq or 45″ sq. We prefer the little bigger sizes as they make a nice favorite “blankey” that the child can use longer. Since this fabric will shrink, you need to buy more than your final size. I like to get 2 1/4 yd. for a 36″ sq. or 2 3/4 yards for the 45″ if I want the front and back to be the same (1 7/8 yd for 30″).

I really prefer to do coordinating patterns, different design on front and back, but the designs go together. For that, get 1 1/8 yd each of 2 different fabrics for the 36″, or 1 3/8 yd each of 2 different fabrics for the 45″ (1 yd each for 30″).

Pre-shrink (wash and dry) the fabric (and iron if needed.)

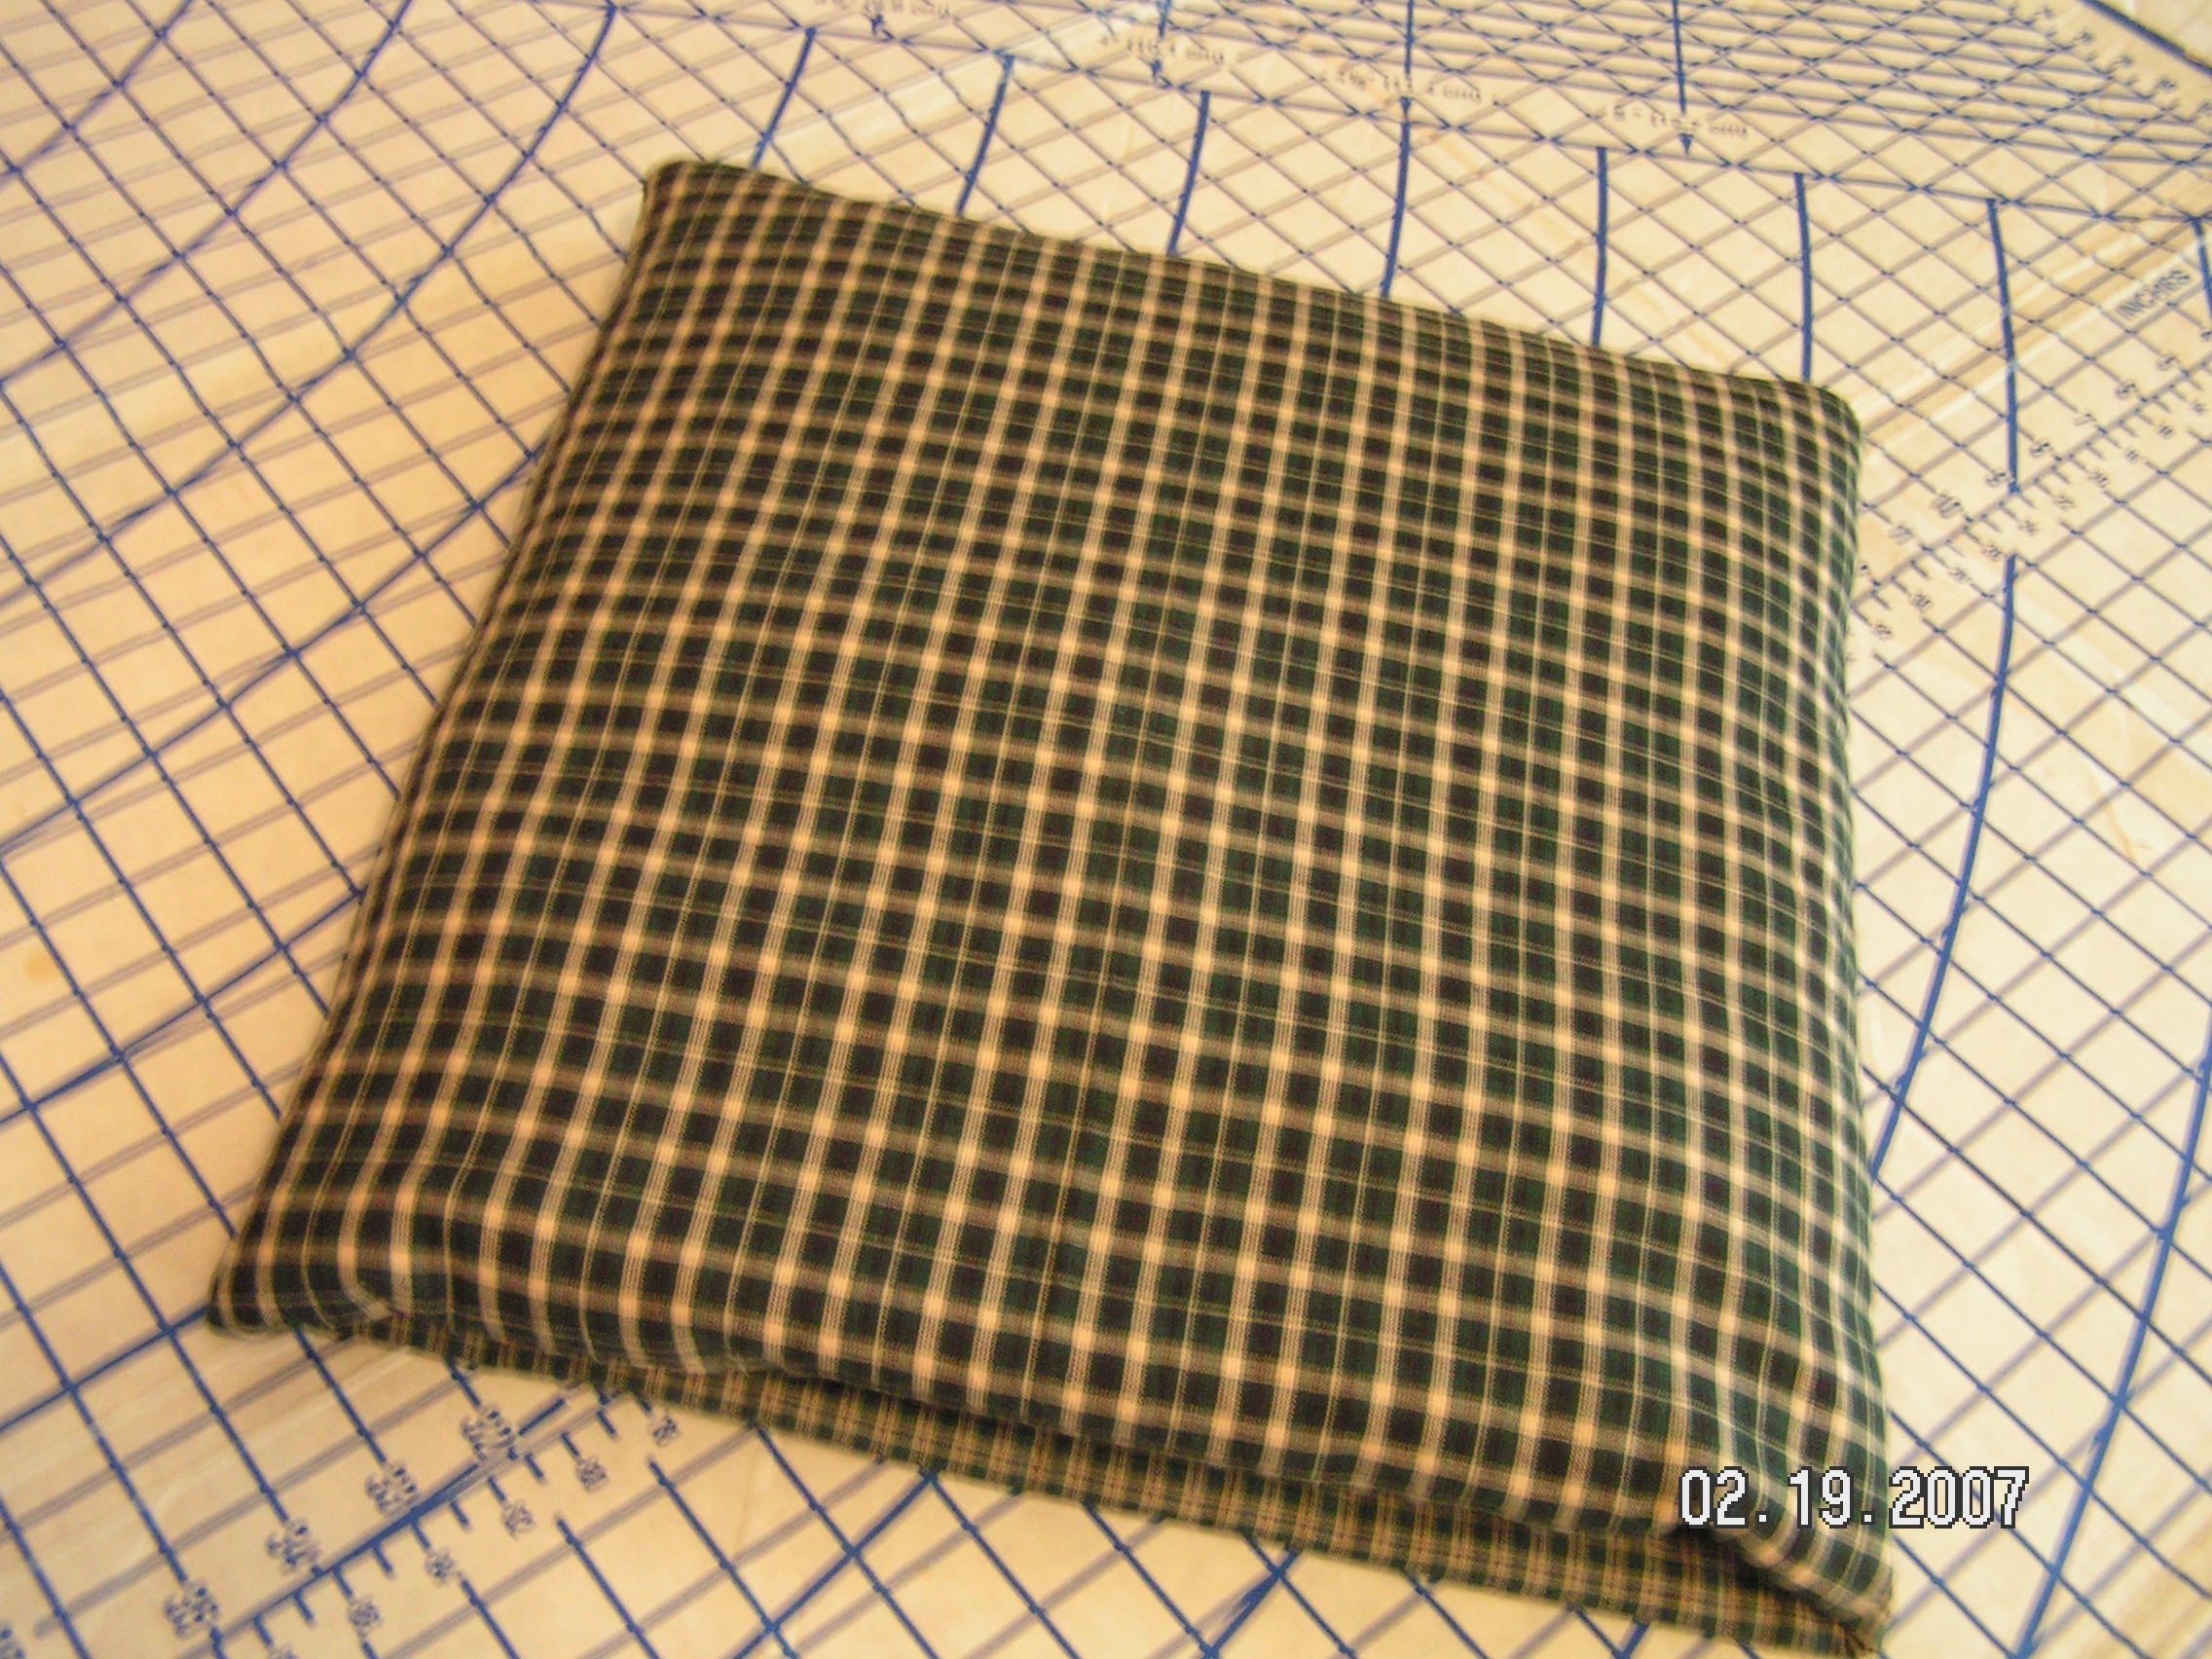
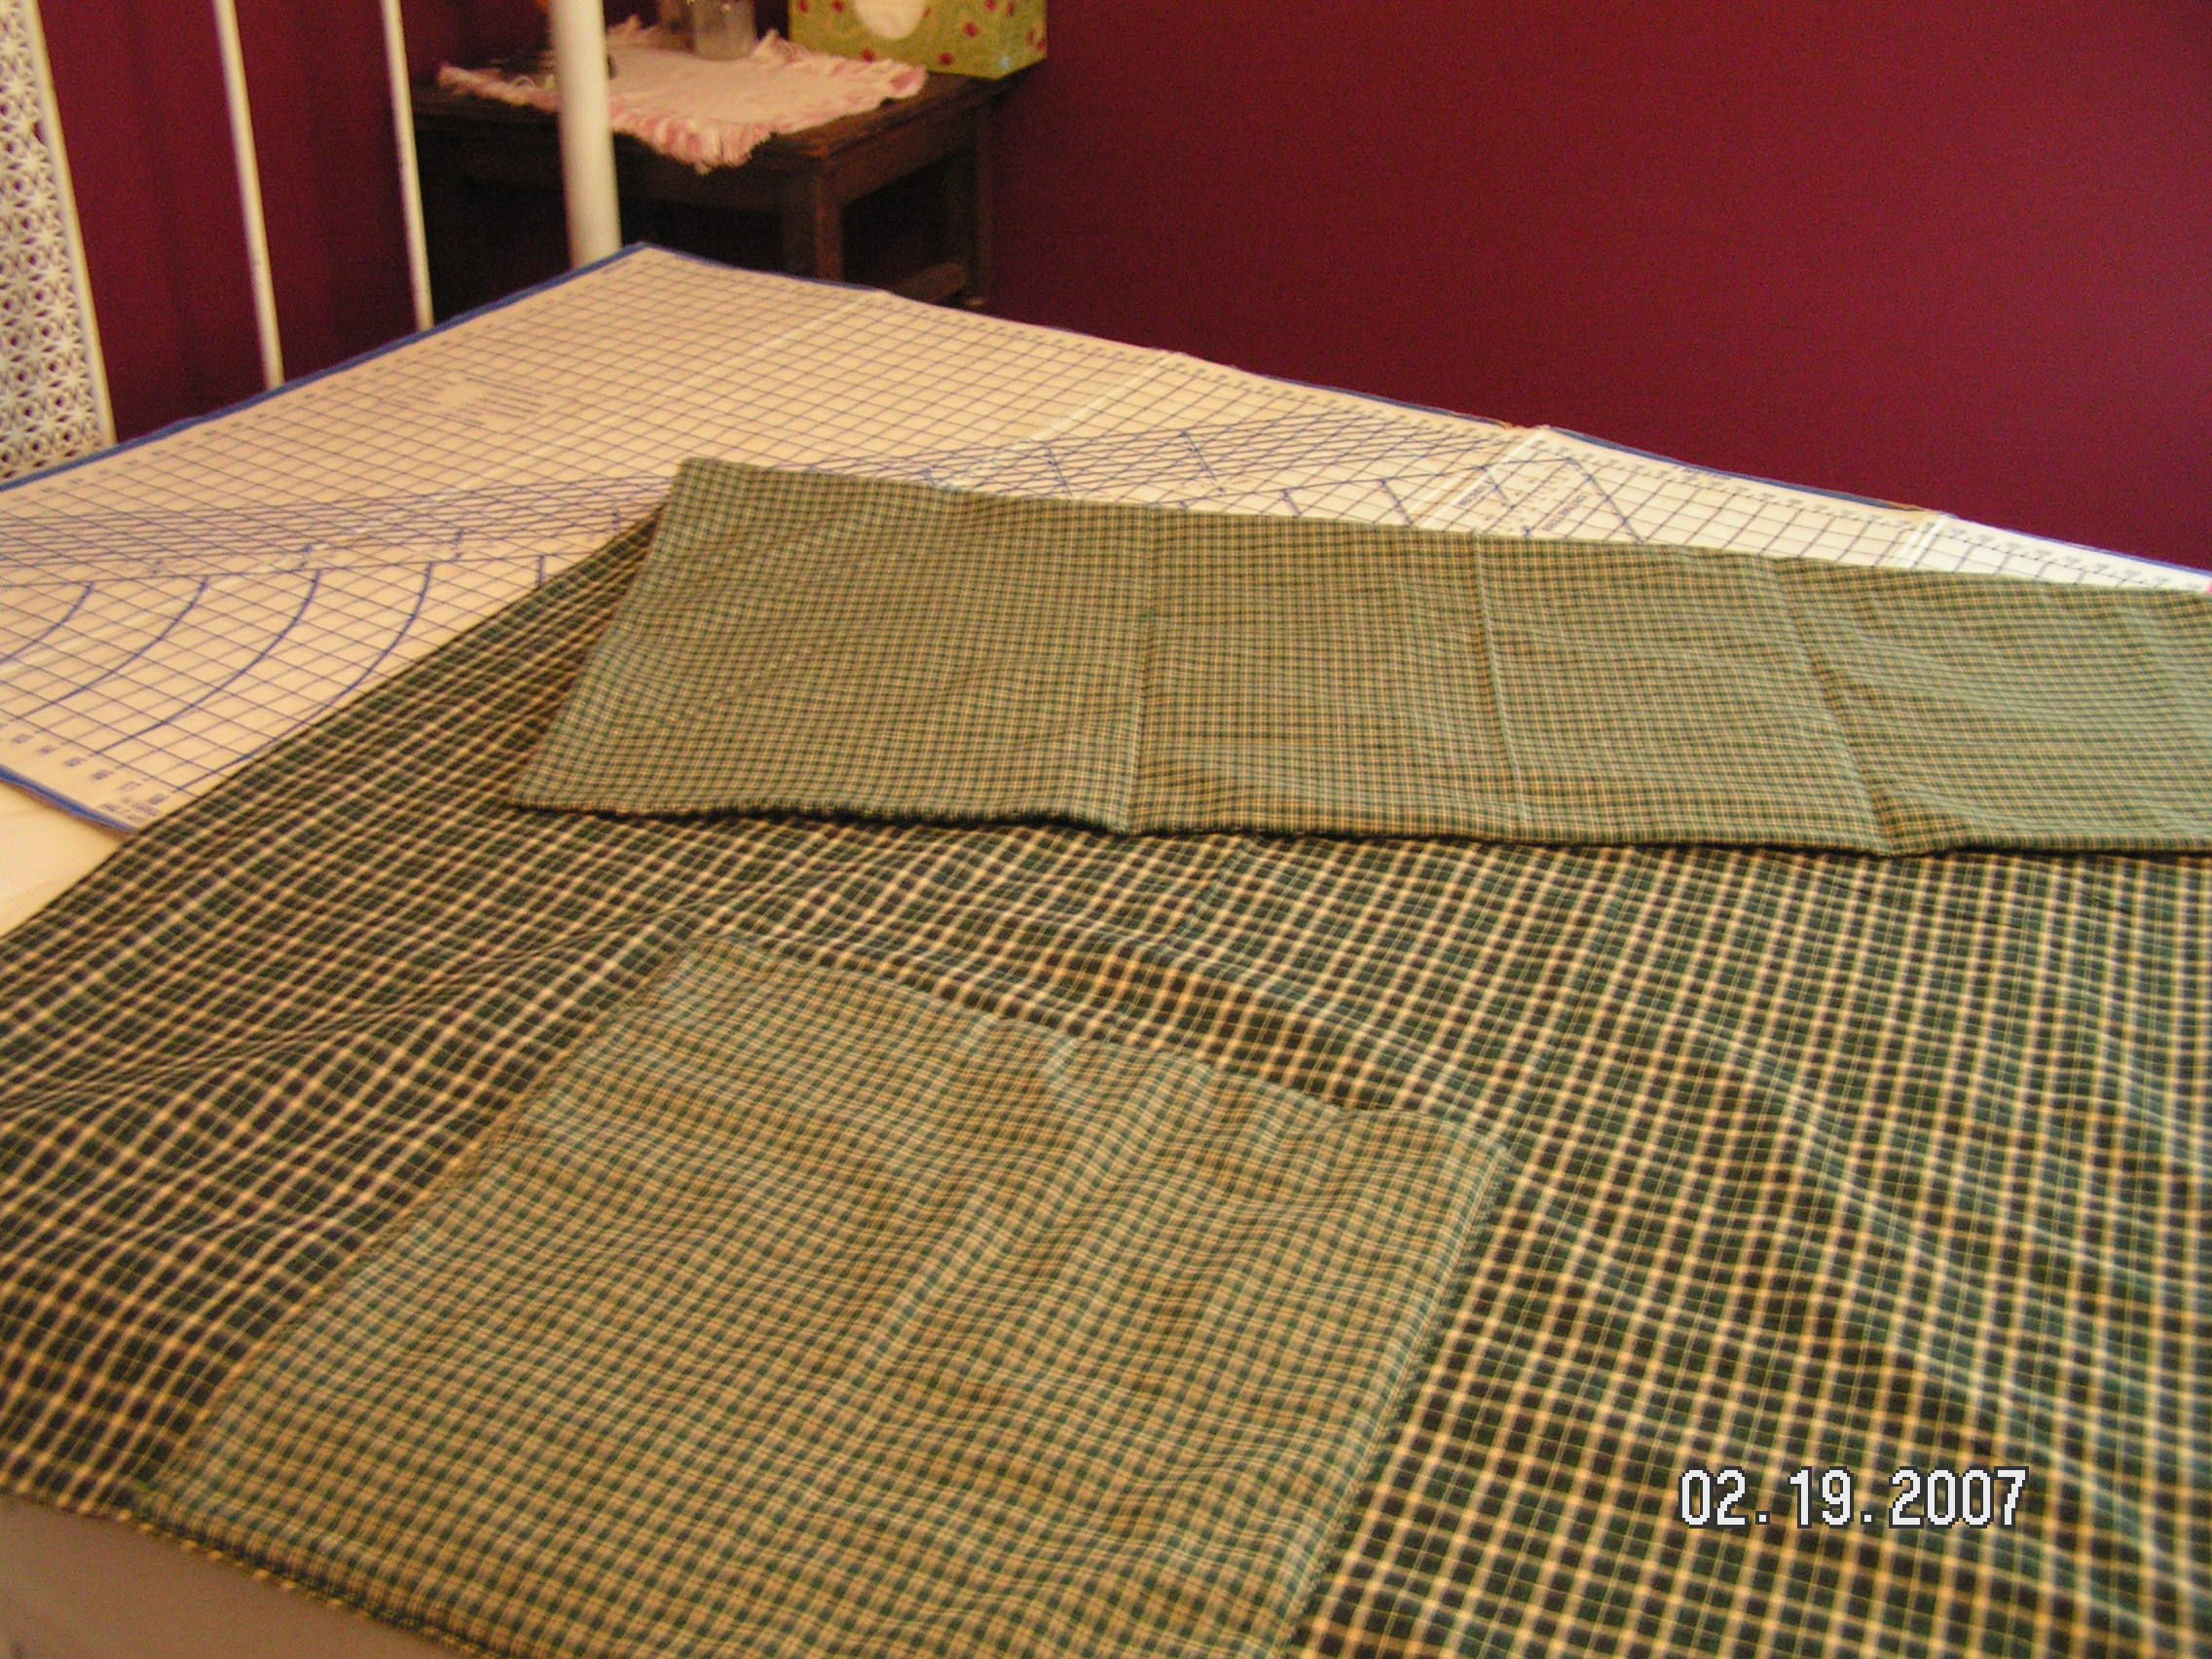
Cut 2 squares the size you want your blanket to be. (The finished blanket actually will be a little smaller, if you’re using a regular sewing machine, as I’m not adding seam allowance to these.) Be sure to cut along the grain, you want a perfect 90° corner so your blanket will be truly square and not cockeyed. I like to use a rotary cutter and mat for cutting pieces like this. (Using the full width of the fabric and making your square to match that measurement is the easiest way.)

You can leave your corners square if you like, or you can round them. I prefer rounded, especially with a serger, but with a beginner and regular sewing machine you may just want to leave them square. To round the corners, put the 2 pieces of fabric directly on top of each other, right sides together if stitching by regular sewing machine, wrong sides together if using a serger. Place a plate in the corner with the edge of the plate exactly on the edges of the blanket. With a marking pen draw around the edge of the plate, then cut on your line, to round the corners.

If using a serger, pick a “pretty” thread – I usually like to use a variegated, “wooly” thread in the needles. Just stitch the sides together, sewing right on the edge (not cutting any off,) rounding the corners, and overlapping your stitching a bit when you get clear around. After cutting your threads, pull the ends to tighten and “seal” the stitching. You’re done!

If using a regular machine, use a 1/2″ seam allowance and start stitching slightly past the middle of one of the sides, sew to the corner and turn, (or round each corner if you’ve cut them this way) clear around until you get back to your first side, but NOT all the way around. Leave an opening about 8″ or so. Be sure to back stitch at the beginning and end of your sewing.

Turn blanket right side out and press edges, so the seam is nice and flat, tucking in the seam allowance of the opening. Hand stitch the opening closed. Top stitch, with a pretty coordinating color thread, completely around the blanket, 1/4″ in from the edge. Now You’re Done!

My dd has enjoyed making these as baby gifts for her older sisters’ babies. They are such a nice, soft and pretty and useful gift. You can make matching washies (for bath or wiping bottoms) or hankies (don’t use kleenex on a little nose, these are much softer) or burp clothes (if the mom uses them) out of properly sized pieces of fabric, by either just serging edges, or making a small hem all around. I prefer double sided for all but the hankies. To do this follow the exact same instructions as the blanket, using a glass or smaller round for the corners.

Sew much fun!

For Me and My House ~ At Jesus’ feet,
Lisa @ Me and My House ~ Discipleship for Life!
Order Christian & Home Ed Resources here

Get future posts to this blog by email:

Fit and Fun – Clothes that Is

This week I’ve been teaching dd15 how to make sewing patterns. So far she has made her slopers. It’s kept her practical application of math up with all the division, addition, subtraction and measuring.

It is really quite simple to make your own patterns. I’m not sure why more sew-ers don’t do it. Once you have your basic sloper, all you have to do is make any variation you can think of. Perhaps it more has to do with envisioning the finished project. Perhaps it’s just plain easier to follow old habits. I’m sure that is what it has been a lot of the time for me.

I have 2 different pattern making book sets. One is from the European School of Design. Our oldest dd and I took a class, when she was a teen, from someone who came to our town. That was many years ago, pre-internet days, and I haven’t found these books online. They promoted the Lutterloh system, but that isn’t the books I got.

The other is from Sew with Sarah. I got them a few years ago to learn more, (since I’d done very little with the first ones,) when I wanted to design some maternity and nursing clothes. I’ve got the Quick and Easy Pattern Making . She has several websites, but that is the best link I’ve found for ordering this online in either download format or in print. There are links to her other books there too. I plan to get the one for making children’s patterns.

I’m looking forward to getting dd into this as she is SO creative. I think once she gets started she will love it.

It’s a Quilt! It’s a Pillow! It’s a Quillo!

Greetings from Me and My House,

Today I’m moving on from nutrition teaching to a simple sewing project. Keep up your Good for You-Natural! lifestyle of eating though.

Quillos are a favorite around our home. Each child has their own for wrapping up in to take a chill off or laying around on. They are super for taking on trips. A quillo is a quilt that folds into a pillow, that is simple to make.

Quillo folded into Pillow {sewing instructions} ~ from Me & My House

You will need 4.5 yards total (after preshrinking) cotton print fabric. Homespun plaids work great, as do any type of novelty print, quilting fabrics, or flannels. You can use all one fabric if you want, but I prefer to use differing fabrics for the front and the back. The pillow/pocket can be made with both sides the same as the one of the other fabrics. If you want the two sides to be different, you will need another 1/2 yard fabric. The instructions here are for an adult size, aprox. 45″ (the width of your fabric) by 72″. (A child/smaller size is the width of the fabric by 60″, and a smaller “pillow/pocket” is made. A baby size can also be made – 36″ by 45″.)
This one is child’s size:

Quillo {sewing instructions} ~ from Me & My House

Supplies needed:
So for your adult size quillo, you need:
2 yards preshrunk fabric for the back
2 1/2 yards preshrunk fabric for the front and pillow/pocket
These should be compatible prints – different, but look good together.
2.5 yards batting – any batting that does not have to be quilted at small intervals. I prefer an all cotton or wool batting.

Thread that blends with both your prints.
Scissors/Rotary Cutter & Mat, Pins, Sewing Machine, yardstick, removable fabric marker.

Instructions:
Blanket:

Square up the ends of the fabric and cut (I prefer to use a rotary cutter) the front and back blanket pieces each 72″ long across the width of the fabric. Cut 1 piece of batting the same size.

Layer (by spreading out on a large flat surface) the batting, then one of the fabrics, wrong side down on the batting, then the other fabric right side down (on the right side of the first fabric). Smooth all layers and pin around all edges.

Sew around all 4 edges (I prefer using a walking foot) leaving a 10-12″ opening in the center of one end to turn. Clip corners. Turn right side out and press seams, including pressing the opening seam edges in.

Pillow/Pocket:
Cut 2 18″x18″ squares for the pillow/pocket out of the remaining front fabric (or one square from each fabric, if you are using both). Cut one piece of batting the same size. Layer and sew exactly the same as the blanket part, only about a 6″ opening is needed.

Alternative pillow/pocket:
You may also use an 18″x18″ quilt block as one layer and your front fabric as the other layer. After sewing the edges, turning and pressing, quilt your block before attaching to blanket in next step. When attaching to blanket, be sure to sew with the quilt block side facing the blanket side, otherwise when you fold your quillo into a pillow your quilt block will be inside and unseen.

Quillo folded into Pillow {Click for sewing instructions} ~ from Me & My House

Attach Pillow/Pocket:
Find the center of the open end of both the blanket and the pillow/pocket parts, and match them up. Make sure the center of the other end of the pillow/pocket is lined up with the center of the blanket. Pin the ends of blanket and pillow/pocket together and pin the sides of the pillow/pocket to the blanket. Stitch a narrow seam across the ends of both, attaching the pillow/pocket to the blanket, and closing up the open ends of both.

Lay quillo out flat. Measure in from each side of the blanket onto the pillow/pocket about 1/4″ onto the pillow/pocket. With removable marking (disappearing or wash out marking pen), mark this distance the entire length of the quillo, on both sides of the pillow/pocket. In other words, you are going to sew on the pillow/pocket sides, but you are going to extend these seams the entire length of the quillo. After marking, pin through all layers along each line while quillo is still laying flat. Stitch along both lines.

You’re finished! To fold quillo as a pillow, fold into aprox. thirds along the stitching lines you just made, with the pillow/pocket facing down and your folds on top. Then fold the top down twice to a point just above where the top of the pillow/pocket is, then fold again, over the back of the pillow/pocket. Turn over and reach inside of the pillow/pocket, grab through all layers of both bottom corners and flip the whole thing inside out. Your folded blanket is now inside your pillow/pocket. Smooth and you have a nice pillow.

Simple, but pretty, and certainly practical.

For Me and My House,
At Jesus’ feet,
Lisa

[subscribe2]