


Who can resist a yummy cheesecake? Especially on a HoliDay? Yes, I knew last Sunday would be full of sugary offerings–all day long, as we gathered as a family to Celebrate the Ressurection of Jesus. All those store-bought candies wouldn’t hold much temptation, but there might be a homemade specialty that would call out. Besides, I wanted a special treat that I could enjoy–and feel good about.
I have seen so many cheesecakes lately on the Instant Pot Facebook groups. Those have definitely been on my mind. But I really wanted to make a raw dessert. The adventure began.
As most of my recipes I share here, this is one that both worked well that I and others loved, and also one that my mind is still turning gears for changes I plan to try. Next time I will replace sweeteners with dates, try fresh coconut milk, and experiment for oil free. Those are ways I’d like to improve this. But as a special treat, this was fantastic as is. Very yummy–even to those that don’t eat real foods for health. For those, rather than calling it healthy vegan cheesecake, I named it Reece’s Cheescake.
Enjoy!

Crust:
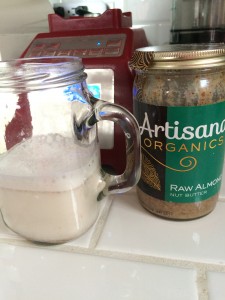
- 1 cup Almond Meal
- 1/3 cup Maple Syrup
- 1/2 cup raw Cacao Powder
- 1 tsp. vanilla
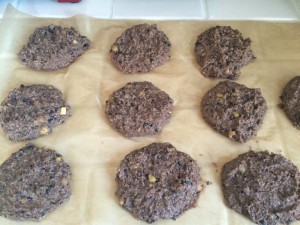
Mix in a food processor until it is well mixed and holds together when pinched together. Press 1.5 Tbl. into the bottom of each square (or other shaped) silicone cupcake liner.
Filling (adapted from Minimalist Baker):
- 1.5 cups raw cashews, soaked overnight in refrigerator
- 1/4 cup fresh lemon juice (approx.)
- 1/3 cup coconut oil
- 1/2 cup + 2 Tbsp canned coconut milk
- 1/2 cup maple syrup (or honey)
- 2 Tbl. peanut (or almond) butter
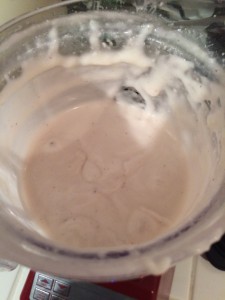
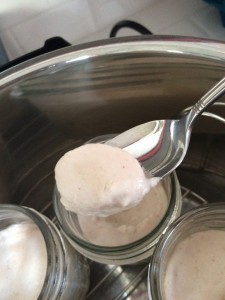
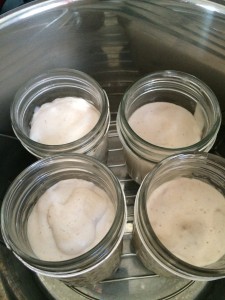
Mix well in food processor until smooth. Scoop 1/4 cup onto each crust. Tap each cup to dispell air bubbles.
Freeze for a few hours. Remove from freezer 10-30 minutes before serving.
Top with Ganache.
Ganache:
- 1/2 cup maple syrup
- 1/2 cup raw cacao powder
- 1 tsp. vanilla
- 1 Tbl. coconut butter
- 2-3 Tbl. coconut oil.
Blend well. Spoon or drizzle on top of cheesecakes.
Bon Apetit!
 As always,
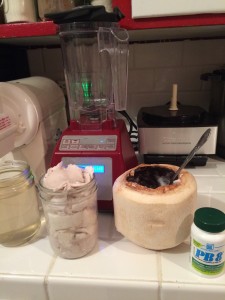
  So first thing I did was get a good travel-friendly but powerful blender to take on the road. My family doesn’t like being without the
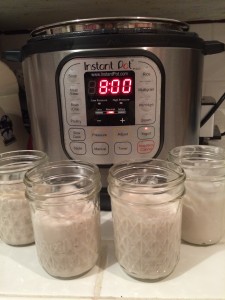
  Here’s the trick. I freeze my smoothie ingredients in single servingjars. All the ingredients for each smoothie together in a jar. Well mostly. Because even quart size jars are not large enough to hold all the greens I put in, along with the other ingredients, I take my greens separately, not frozen, usually in the large box or bag they come in. Each day’s other ingredients (besides liquid) are put into mason jars, 1 per smoothie, then put in the freezer. I use the
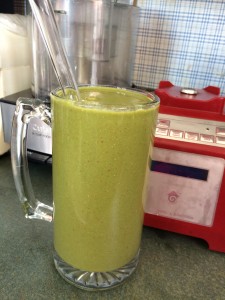
 Of course, I don’t drink out of the plastic blender jar. I have to have the really cool mason jar (that 24 oz one would work) or a
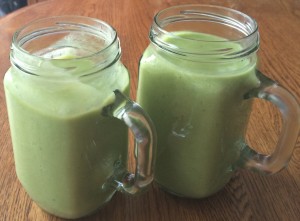
 Green Smoothies are a combination of dark leafy greens and fruits and/or other vegetables, and water, blended into a delicious “shake”. Although you can find plenty of Green Smoothie recipes out there, no recipe is needed. Just use what you have on hand and like.
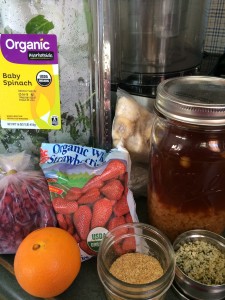 For fruits, include berries (another health super food). A banana is a great addition especially in the beginning to make it nice and creamy and help cover the “green” taste. Add common apples, oranges, and lemons; tropical pineapple, young coconut, mango, kiwi, and limes; and all the other varieties of fruit available.
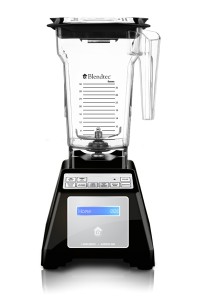


 doTerra Essential Oils