Greetings from Me and My House,
Today I’m moving on from nutrition teaching to a simple sewing project. Keep up your Good for You-Natural! lifestyle of eating though.
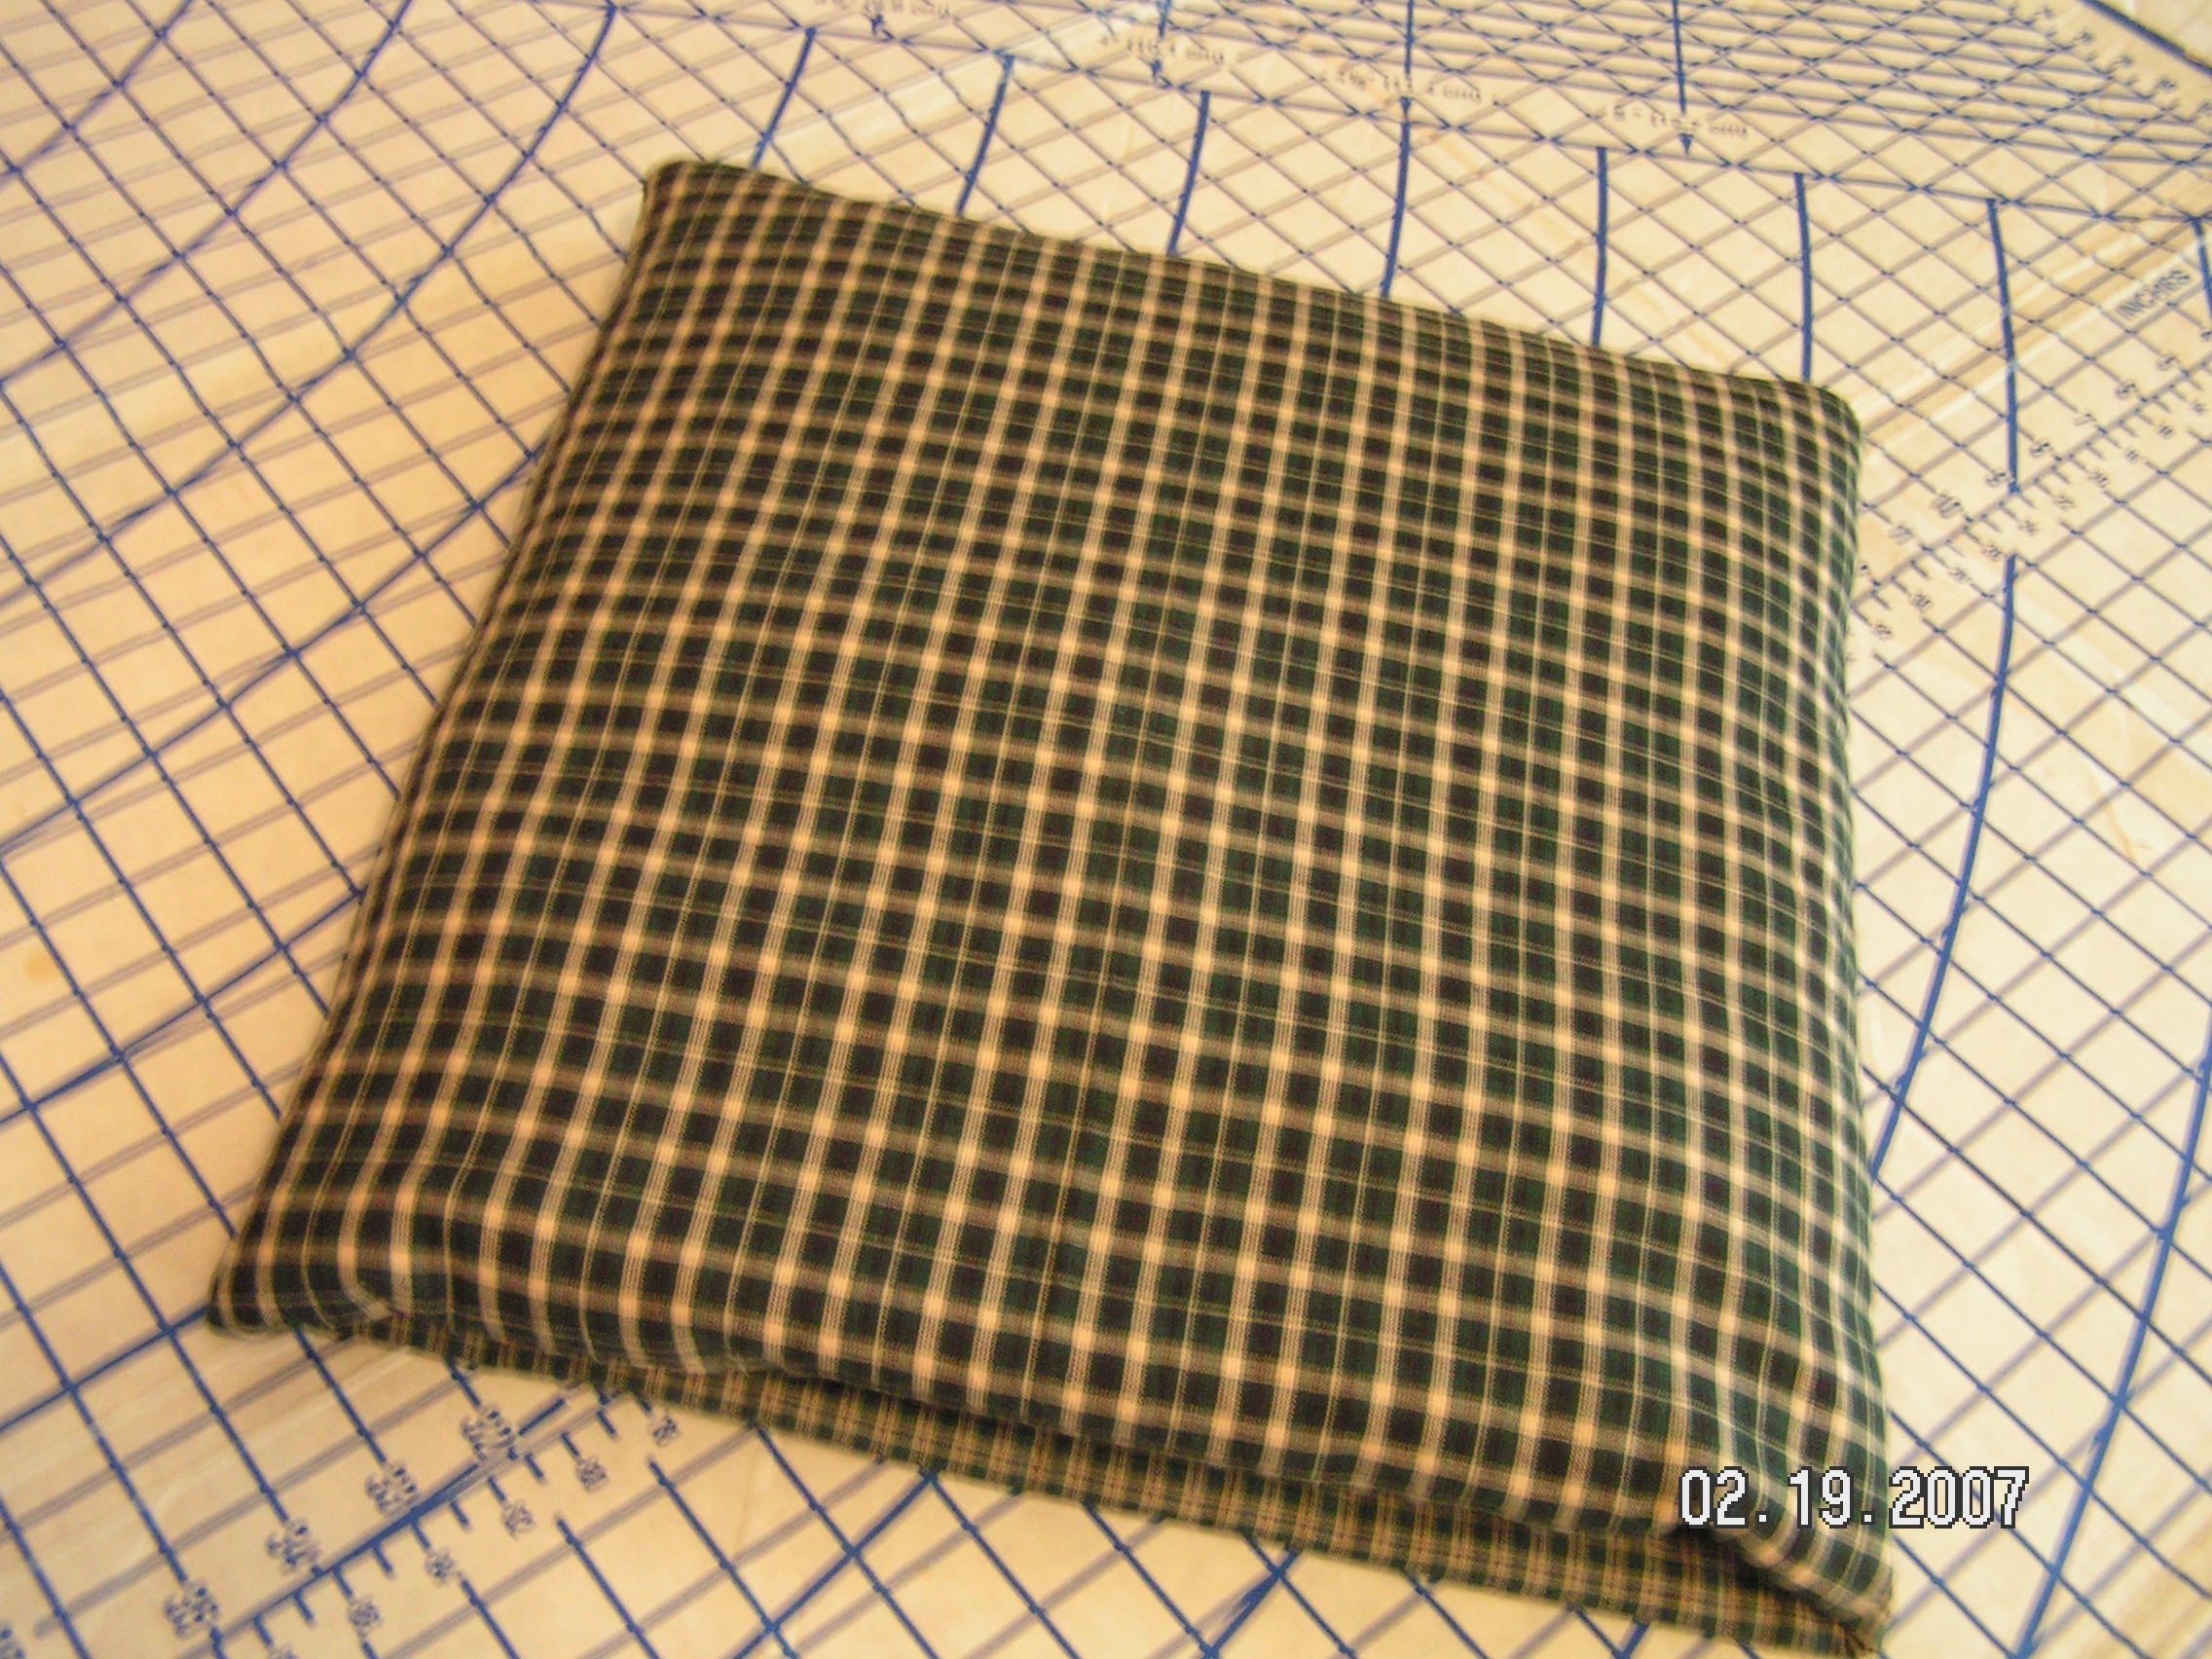
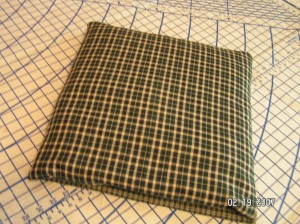
Quillos are a favorite around our home. Each child has their own for wrapping up in to take a chill off or laying around on. They are super for taking on trips. A quillo is a quilt that folds into a pillow, that is simple to make.
You will need 4.5 yards total (after preshrinking) cotton print fabric. Homespun plaids work great, as do any type of novelty print, quilting fabrics, or flannels. You can use all one fabric if you want, but I prefer to use differing fabrics for the front and the back. The pillow/pocket can be made with both sides the same as the one of the other fabrics. If you want the two sides to be different, you will need another 1/2 yard fabric. The instructions here are for an adult size, aprox. 45″ (the width of your fabric) by 72″. (A child/smaller size is the width of the fabric by 60″, and a smaller “pillow/pocket” is made. A baby size can also be made – 36″ by 45″.)
This one is child’s size:

Supplies needed:
So for your adult size quillo, you need:
2 yards preshrunk fabric for the back
2 1/2 yards preshrunk fabric for the front and pillow/pocket
These should be compatible prints – different, but look good together.
2.5 yards batting – any batting that does not have to be quilted at small intervals. I prefer an all cotton or wool batting.
Thread that blends with both your prints.
Scissors/Rotary Cutter & Mat, Pins, Sewing Machine, yardstick, removable fabric marker.
Instructions:
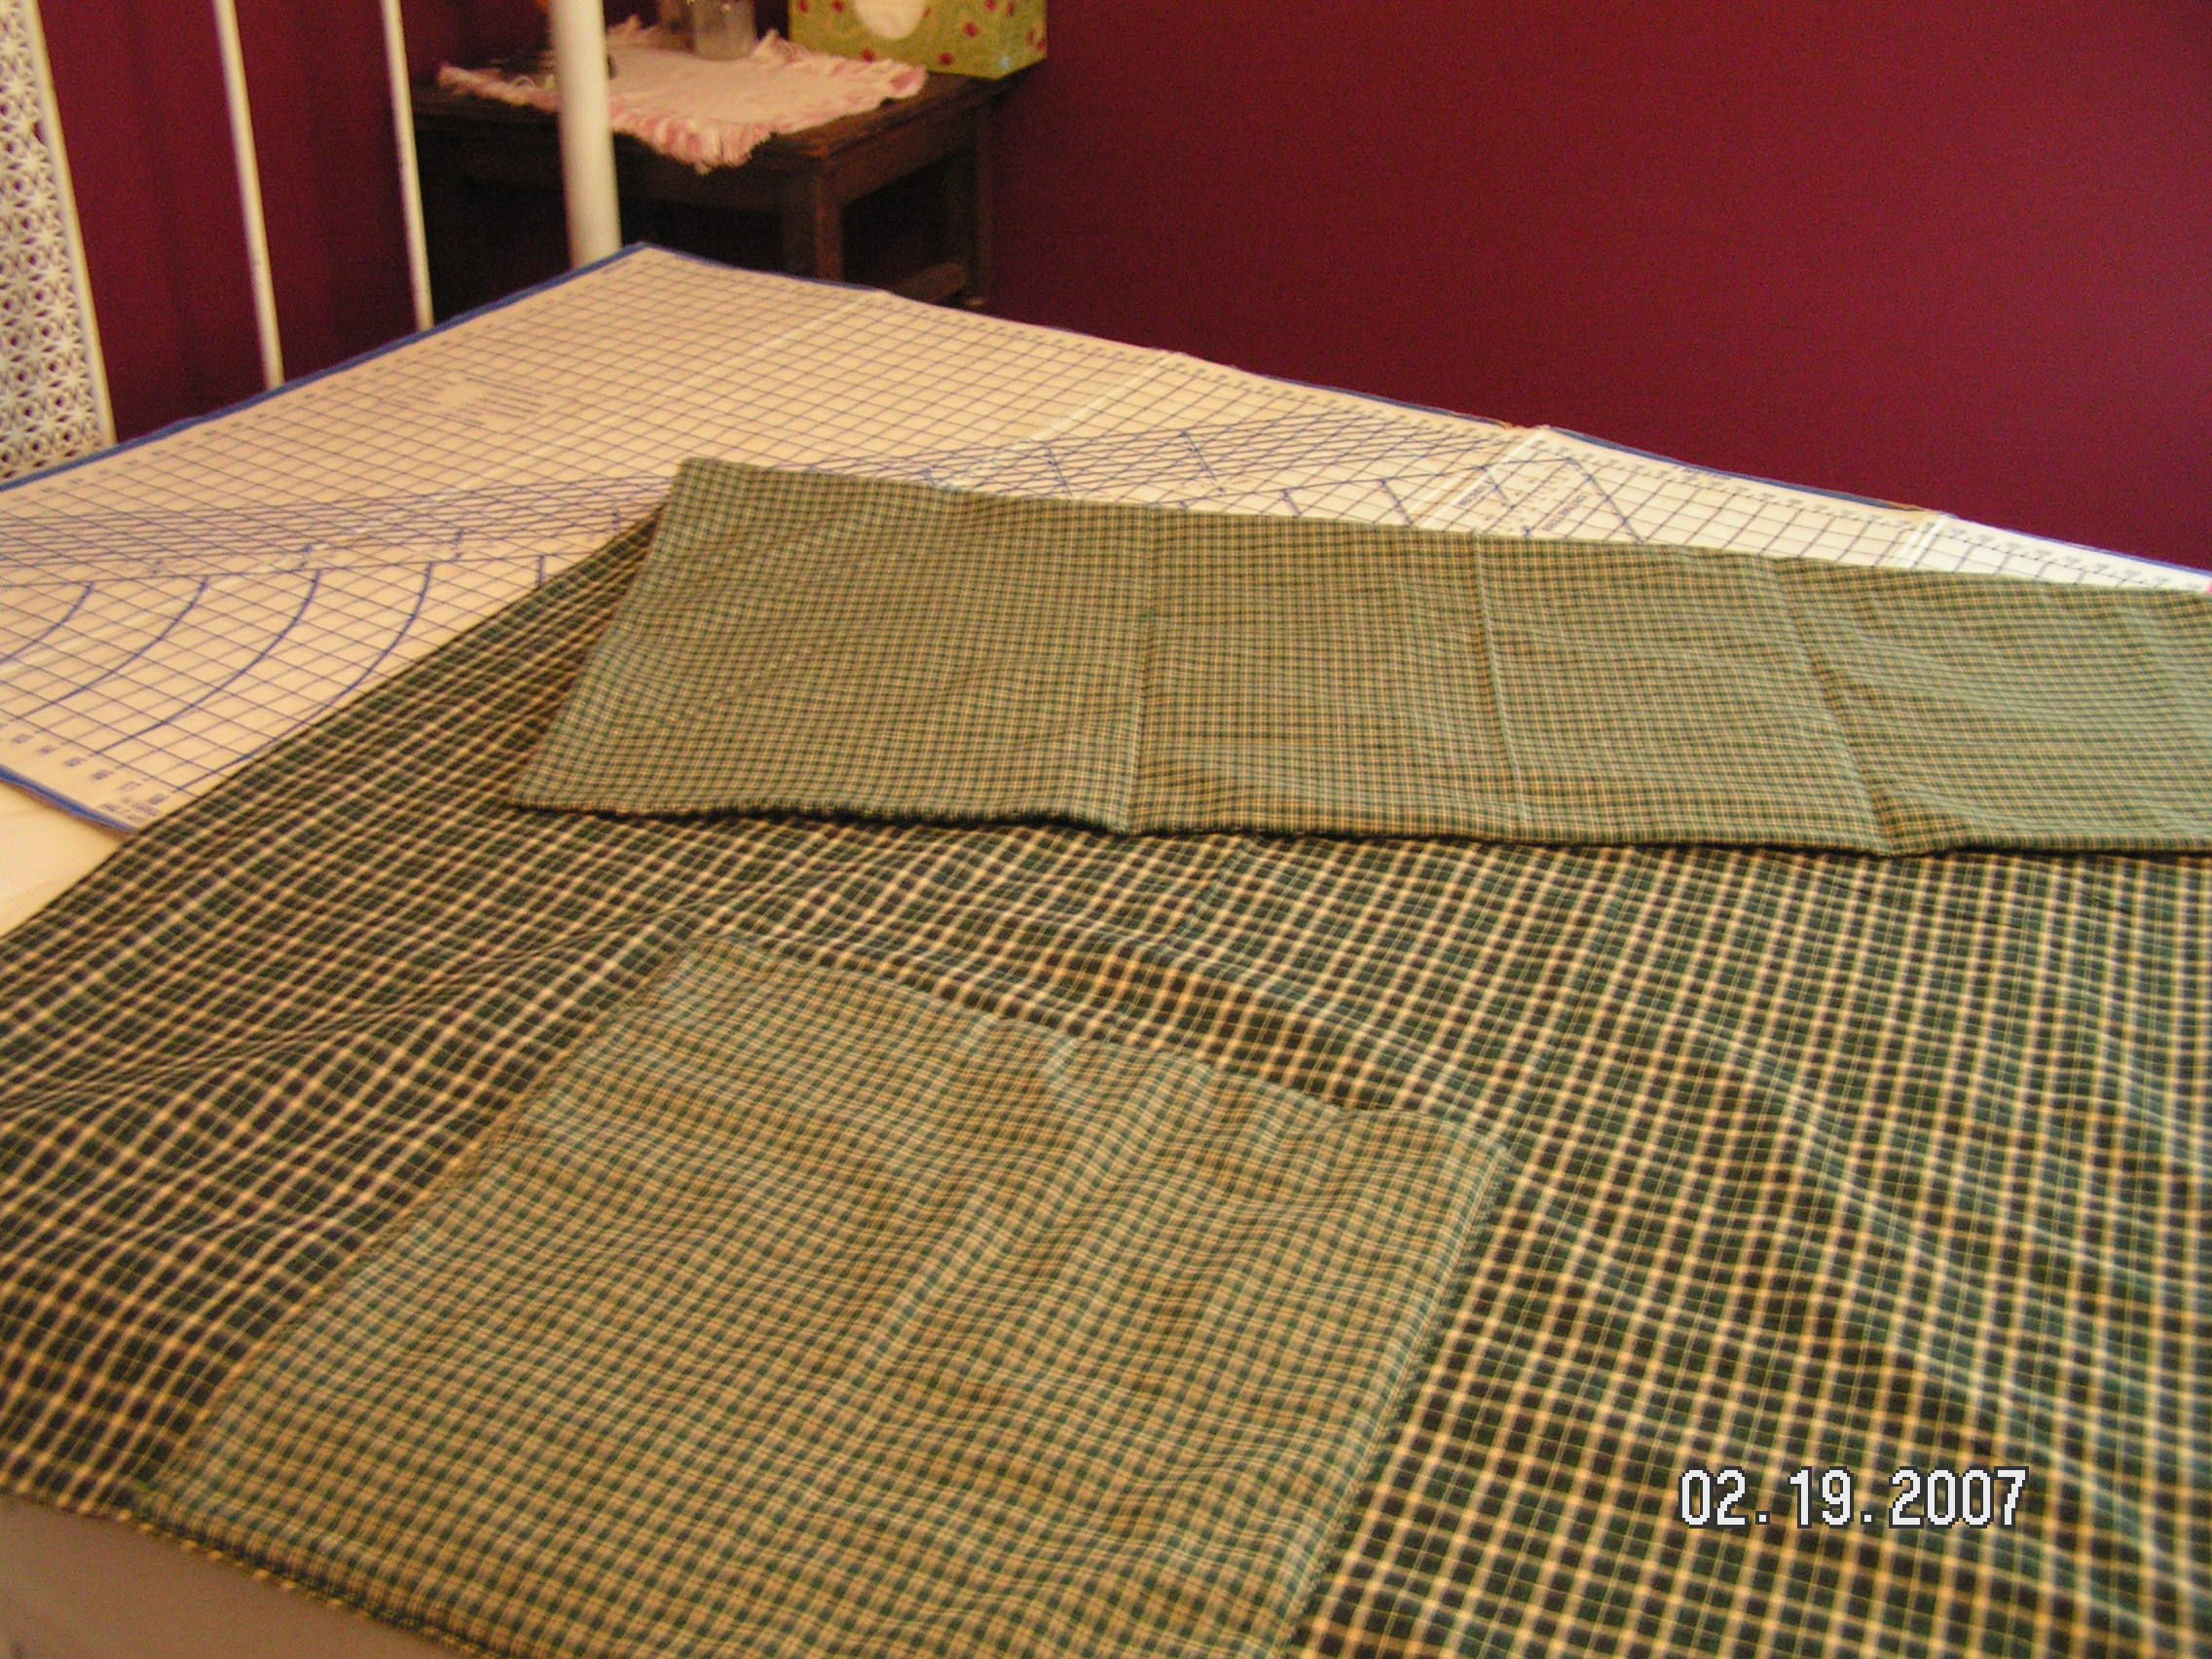
Blanket:
Square up the ends of the fabric and cut (I prefer to use a rotary cutter) the front and back blanket pieces each 72″ long across the width of the fabric. Cut 1 piece of batting the same size.
Layer (by spreading out on a large flat surface) the batting, then one of the fabrics, wrong side down on the batting, then the other fabric right side down (on the right side of the first fabric). Smooth all layers and pin around all edges.
Sew around all 4 edges (I prefer using a walking foot) leaving a 10-12″ opening in the center of one end to turn. Clip corners. Turn right side out and press seams, including pressing the opening seam edges in.
Pillow/Pocket:
Cut 2 18″x18″ squares for the pillow/pocket out of the remaining front fabric (or one square from each fabric, if you are using both). Cut one piece of batting the same size. Layer and sew exactly the same as the blanket part, only about a 6″ opening is needed.
Alternative pillow/pocket:
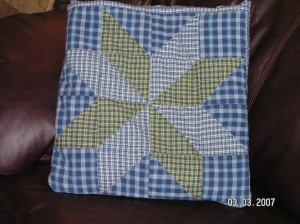
You may also use an 18″x18″ quilt block as one layer and your front fabric as the other layer. After sewing the edges, turning and pressing, quilt your block before attaching to blanket in next step. When attaching to blanket, be sure to sew with the quilt block side facing the blanket side, otherwise when you fold your quillo into a pillow your quilt block will be inside and unseen.
Attach Pillow/Pocket:
Find the center of the open end of both the blanket and the pillow/pocket parts, and match them up. Make sure the center of the other end of the pillow/pocket is lined up with the center of the blanket. Pin the ends of blanket and pillow/pocket together and pin the sides of the pillow/pocket to the blanket. Stitch a narrow seam across the ends of both, attaching the pillow/pocket to the blanket, and closing up the open ends of both.
Lay quillo out flat. Measure in from each side of the blanket onto the pillow/pocket about 1/4″ onto the pillow/pocket. With removable marking (disappearing or wash out marking pen), mark this distance the entire length of the quillo, on both sides of the pillow/pocket. In other words, you are going to sew on the pillow/pocket sides, but you are going to extend these seams the entire length of the quillo. After marking, pin through all layers along each line while quillo is still laying flat. Stitch along both lines.
You’re finished! To fold quillo as a pillow, fold into aprox. thirds along the stitching lines you just made, with the pillow/pocket facing down and your folds on top. Then fold the top down twice to a point just above where the top of the pillow/pocket is, then fold again, over the back of the pillow/pocket. Turn over and reach inside of the pillow/pocket, grab through all layers of both bottom corners and flip the whole thing inside out. Your folded blanket is now inside your pillow/pocket. Smooth and you have a nice pillow.
Simple, but pretty, and certainly practical.
For Me and My House,
At Jesus’ feet,
Lisa
[subscribe2]